Update meter data
Guide utilisateur
User guide
1 Meters list
Picking the meter
Open the active community's meter list and locate the meter whose current configuration you want to update.

2 Open the meter detail
Picking the meter
Click the meter row (EAN 123456789012345678) to open its detail page and reach the current meter-data view.

3 Active meter
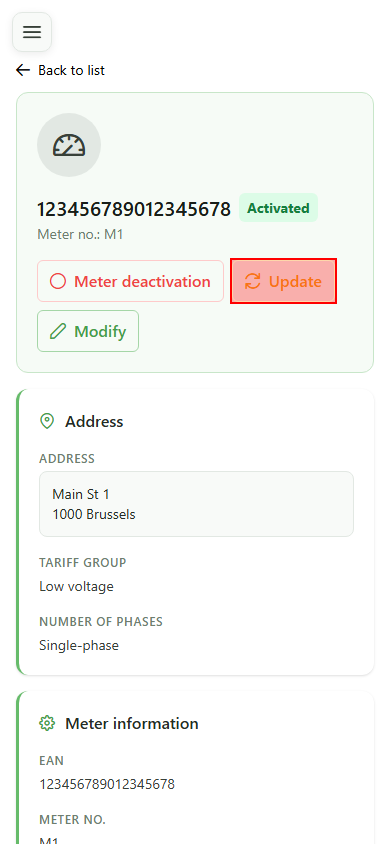
Meter detail
The detail page shows the current configuration. The "Update data" action is only exposed when the meter is active — that is our entry point.
4 Open the form
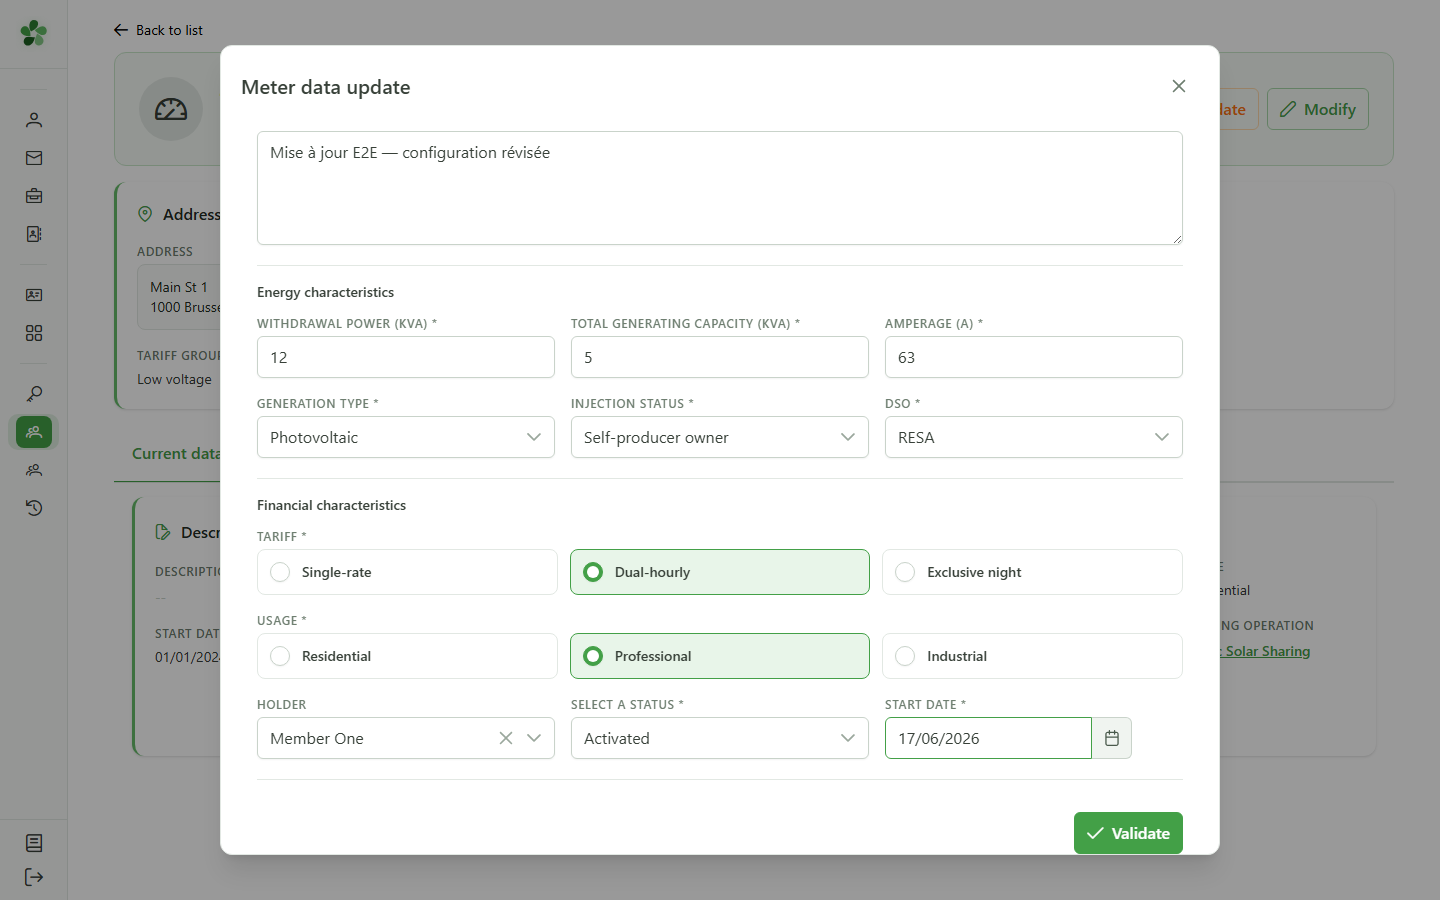
Editing the data
Click "Update data" — a dialog opens, pre-populated with the meter's current configuration: description, powers, rate, client type and owner.
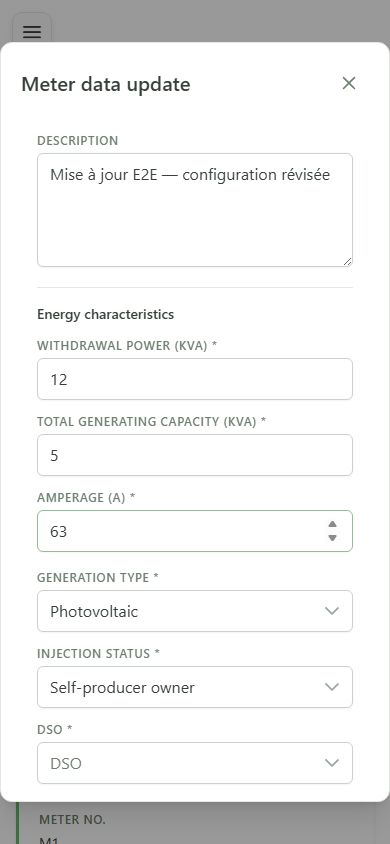
5 Adjust the energy values
Energy characteristics
Edit the description, the sampling power and the amperage. These updated figures feed straight into the sharing-operation allocation calculations.
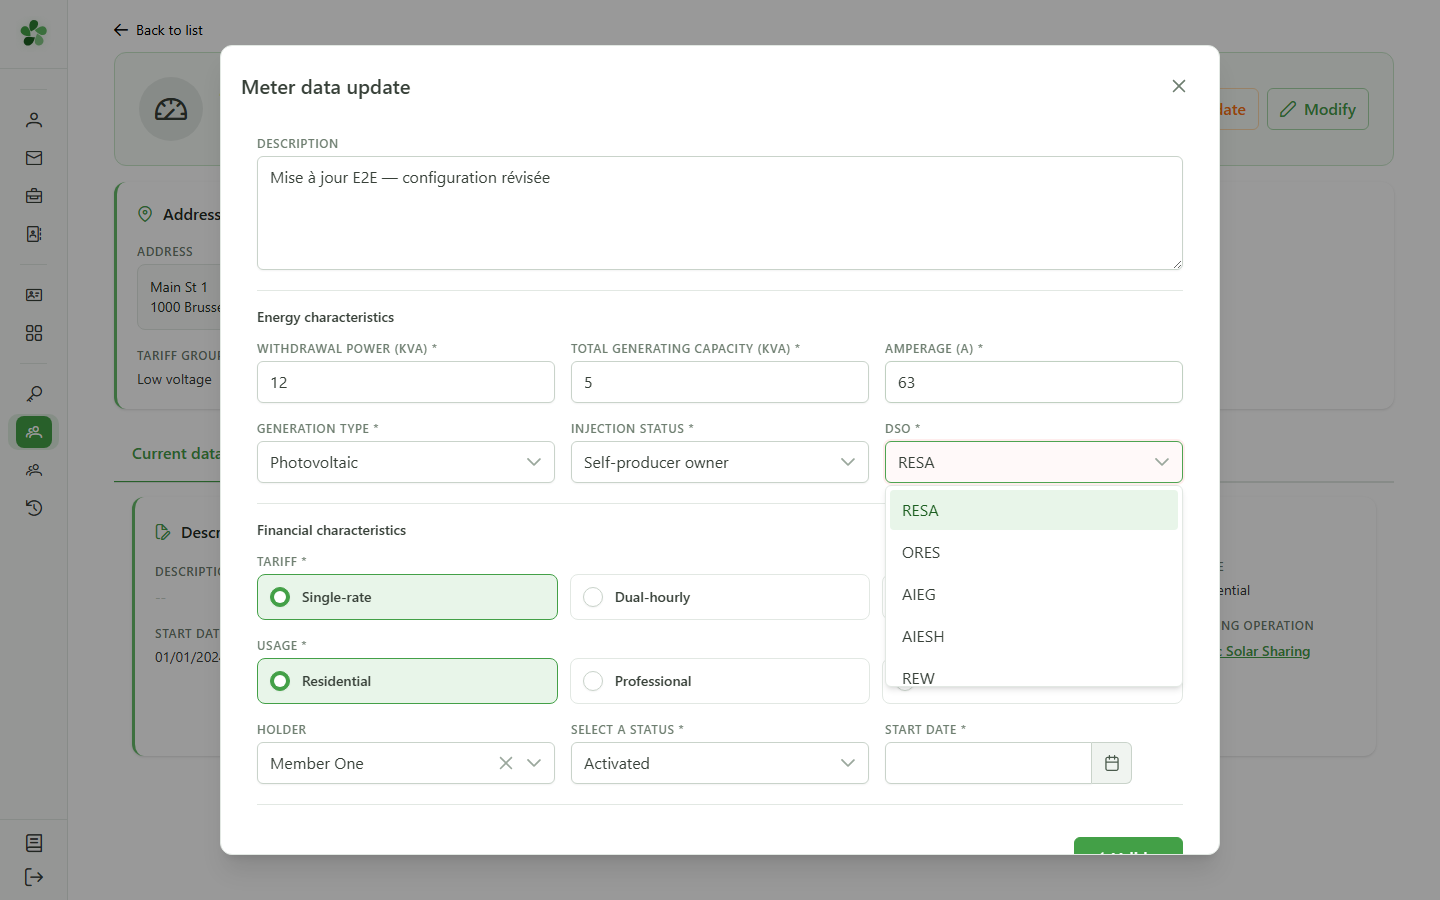
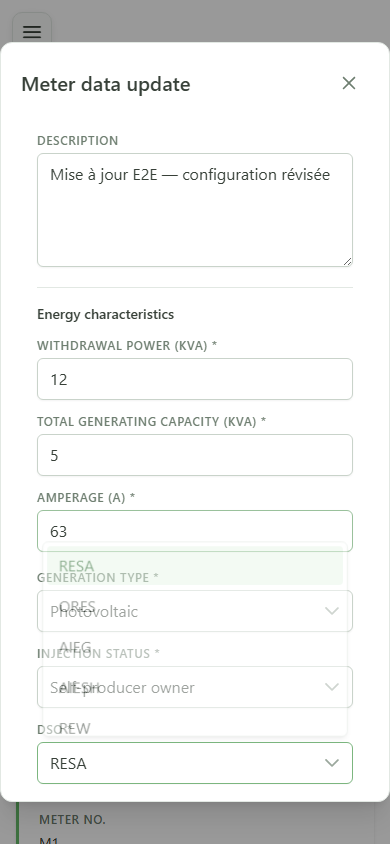
6 Pick the DSO
Grid configuration
Select the distribution grid operator the meter is connected to. This field is mandatory to validate the new configuration.
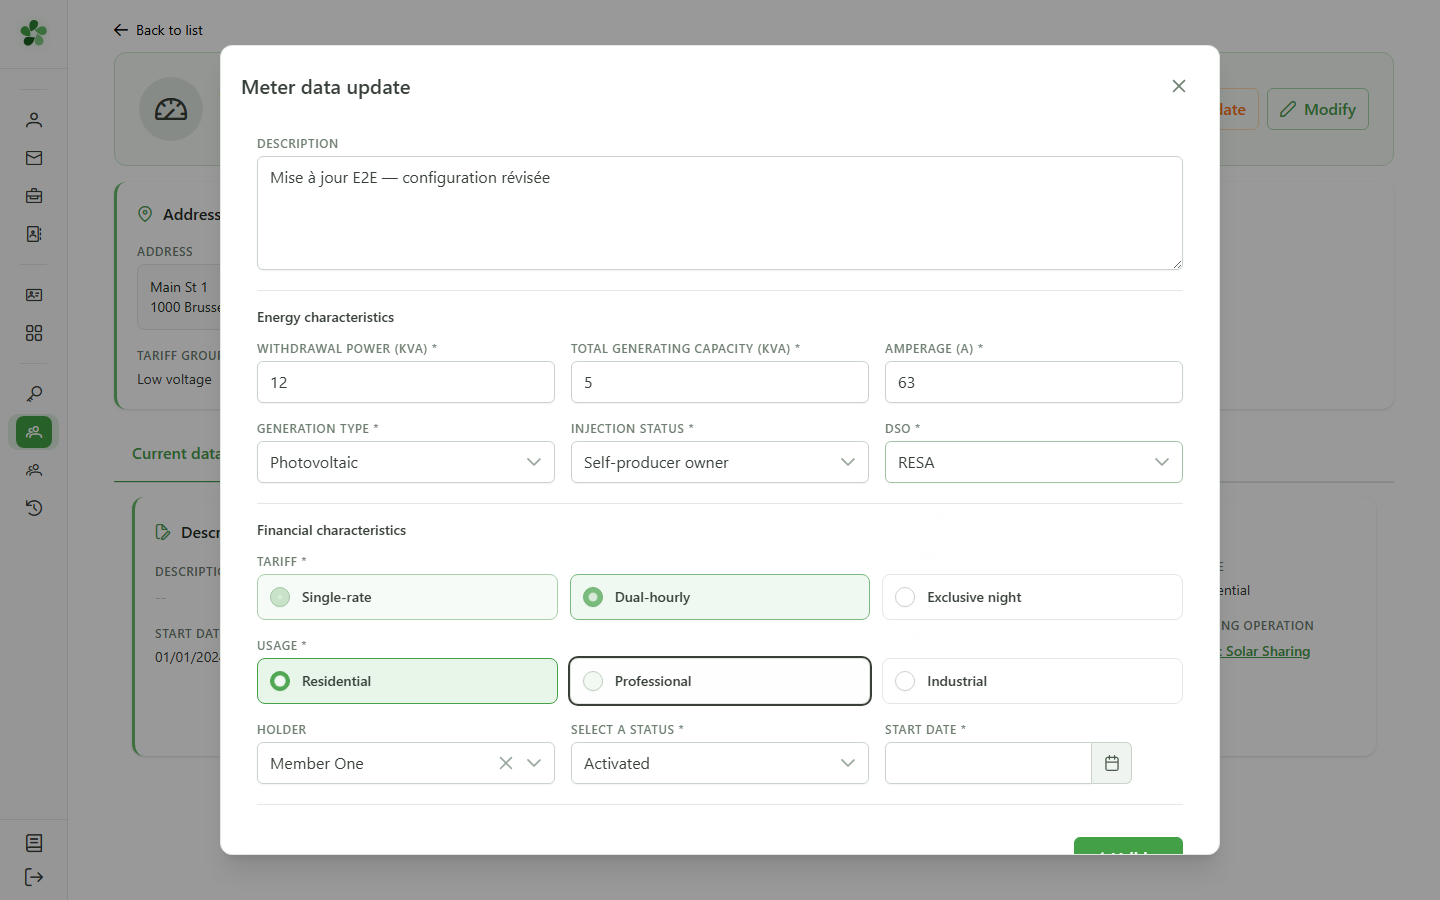
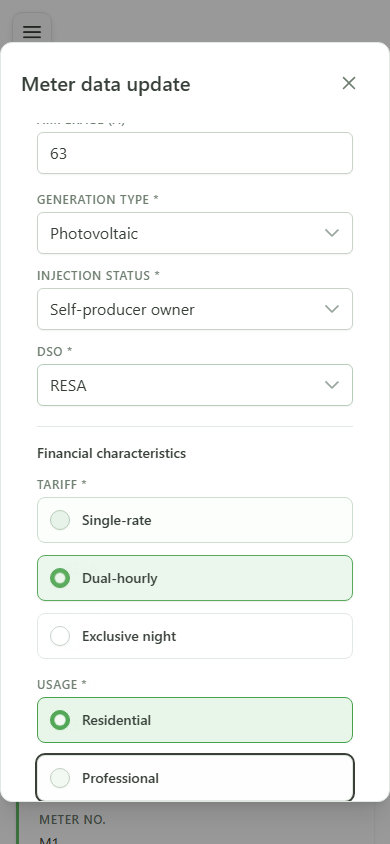
7 Change the consumption profile
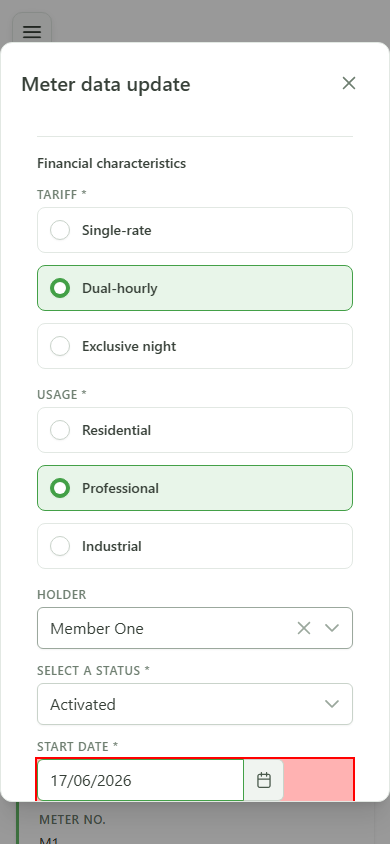
Financial characteristics
Switch the rate to "bi-hourly" and the client type to "professional" to mirror the meter's new consumption profile.
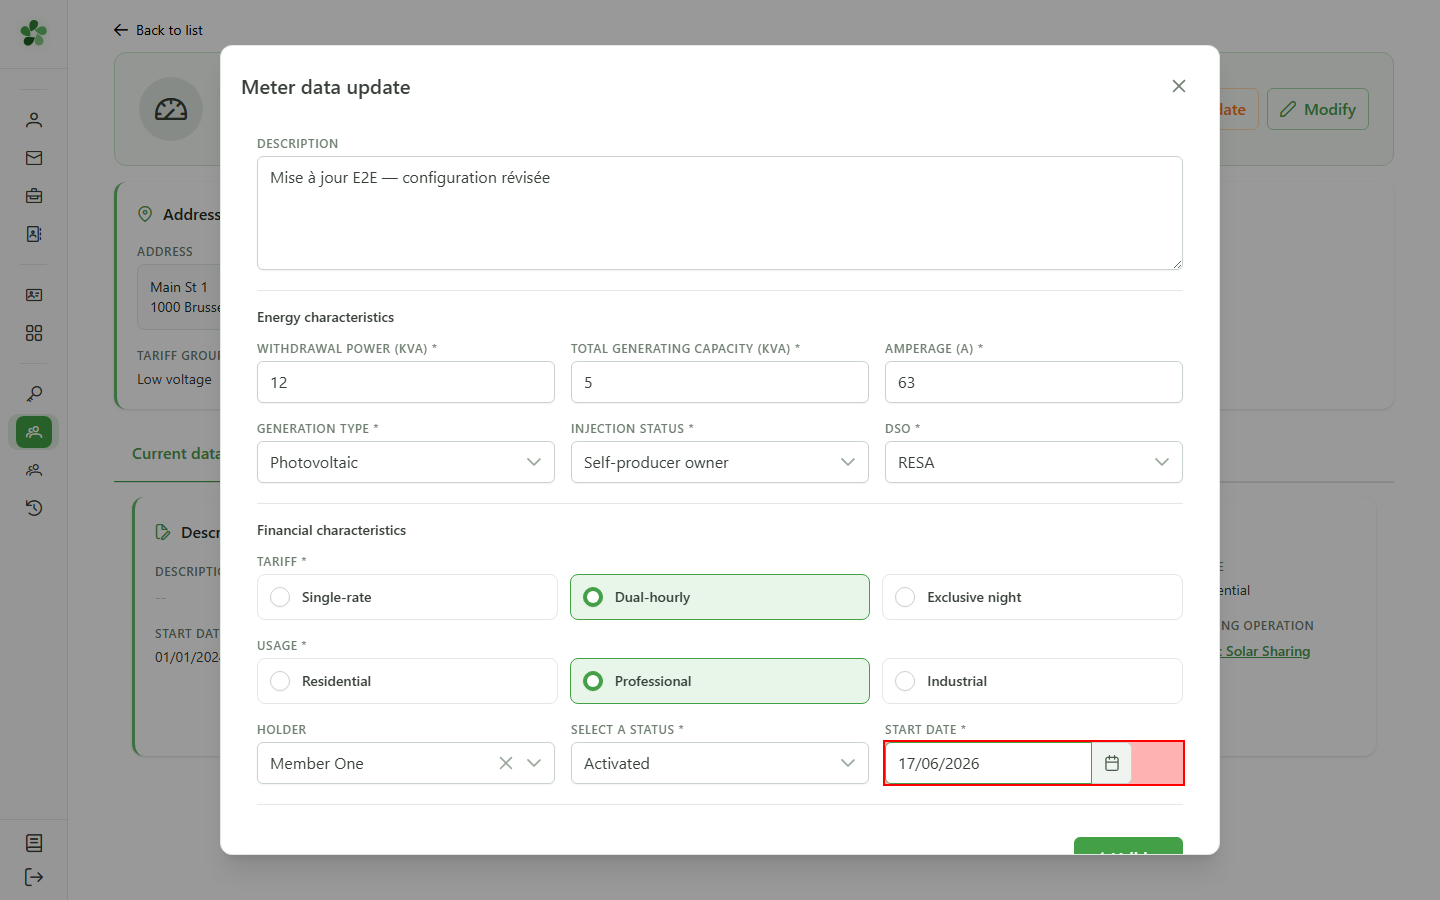
8 Set the effective date
Effective date
Pick the date from which the new configuration takes effect. This field is required to validate the change.
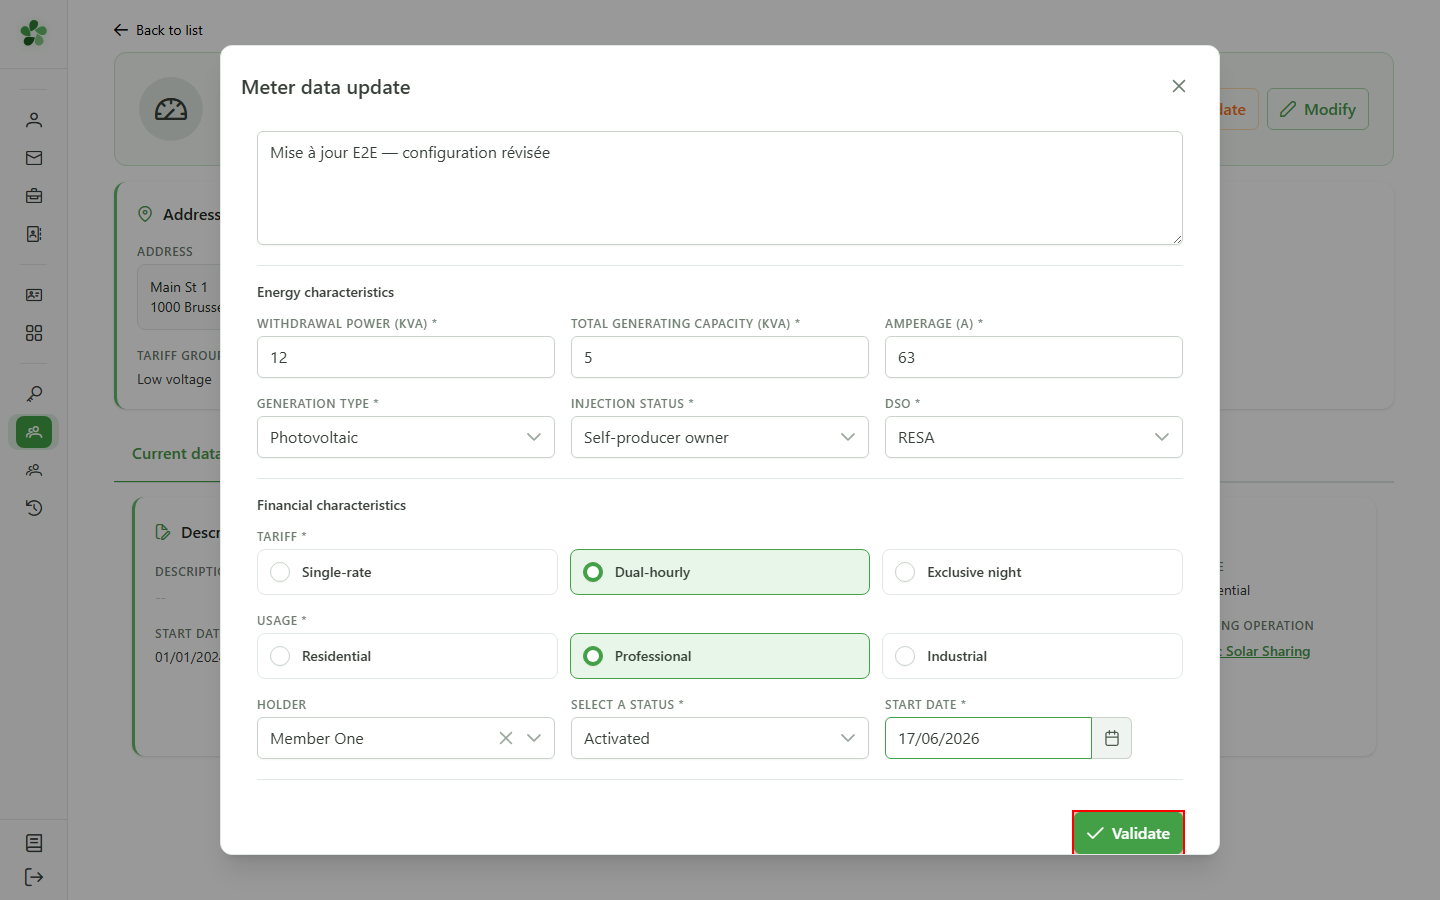
9 Save the update
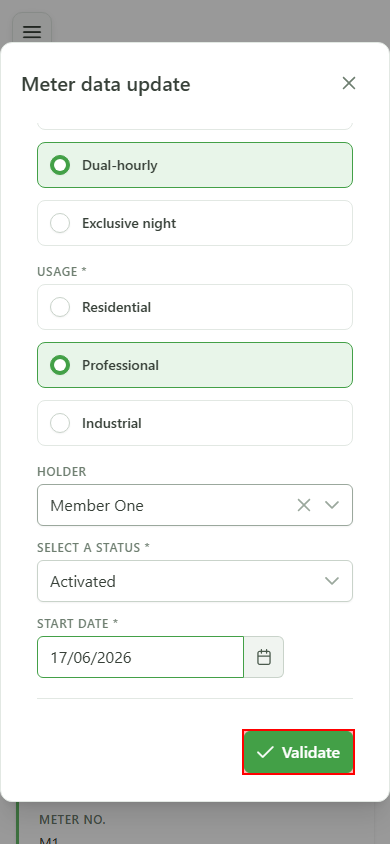
Saving
Click "Validate" — the form is sent to the CRM, which replaces the meter's current configuration. The dialog closes once the change is acknowledged.
10 Update confirmed
Confirmation
Back on the detail page, the new description, the 63 A amperage and the bi-hourly rate appear in the data cards — the changes have been persisted server-side.
Update meter data
Guide utilisateur
User guide
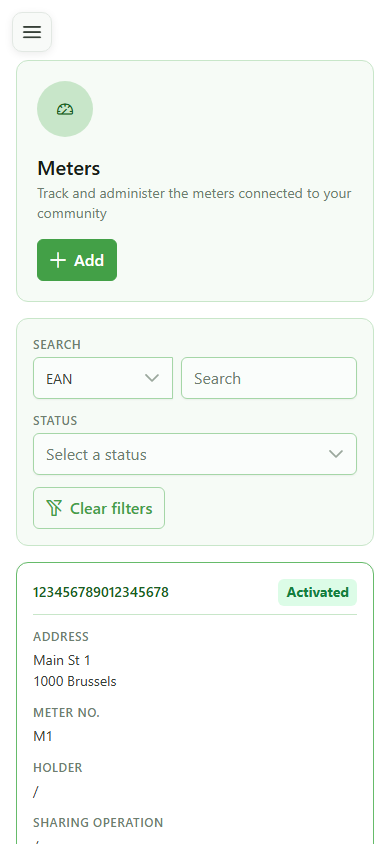
1 Meters list
Picking the meter
Open the active community's meter list and locate the meter whose current configuration you want to update.
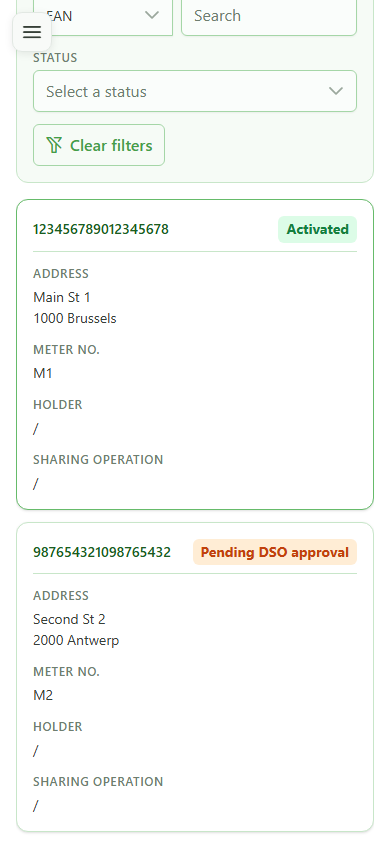
2 Open the meter detail
Picking the meter
Tap the meter card (EAN 123456789012345678) to open its detail page and reach the current meter-data view.
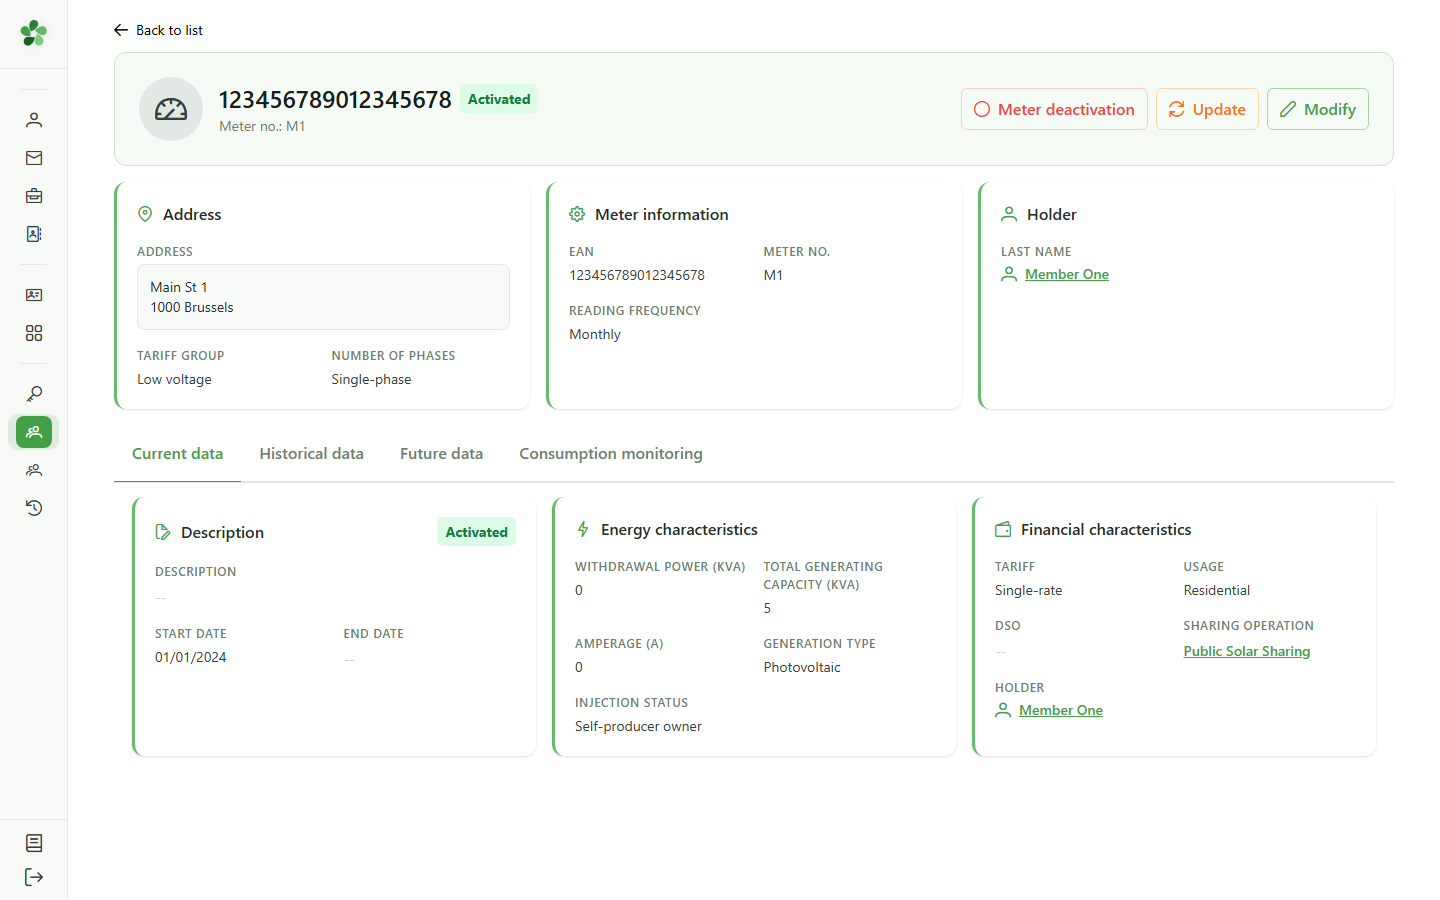
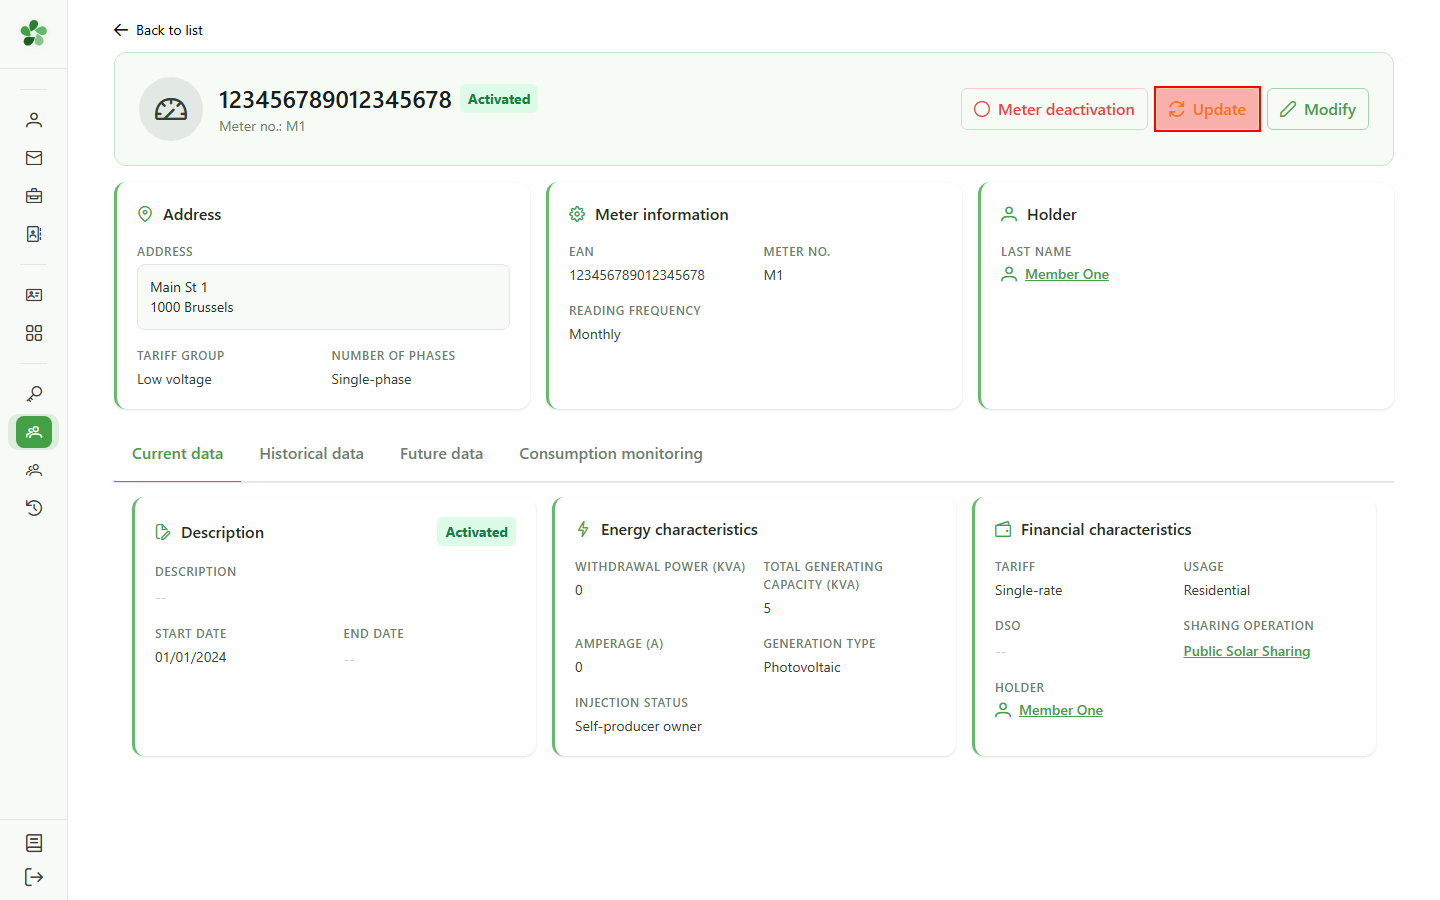
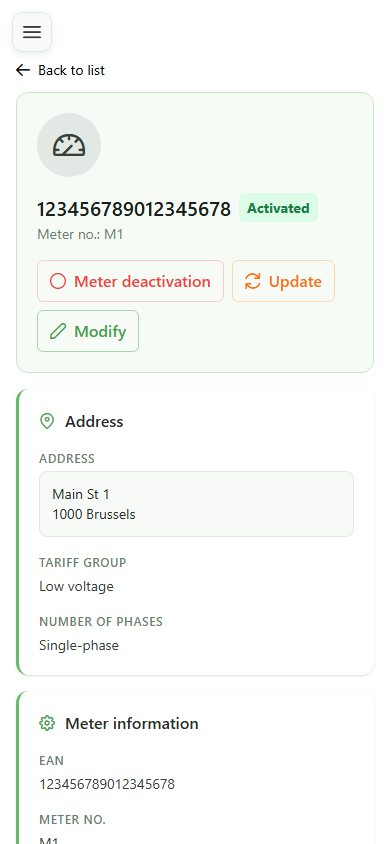
3 Active meter
Meter detail
The detail page shows the current configuration. The "Update data" action is only exposed when the meter is active — that is our entry point.
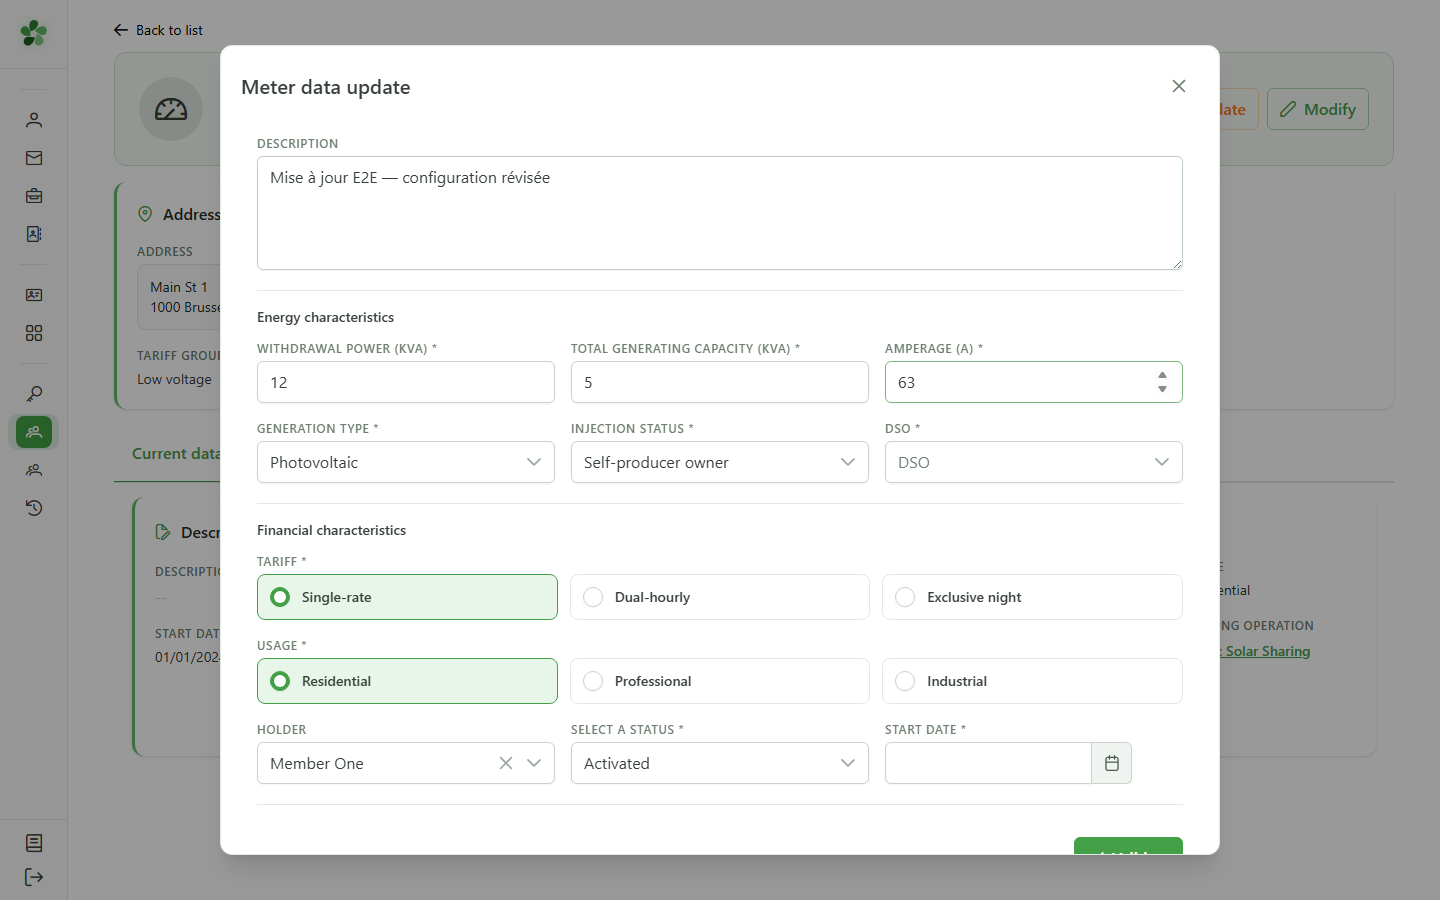
4 Open the form
Editing the data
Click "Update data" — a dialog opens, pre-populated with the meter's current configuration: description, powers, rate, client type and owner.
5 Adjust the energy values
Energy characteristics
Edit the description, the sampling power and the amperage. These updated figures feed straight into the sharing-operation allocation calculations.
6 Pick the DSO
Grid configuration
Select the distribution grid operator the meter is connected to. This field is mandatory to validate the new configuration.
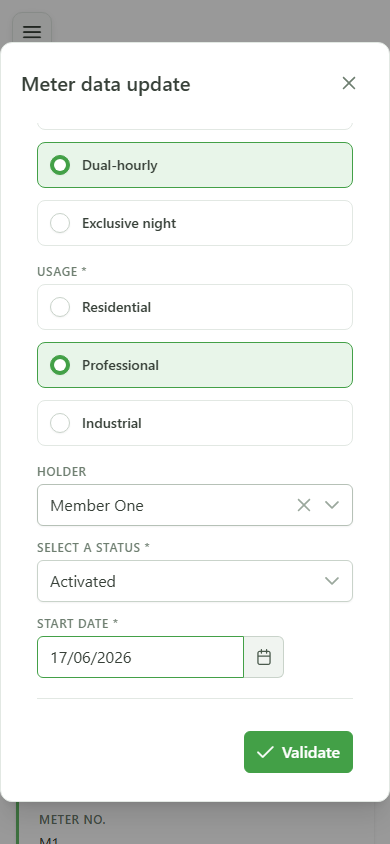
7 Change the consumption profile
Financial characteristics
Switch the rate to "bi-hourly" and the client type to "professional" to mirror the meter's new consumption profile.
8 Set the effective date
Effective date
Pick the date from which the new configuration takes effect. This field is required to validate the change.
9 Save the update
Saving
Click "Validate" — the form is sent to the CRM, which replaces the meter's current configuration. The dialog closes once the change is acknowledged.
10 Update confirmed
Confirmation
Back on the detail page, the new description, the 63 A amperage and the bi-hourly rate appear in the data cards — the changes have been persisted server-side.