Generate keys (OLAGSA)
Guide utilisateur
User guide
1 Open annexe services
Navigation
In the sidebar's "Community" section, click "Annexe services" to access the community's active modules.

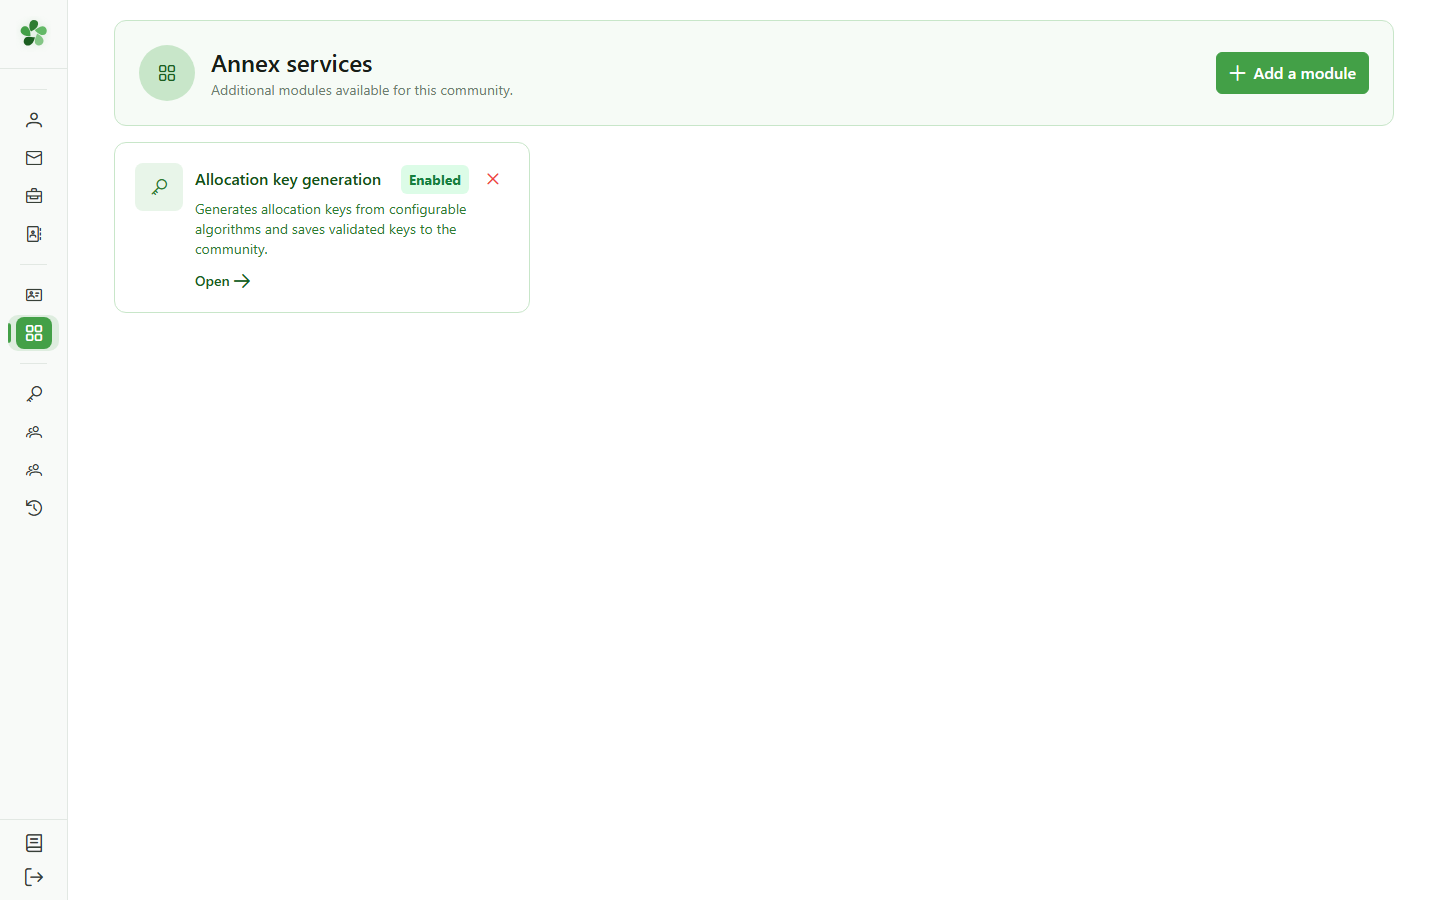
2 Generation module available
Annexe services
The "Allocation key generation" card is visible with the "Activated" badge. Click it to open the generation module.
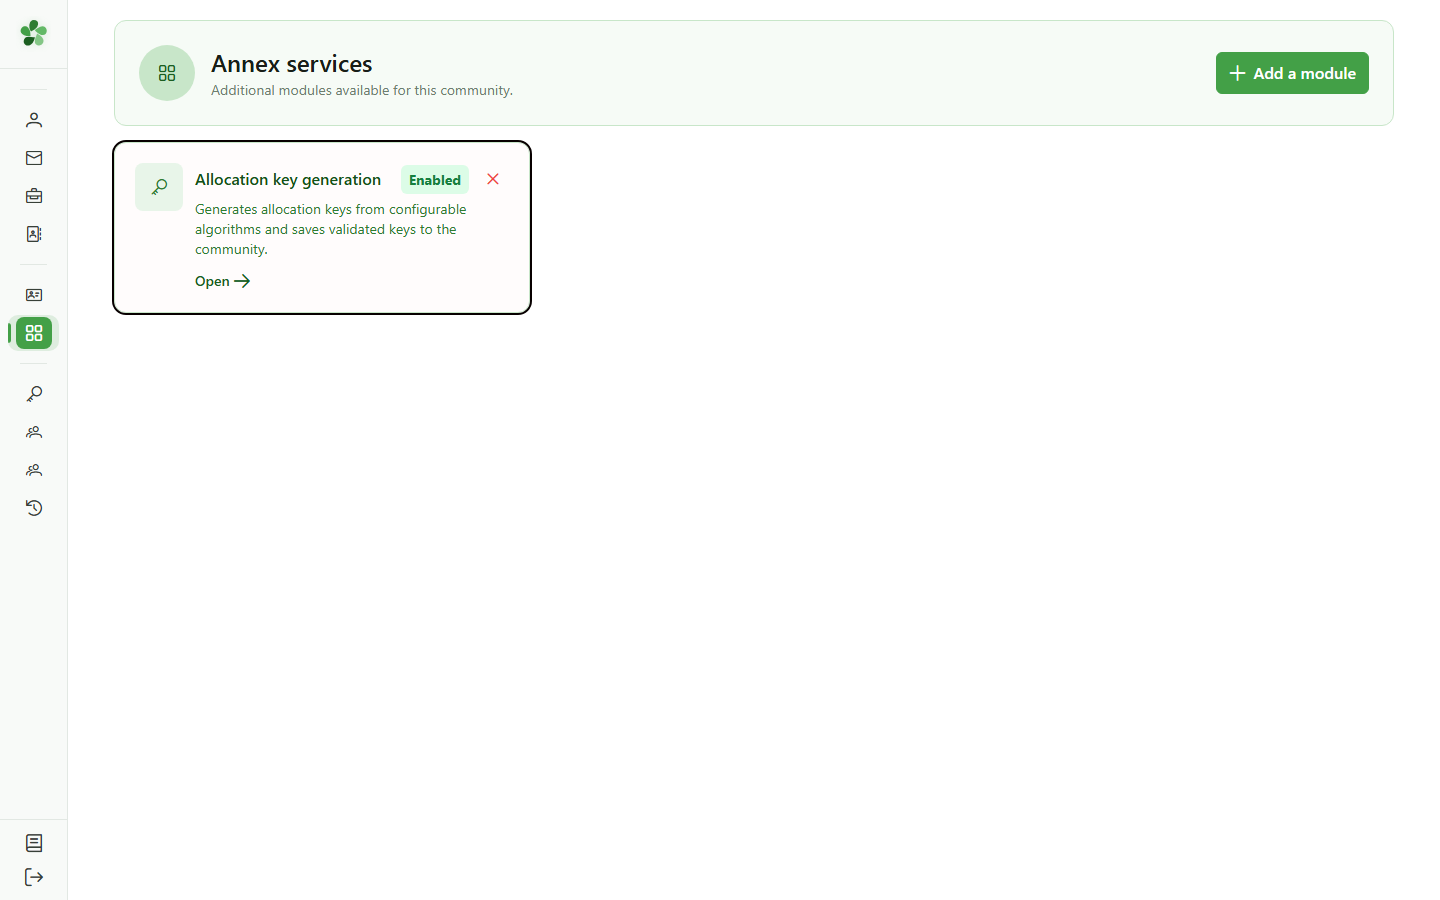
3 Open the generation module
Navigation
Click the card to open the OLAGSA allocation key generation module.
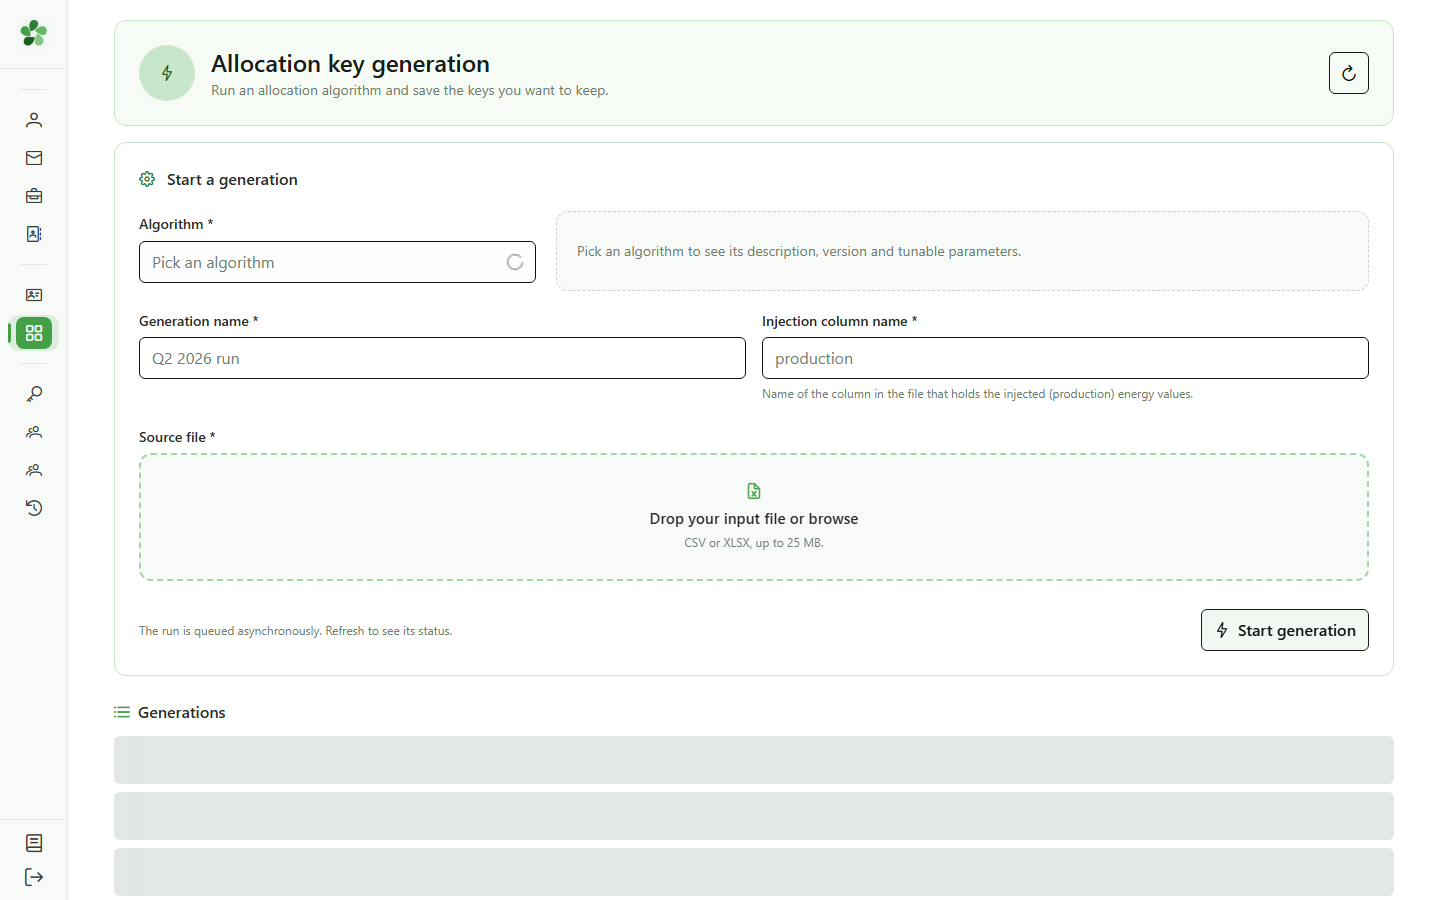
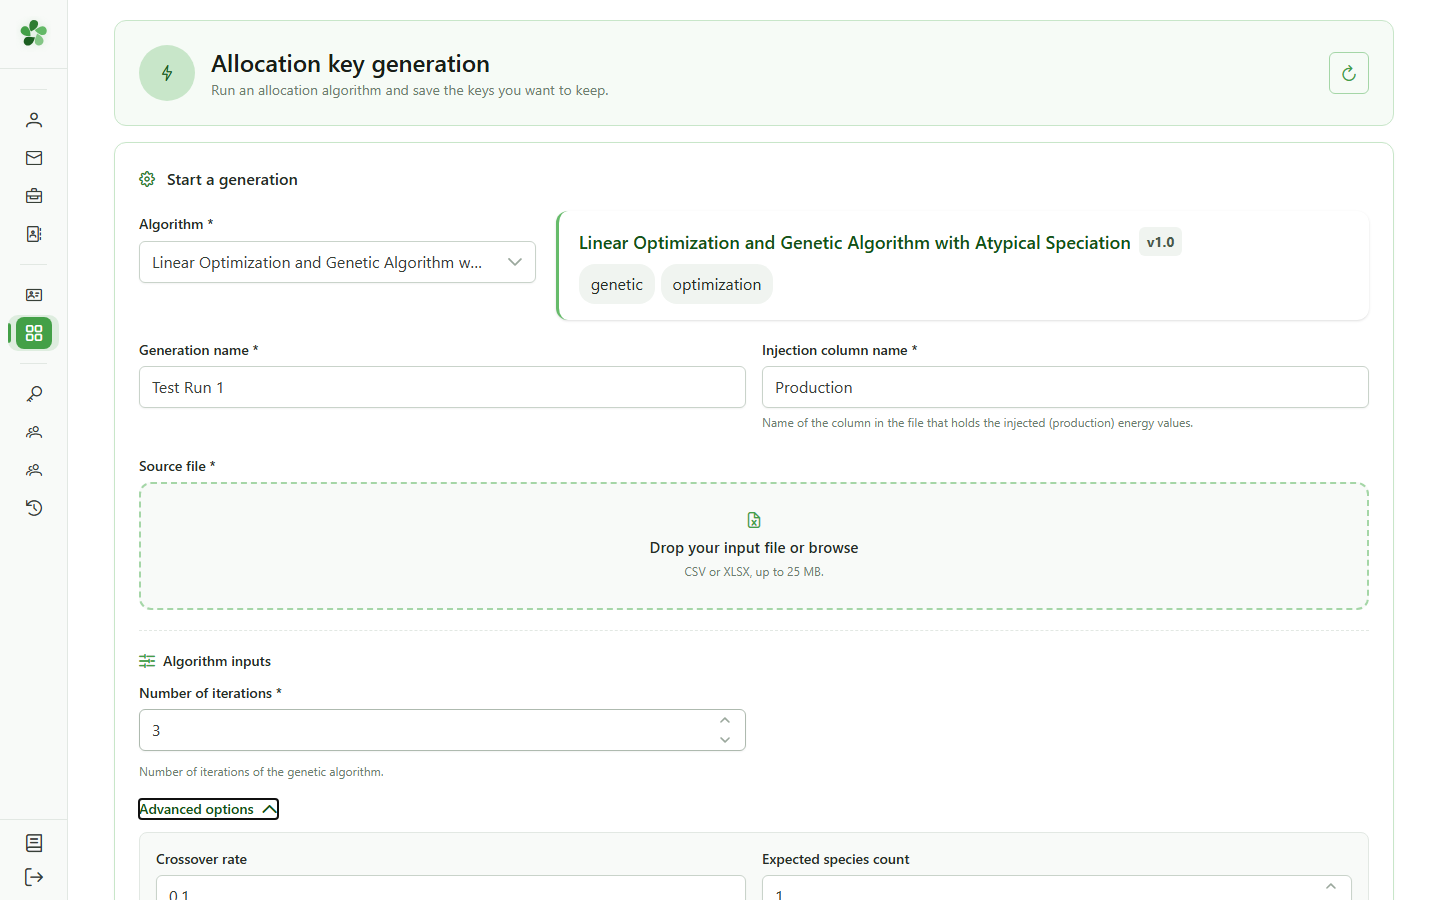
4 Key generation page
OLAGSA module
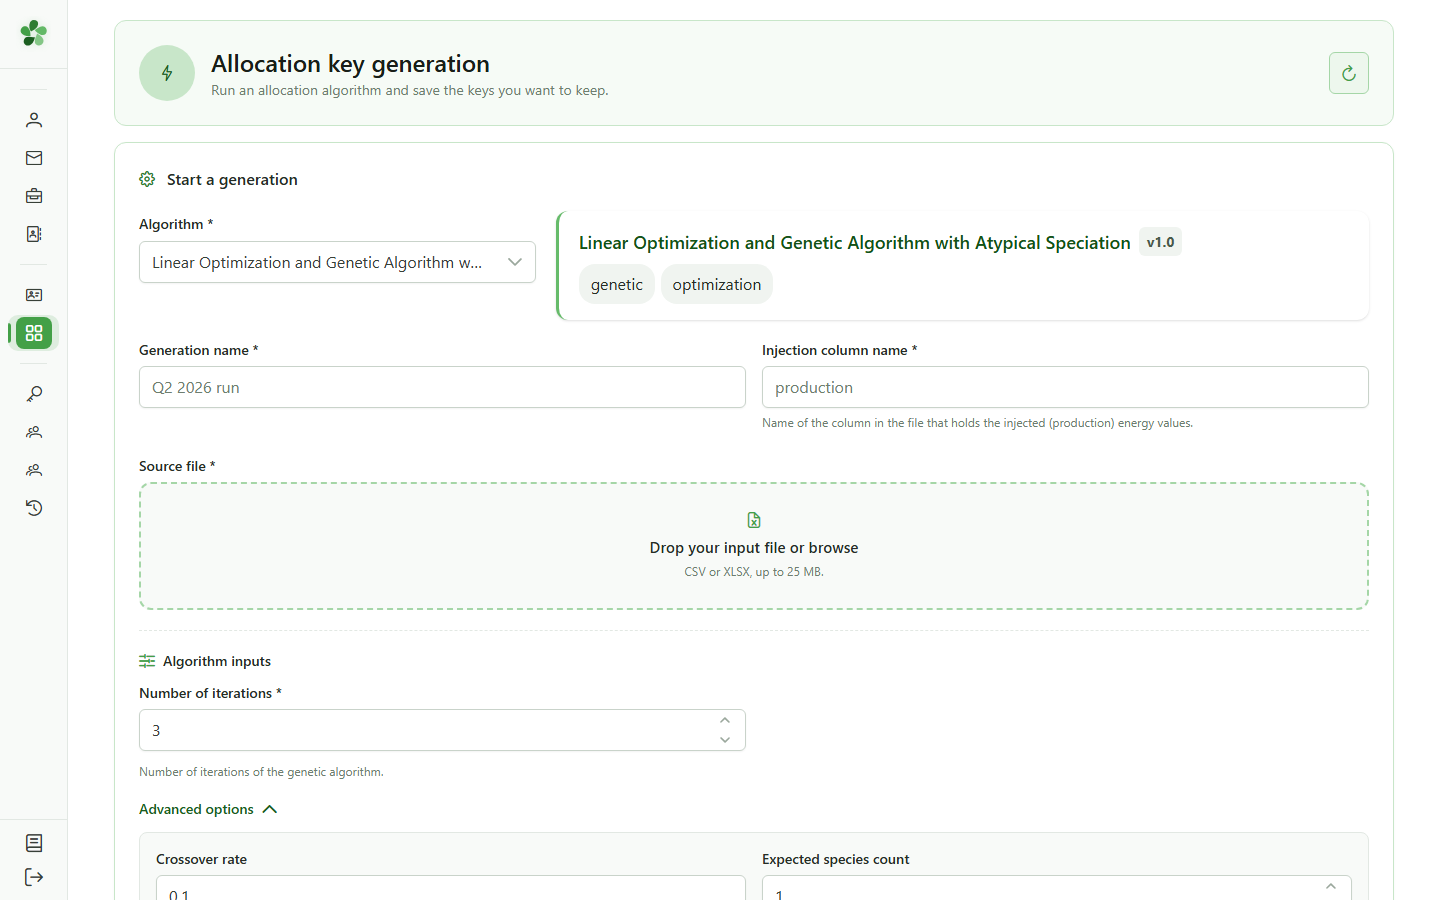
The allocation key generation page displays the configuration form. Select the algorithm, fill in the parameters, and upload your data file to launch a new generation.
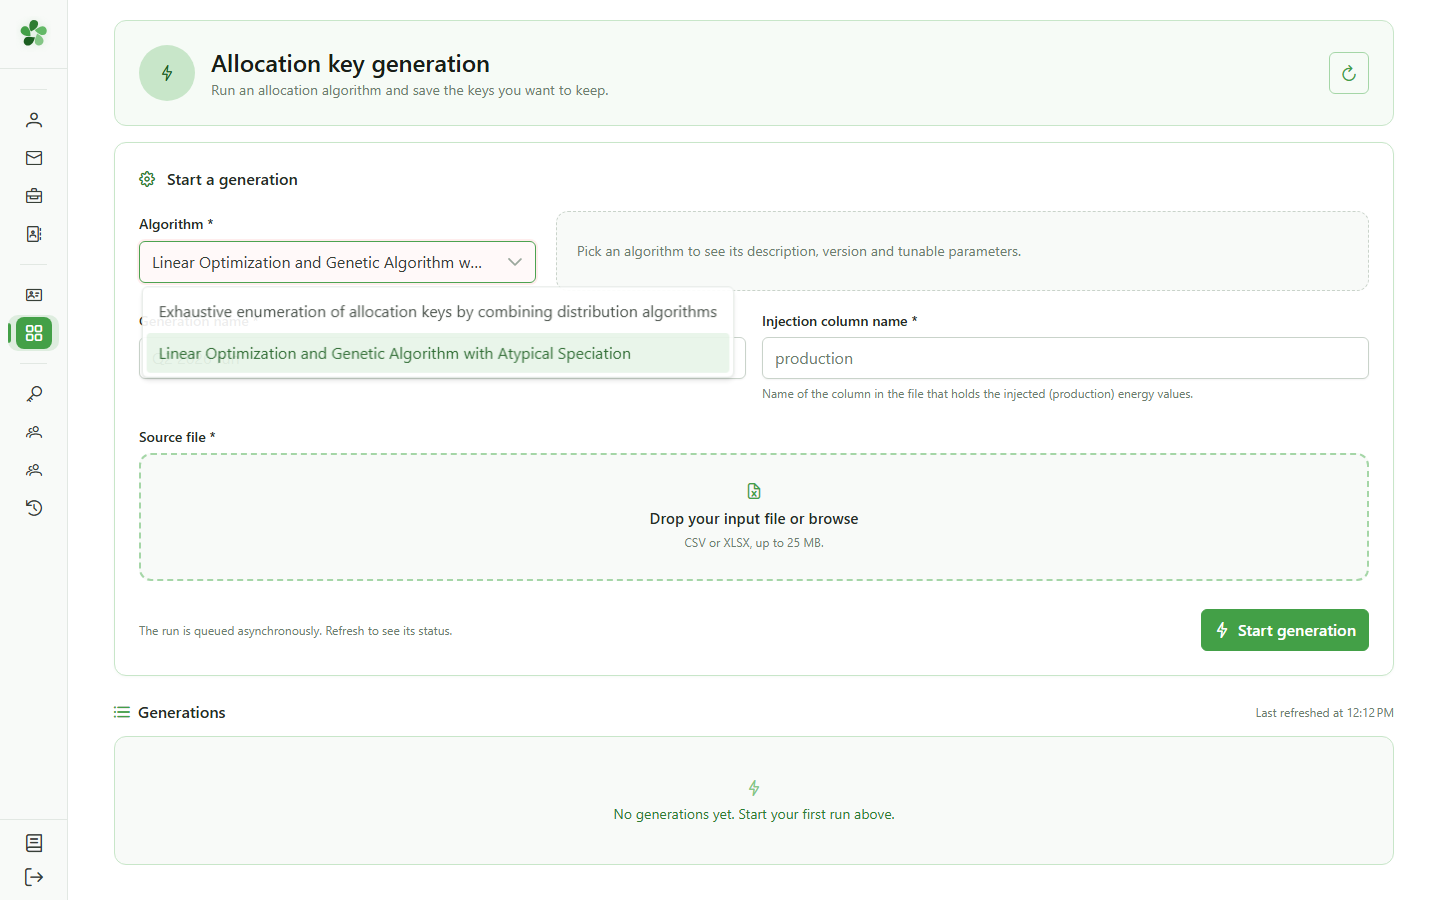
5 Select the OLAGSA algorithm
Configuration
Click the "Algorithm" dropdown and select "OLAGSA". The parameter form specific to this genetic algorithm then appears.
6 Name the generation and injection
Configuration
Enter a name for this generation (internal identifier) and the corresponding injection name — here "Production" to target production data.
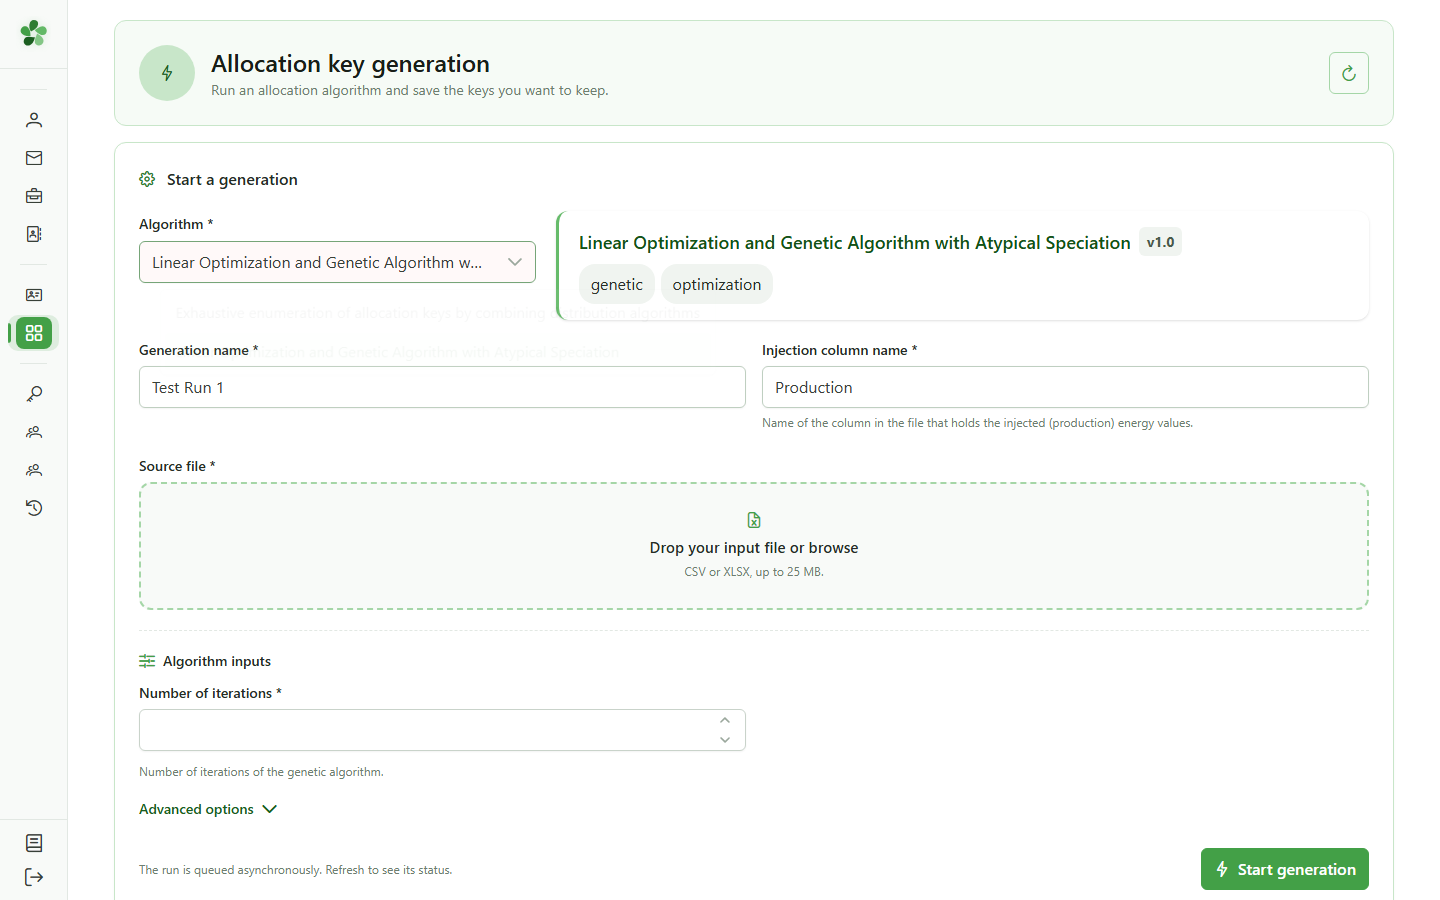
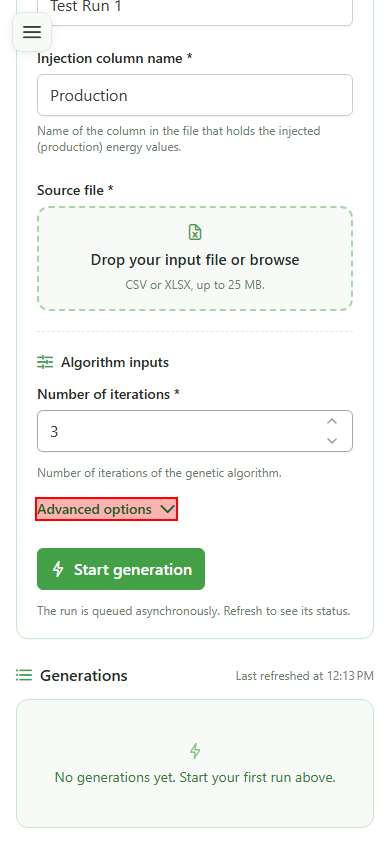
7 Set the number of iterations
Main parameters
Enter "3" in the "Iterations" field. This parameter defines the number of independent solutions computed by the OLAGSA genetic algorithm.
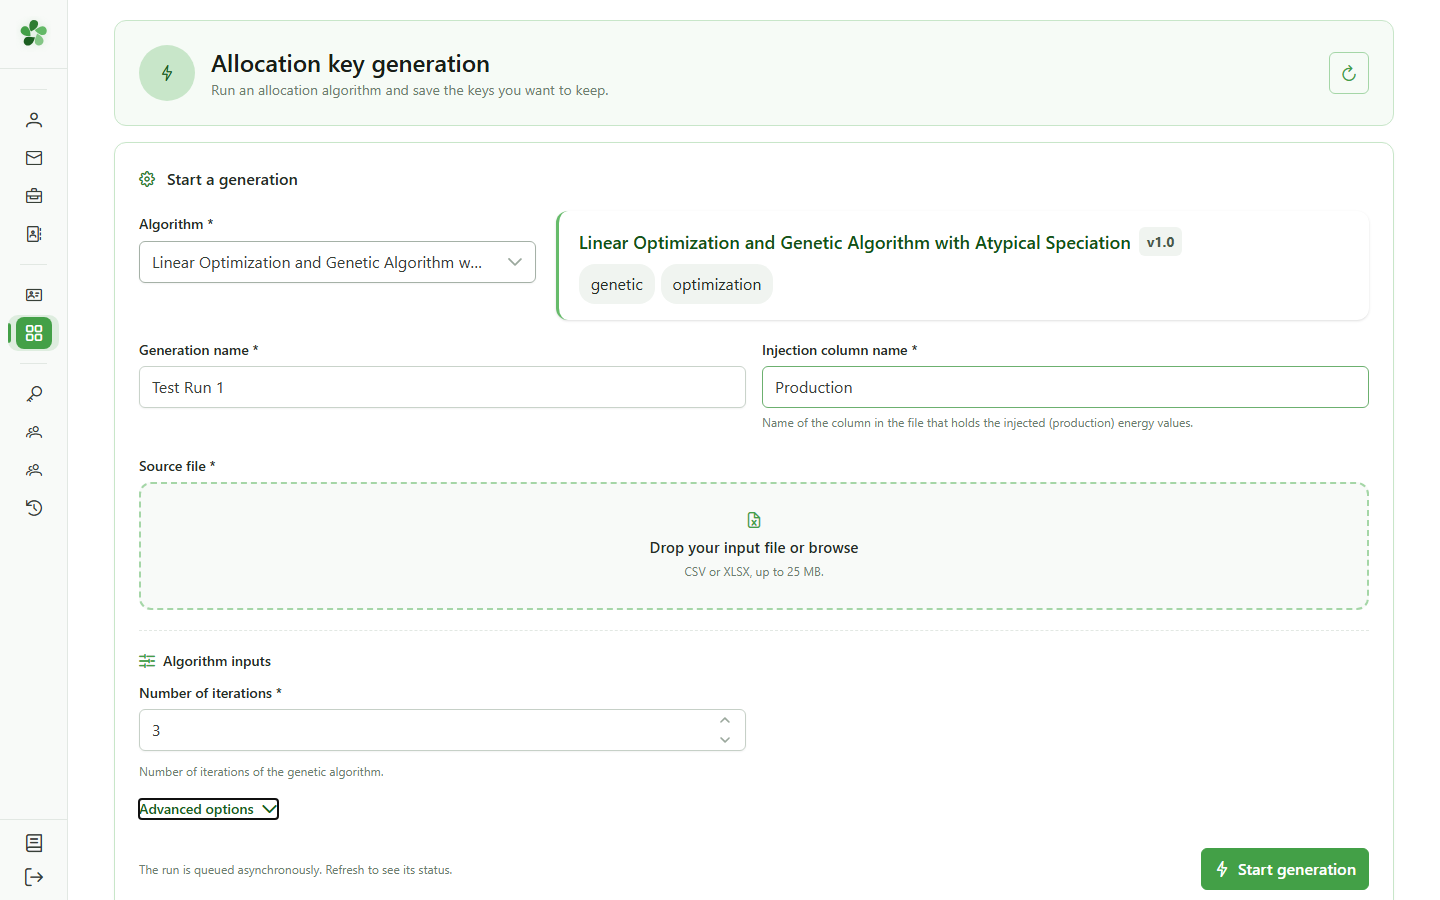
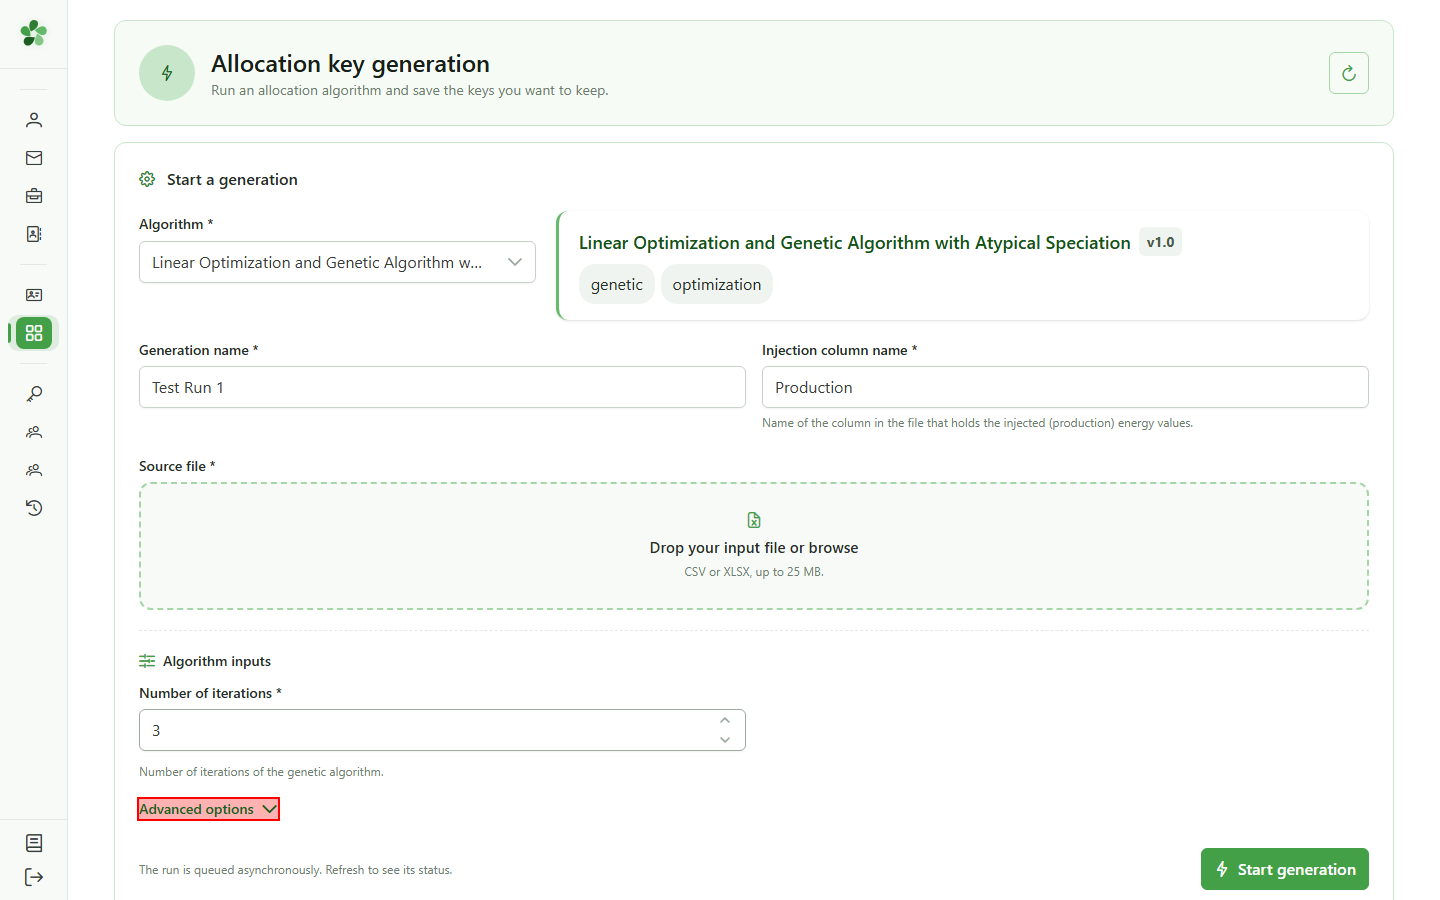
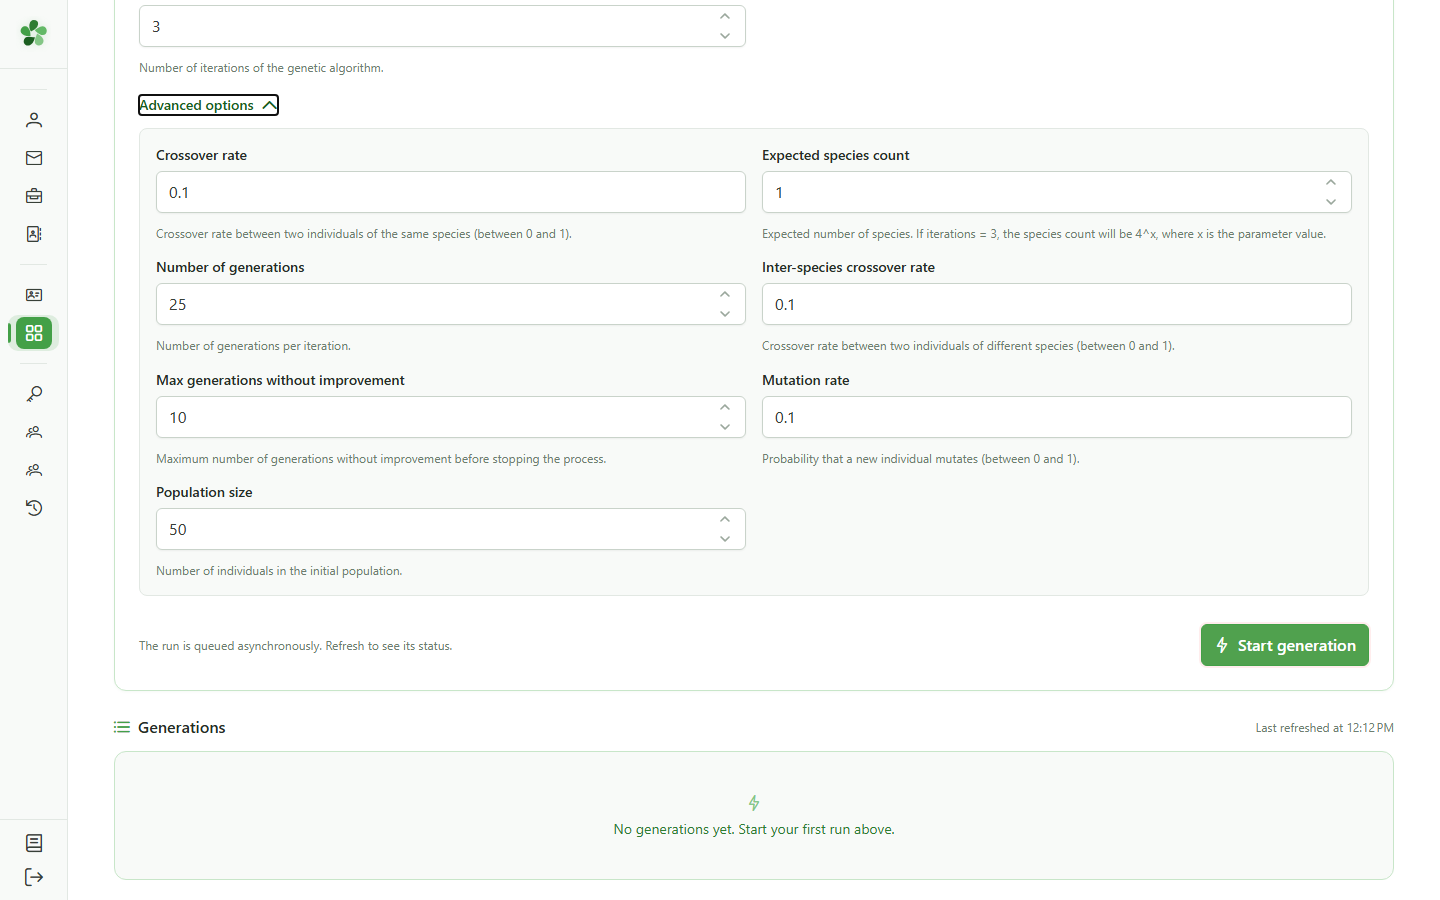
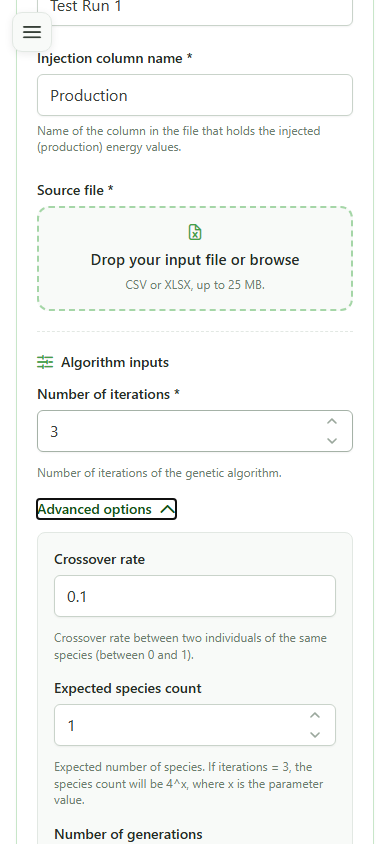
8 Open advanced parameters
OLAGSA parameters
Click "Advanced parameters" to reveal the genetic algorithm's hyperparameters: population size, crossover rates, mutation rate, and more.
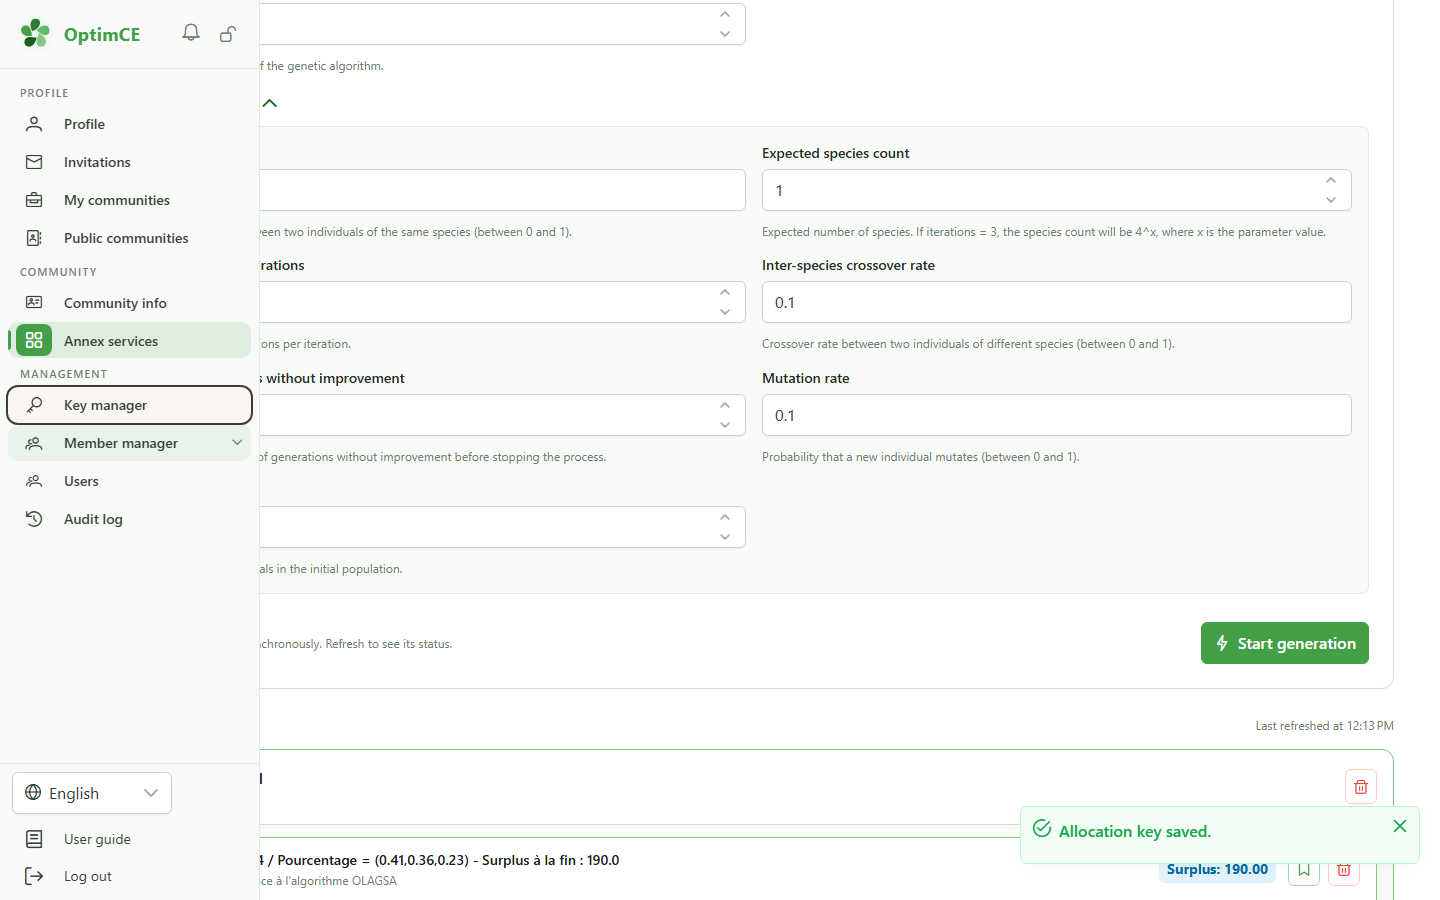
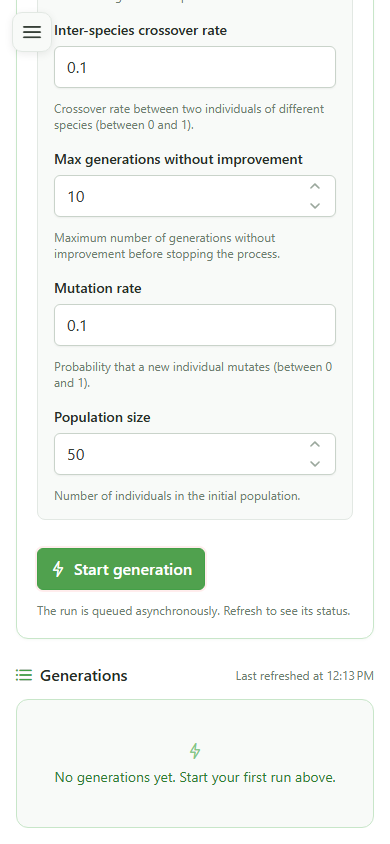
9 Genetic algorithm hyperparameters
Advanced parameters
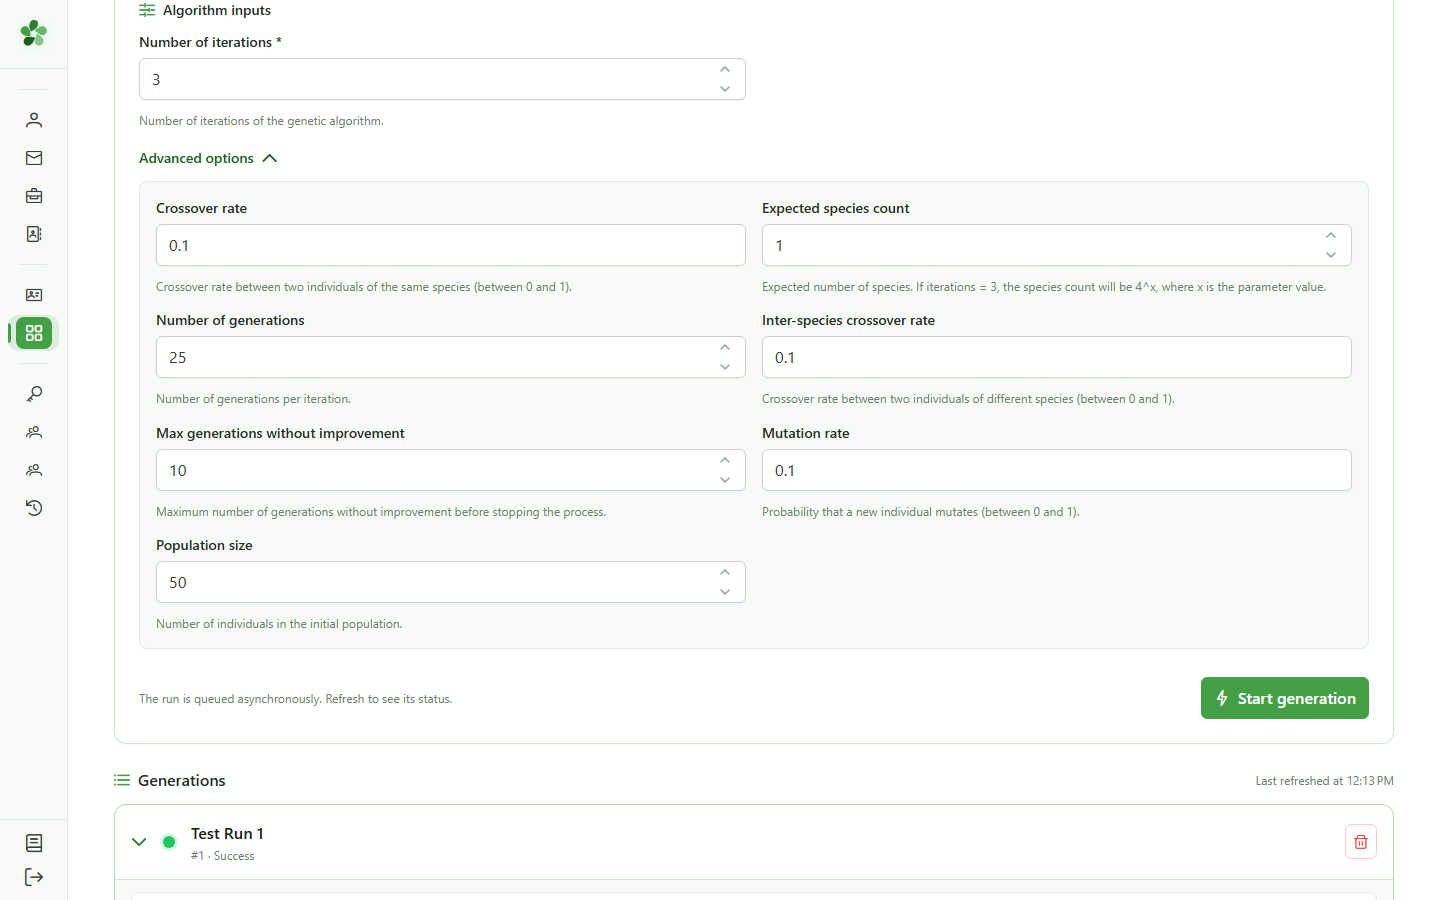
OLAGSA's advanced parameters are displayed: generations, population size, inter-species and intra-species crossover rates, mutation rate, expected species count, and maximum generations without improvement. Default values suit most use cases.
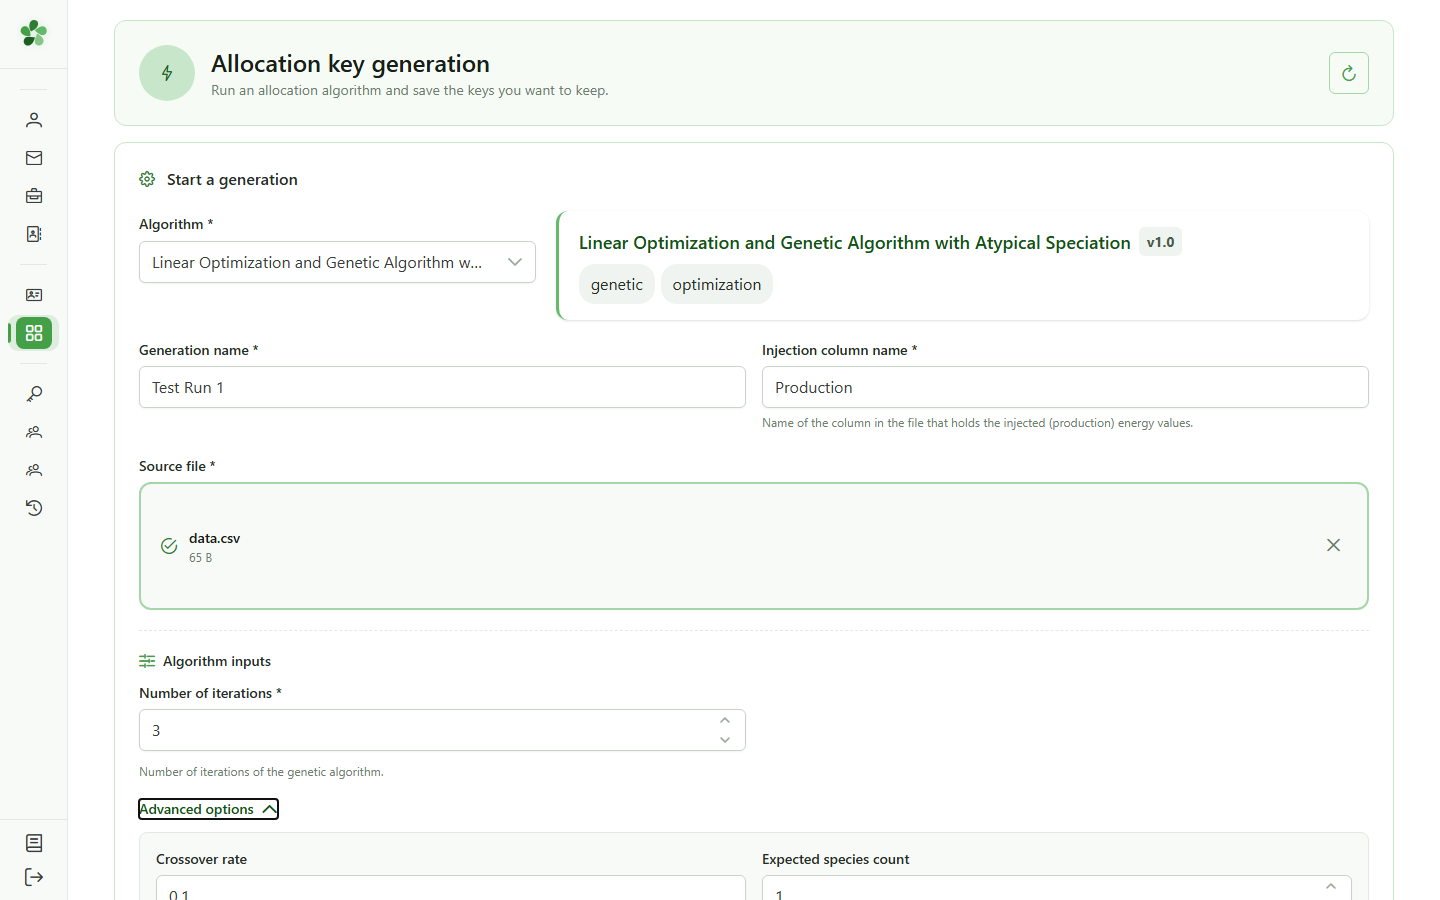
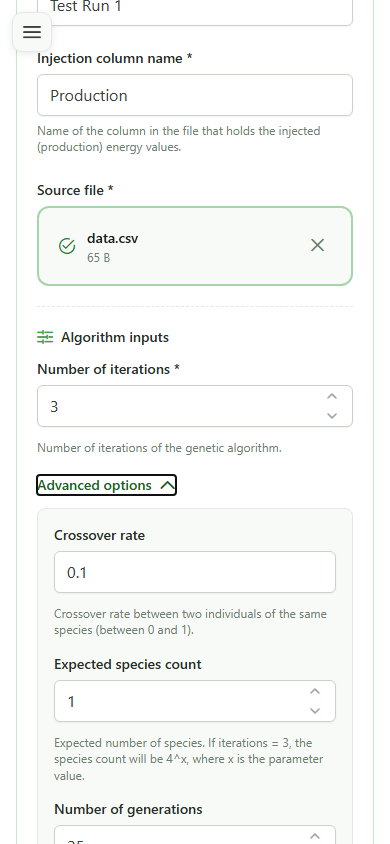
10 Import the data file
Input data
Drag your CSV file into the import zone or click it to select the data file to use for generation.
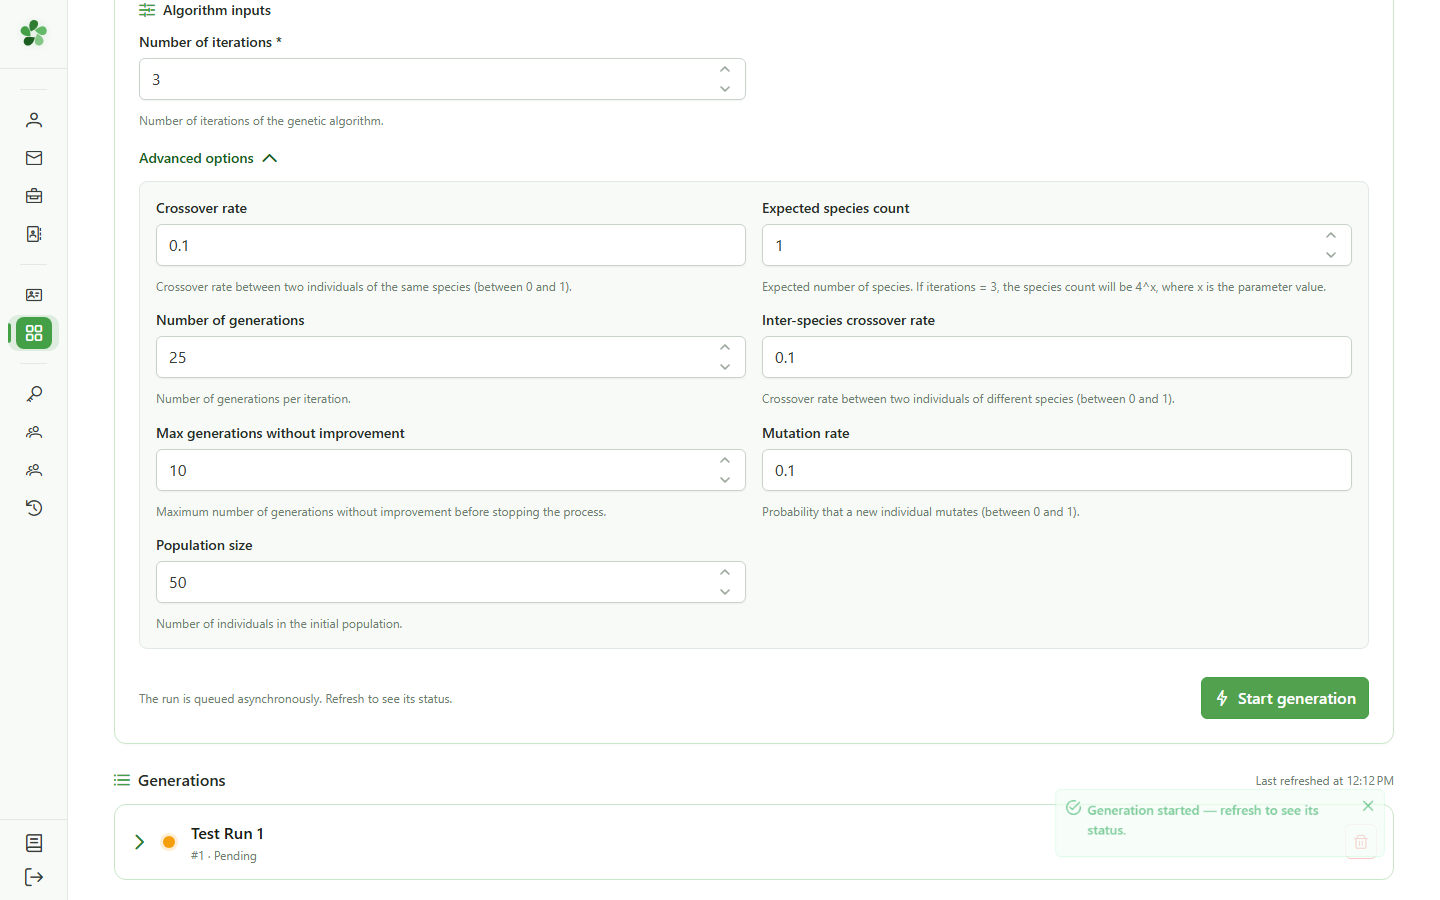
11 Launch the generation
Execution
Click "Launch generation" to submit the task to the OLAGSA engine. The generation immediately appears in the list with a "Pending" status.
12 Generation submitted
Status tracking
The "Test Run 1" generation appears in the list. A pulsing orange dot indicates it is pending processing; it turns green once the OLAGSA engine has finished.
13 Generation completed
Status tracking
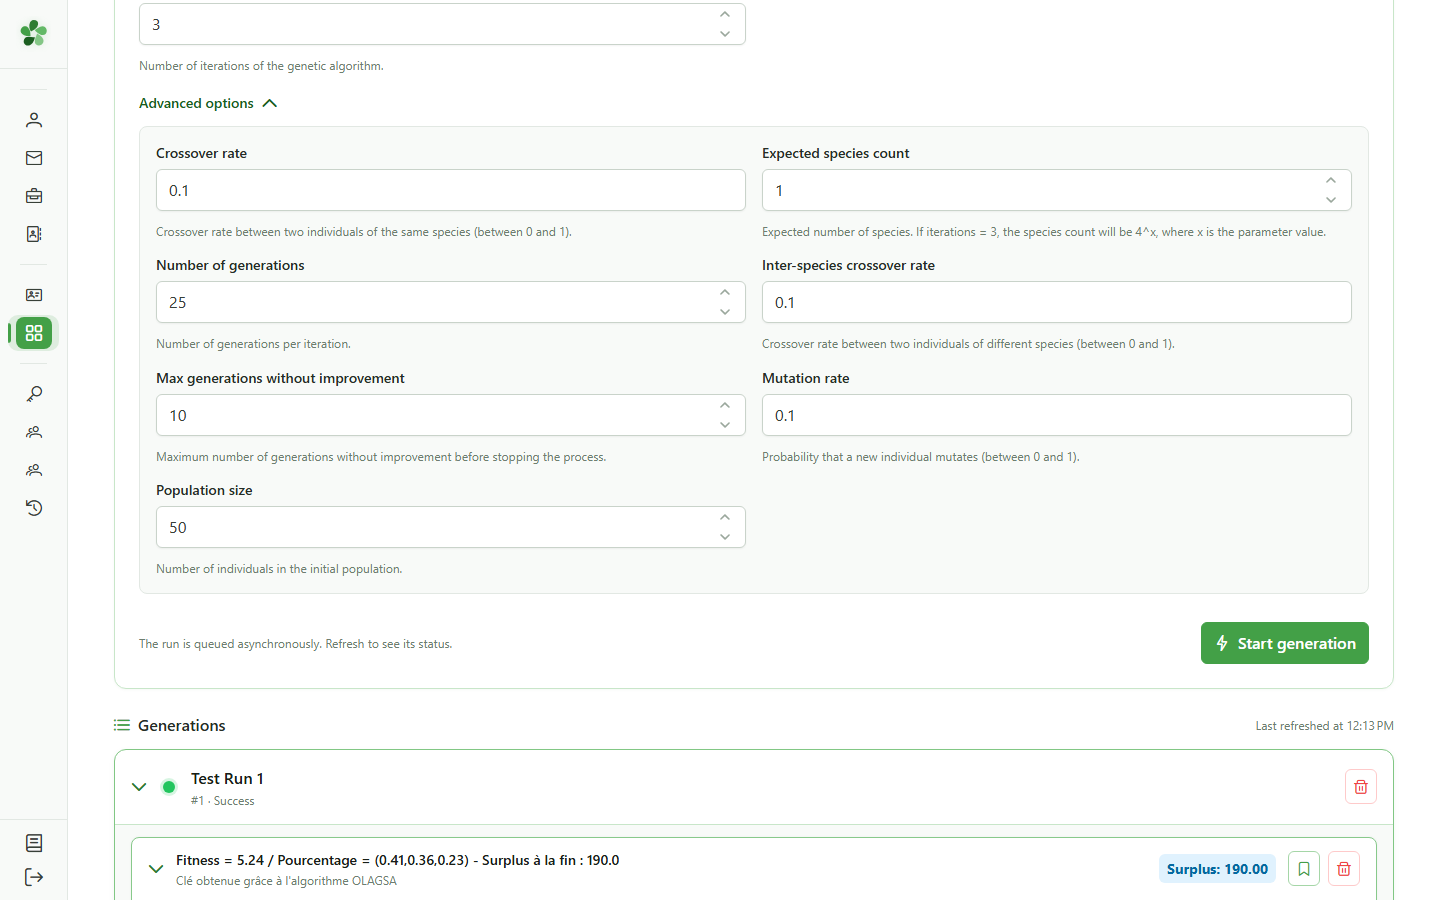
The dot turns green — the generation is complete. The allocation keys have been computed and are ready to view by expanding the row.
14 Allocation keys generated
Results
The list of computed keys appears under the generation. Each key corresponds to one optimised OLAGSA solution. Click a key to view its detailed allocation.
15 Key detail and per-iteration allocation
Inspection
The allocation table is shown for this key, detailing the values computed by the algorithm. The "Save" button lets you store this key in the Keys module.
16 Save the key to the module
Save
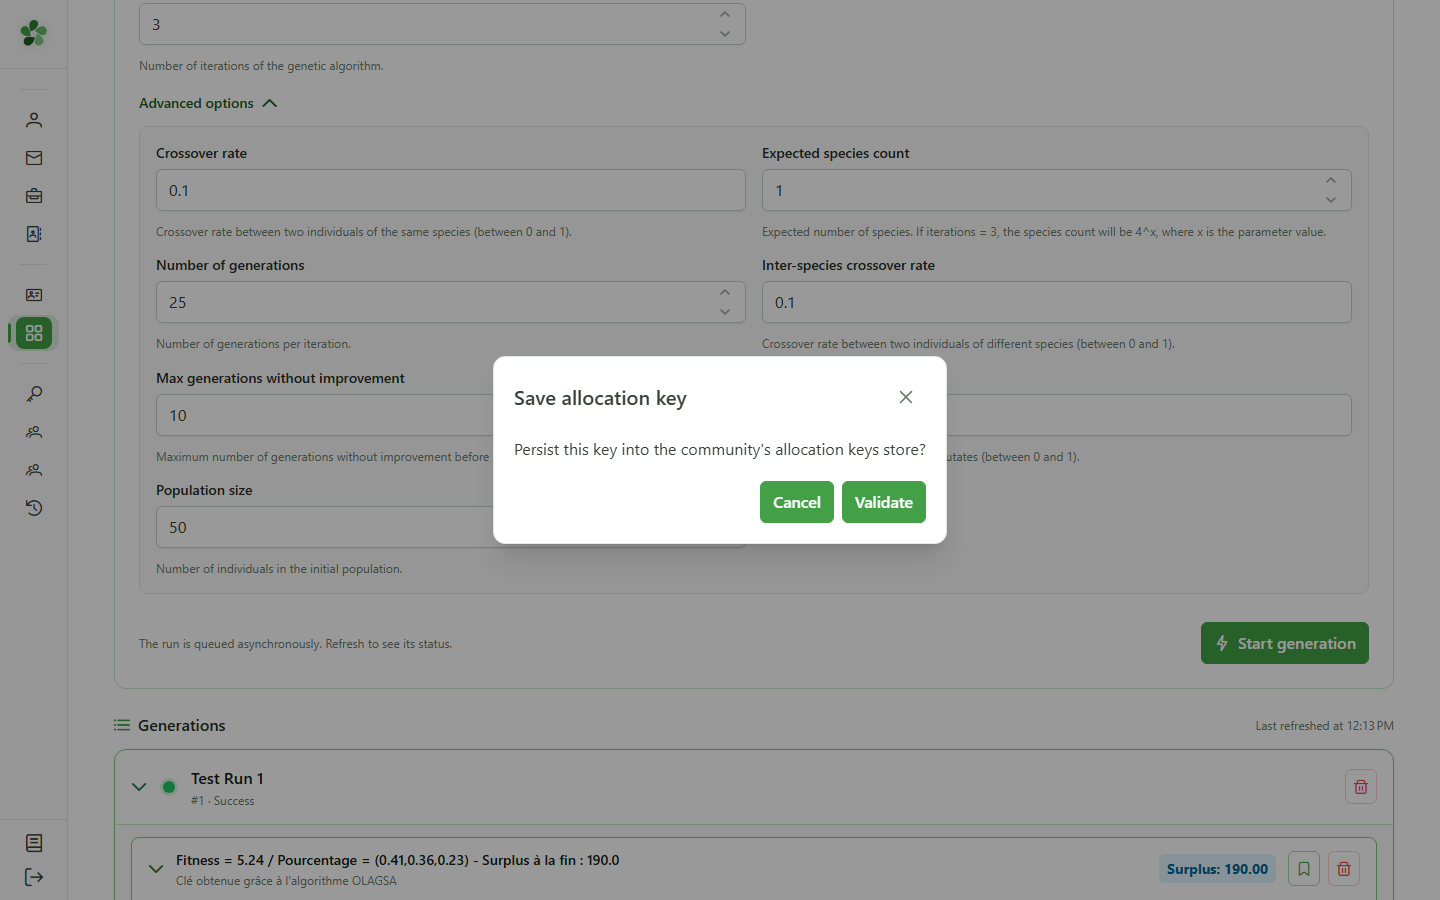
Click "Save" to store this allocation key in the Keys module, where it will be accessible from the community management section.

17 Confirm saving the key
Save
A confirmation dialog appears. Click the confirm button to permanently save this allocation key to the Keys module.
18 Open the keys
Navigation
In the sidebar's "Management" section, click "Keys" to display the allocation keys saved for the active community.
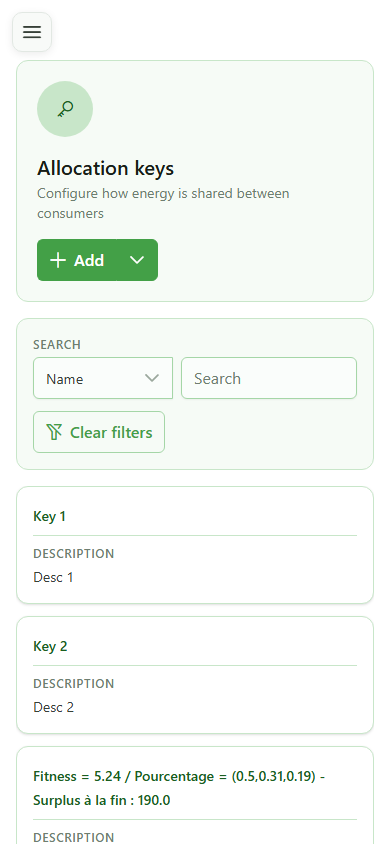
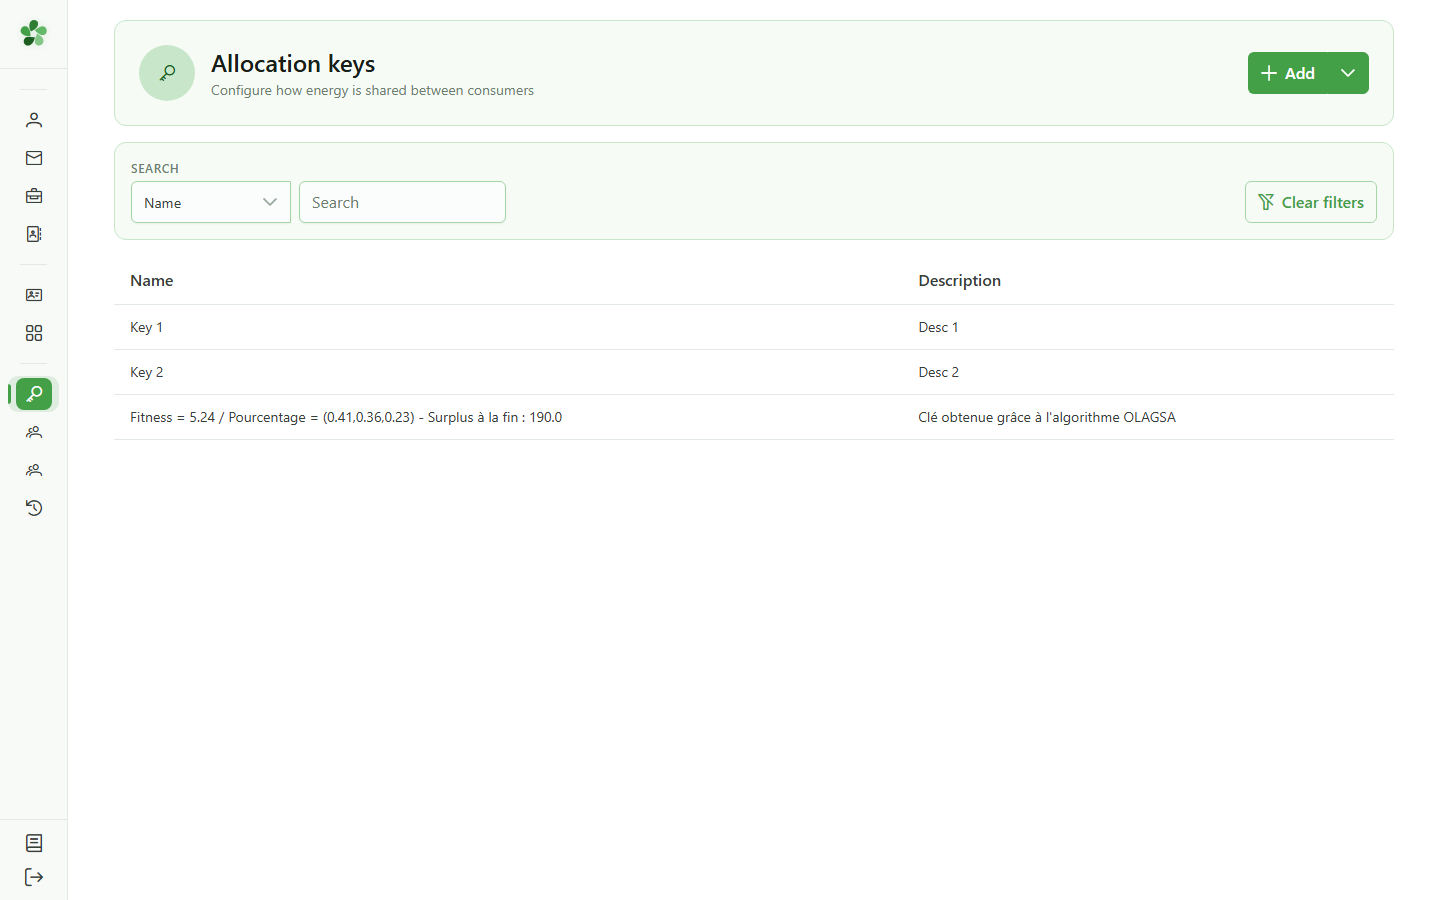
19 Key visible in the Keys module
Final result
The key saved from the OLAGSA module now appears in the community's allocation keys list. It is available to authorised members.
Generate keys (OLAGSA)
Guide utilisateur
User guide
1 Open annexe services
Navigation
Tap the menu icon to open the navigation drawer, then in the "Community" section tap "Annexe services".
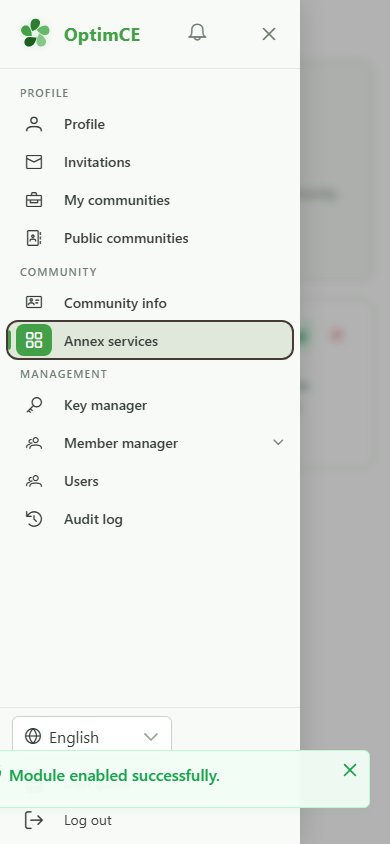
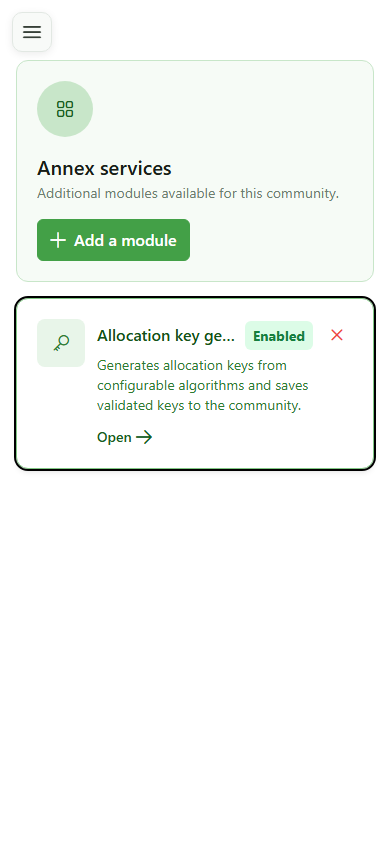
2 Generation module available
Annexe services
The "Allocation key generation" card is visible with the "Activated" badge. Click it to open the generation module.
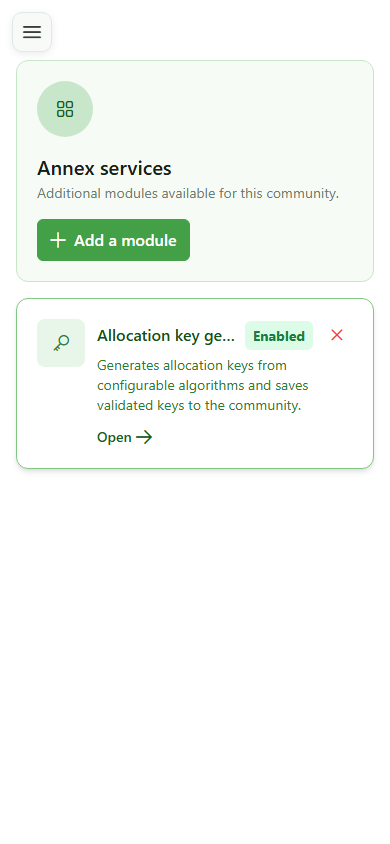
3 Open the generation module
Navigation
Click the card to open the OLAGSA allocation key generation module.
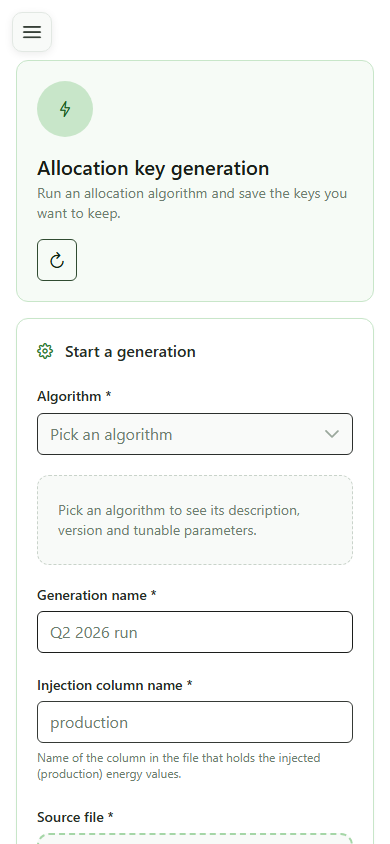
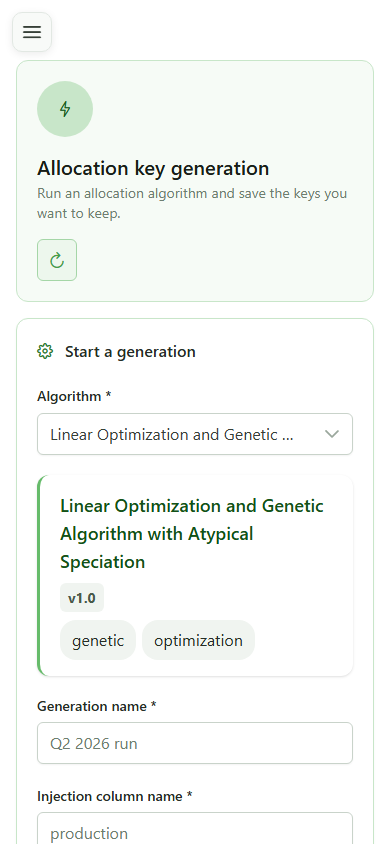
4 Key generation page
OLAGSA module
The allocation key generation page displays the configuration form. Select the algorithm, fill in the parameters, and upload your data file to launch a new generation.
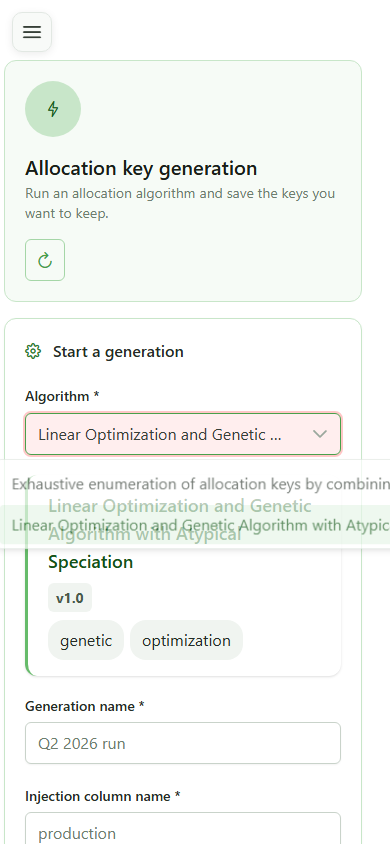
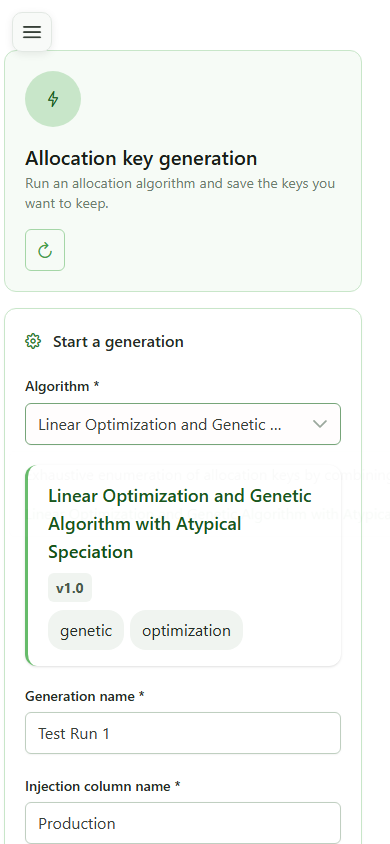
5 Select the OLAGSA algorithm
Configuration
Click the "Algorithm" dropdown and select "OLAGSA". The parameter form specific to this genetic algorithm then appears.
6 Name the generation and injection
Configuration
Enter a name for this generation (internal identifier) and the corresponding injection name — here "Production" to target production data.
7 Set the number of iterations
Main parameters
Enter "3" in the "Iterations" field. This parameter defines the number of independent solutions computed by the OLAGSA genetic algorithm.

8 Open advanced parameters
OLAGSA parameters
Click "Advanced parameters" to reveal the genetic algorithm's hyperparameters: population size, crossover rates, mutation rate, and more.
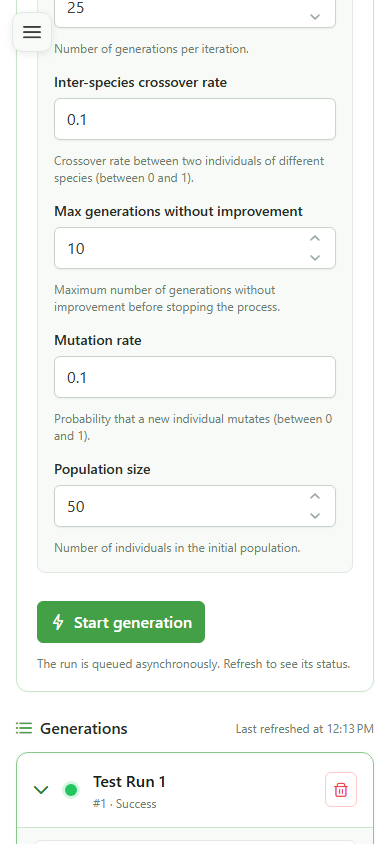
9 Genetic algorithm hyperparameters
Advanced parameters
OLAGSA's advanced parameters are displayed: generations, population size, inter-species and intra-species crossover rates, mutation rate, expected species count, and maximum generations without improvement. Default values suit most use cases.
10 Import the data file
Input data
Drag your CSV file into the import zone or click it to select the data file to use for generation.
11 Launch the generation
Execution
Click "Launch generation" to submit the task to the OLAGSA engine. The generation immediately appears in the list with a "Pending" status.
12 Generation submitted
Status tracking
The "Test Run 1" generation appears in the list. A pulsing orange dot indicates it is pending processing; it turns green once the OLAGSA engine has finished.

13 Generation completed
Status tracking
The dot turns green — the generation is complete. The allocation keys have been computed and are ready to view by expanding the row.
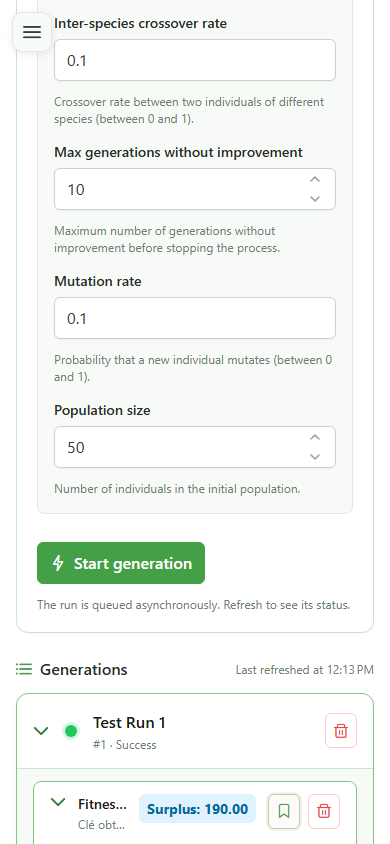
14 Allocation keys generated
Results
The list of computed keys appears under the generation. Each key corresponds to one optimised OLAGSA solution. Click a key to view its detailed allocation.
15 Key detail and per-iteration allocation
Inspection
The allocation table is shown for this key, detailing the values computed by the algorithm. The "Save" button lets you store this key in the Keys module.

16 Save the key to the module
Save
Click "Save" to store this allocation key in the Keys module, where it will be accessible from the community management section.
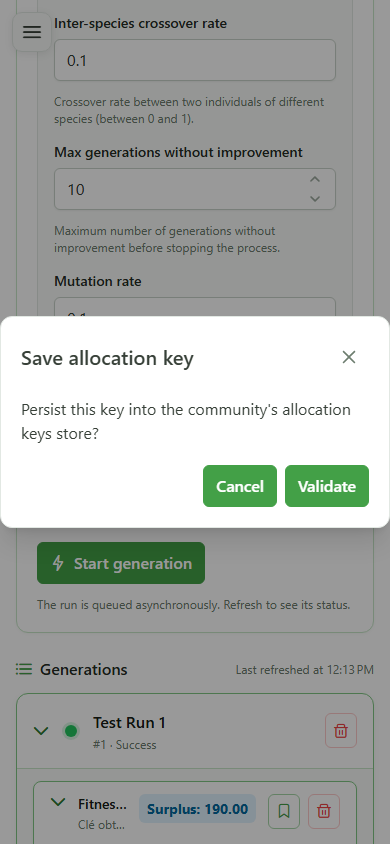
17 Confirm saving the key
Save
A confirmation dialog appears. Click the confirm button to permanently save this allocation key to the Keys module.
18 Open the keys
Navigation
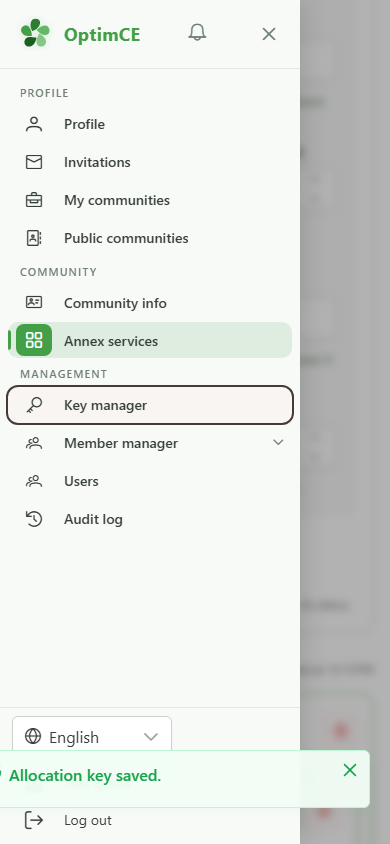
Tap the menu icon to open the drawer, then in the "Management" section tap "Keys" to display the allocation keys.
19 Key visible in the Keys module
Final result
The key saved from the OLAGSA module now appears in the community's allocation keys list. It is available to authorised members.