Join a community — verify the meter
Guide utilisateur
User guide
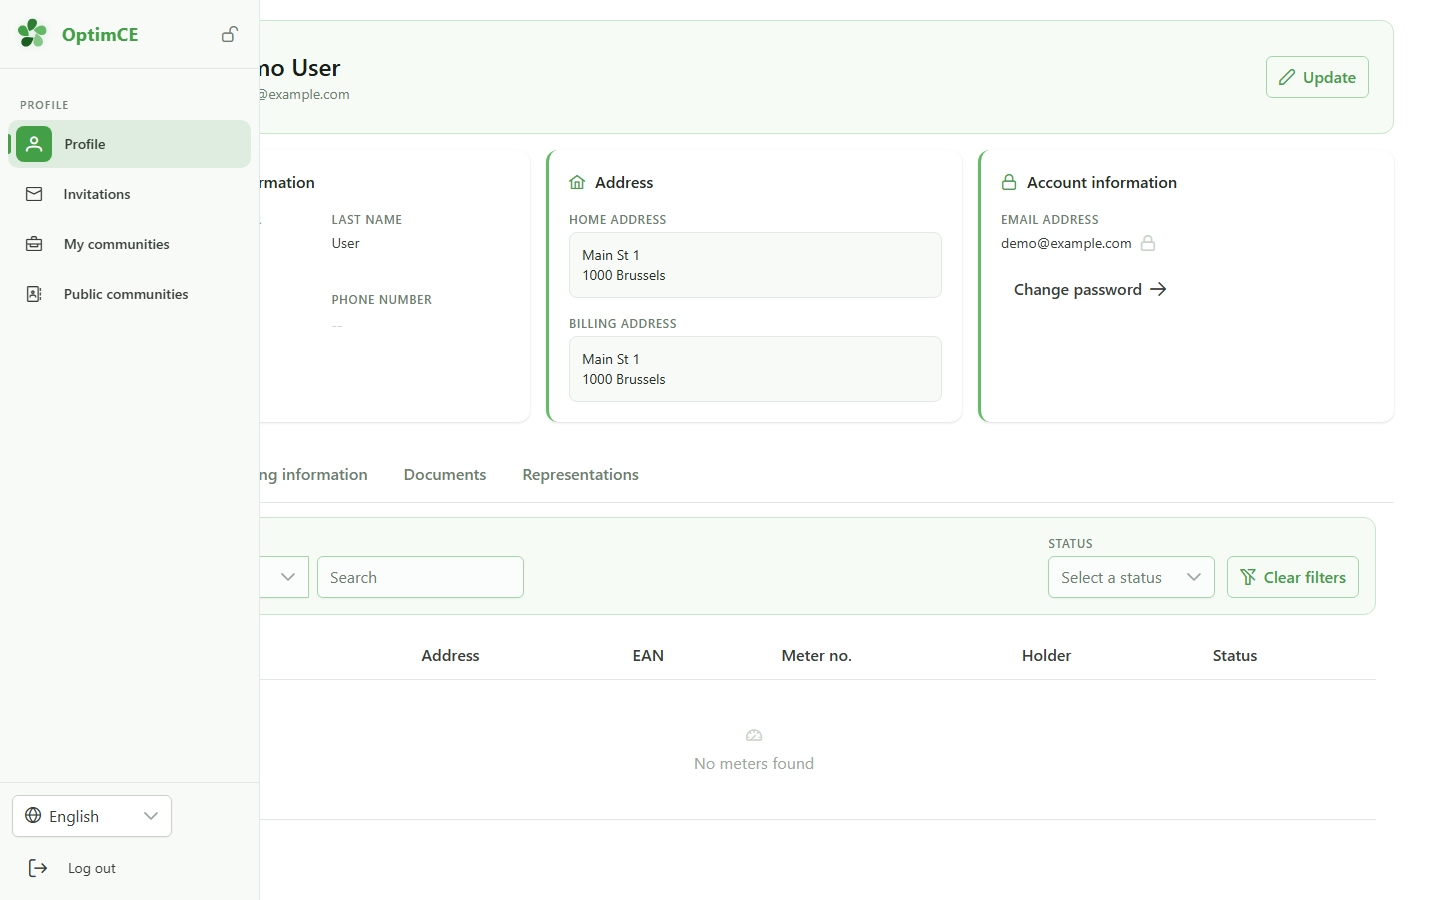
1 Open my communities
Navigation
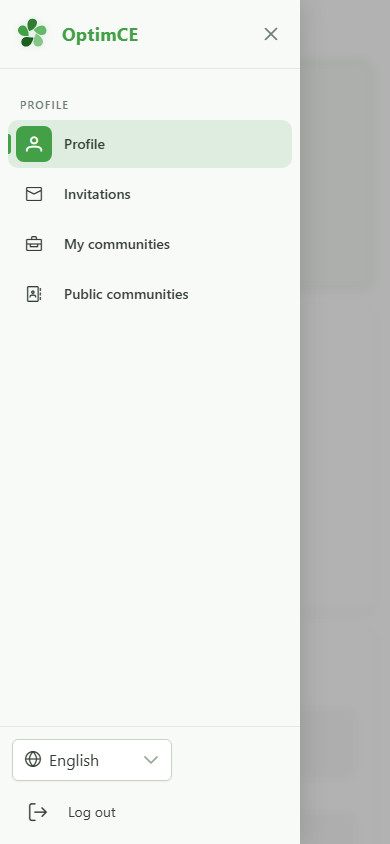
In the sidebar's profile menu, click "My communities" to see the list of communities you belong to.
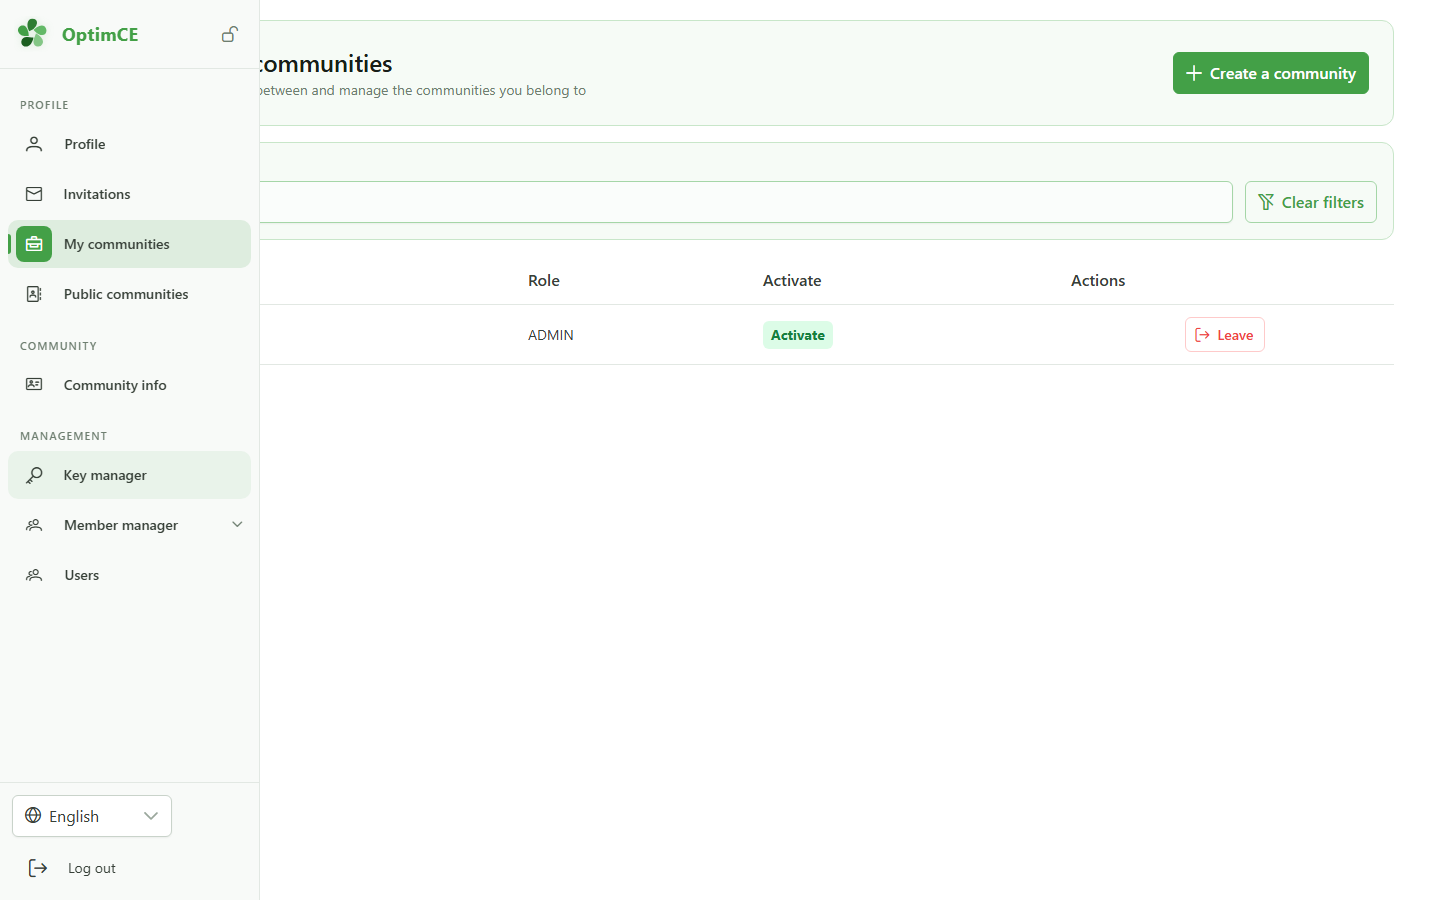
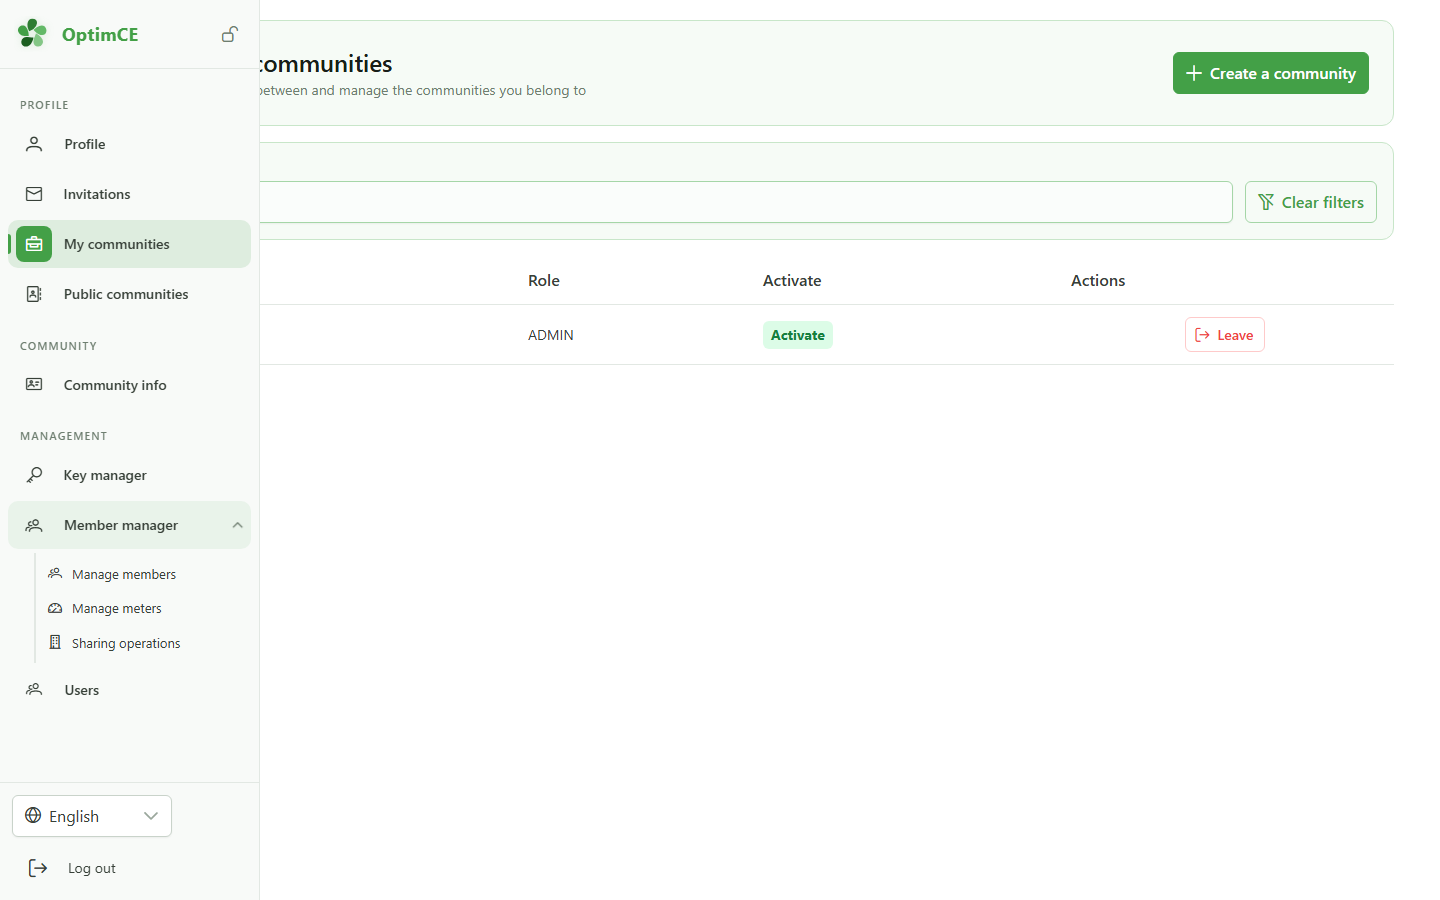
2 Open the Members group
Navigation
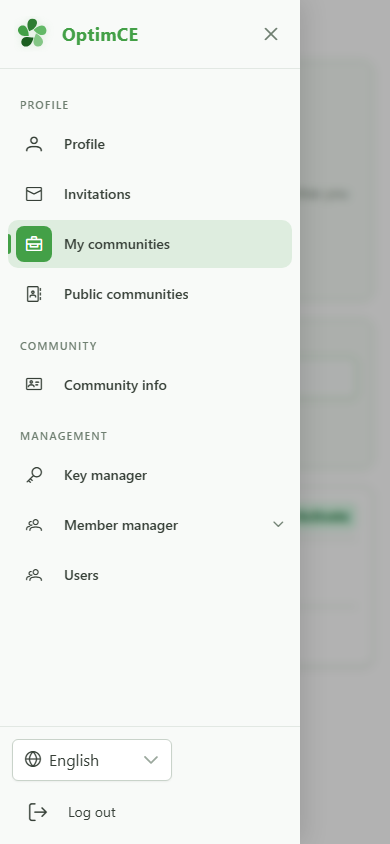
In the "Management" section, click "Members" to reveal the submenu (members, meters, sharing operations).
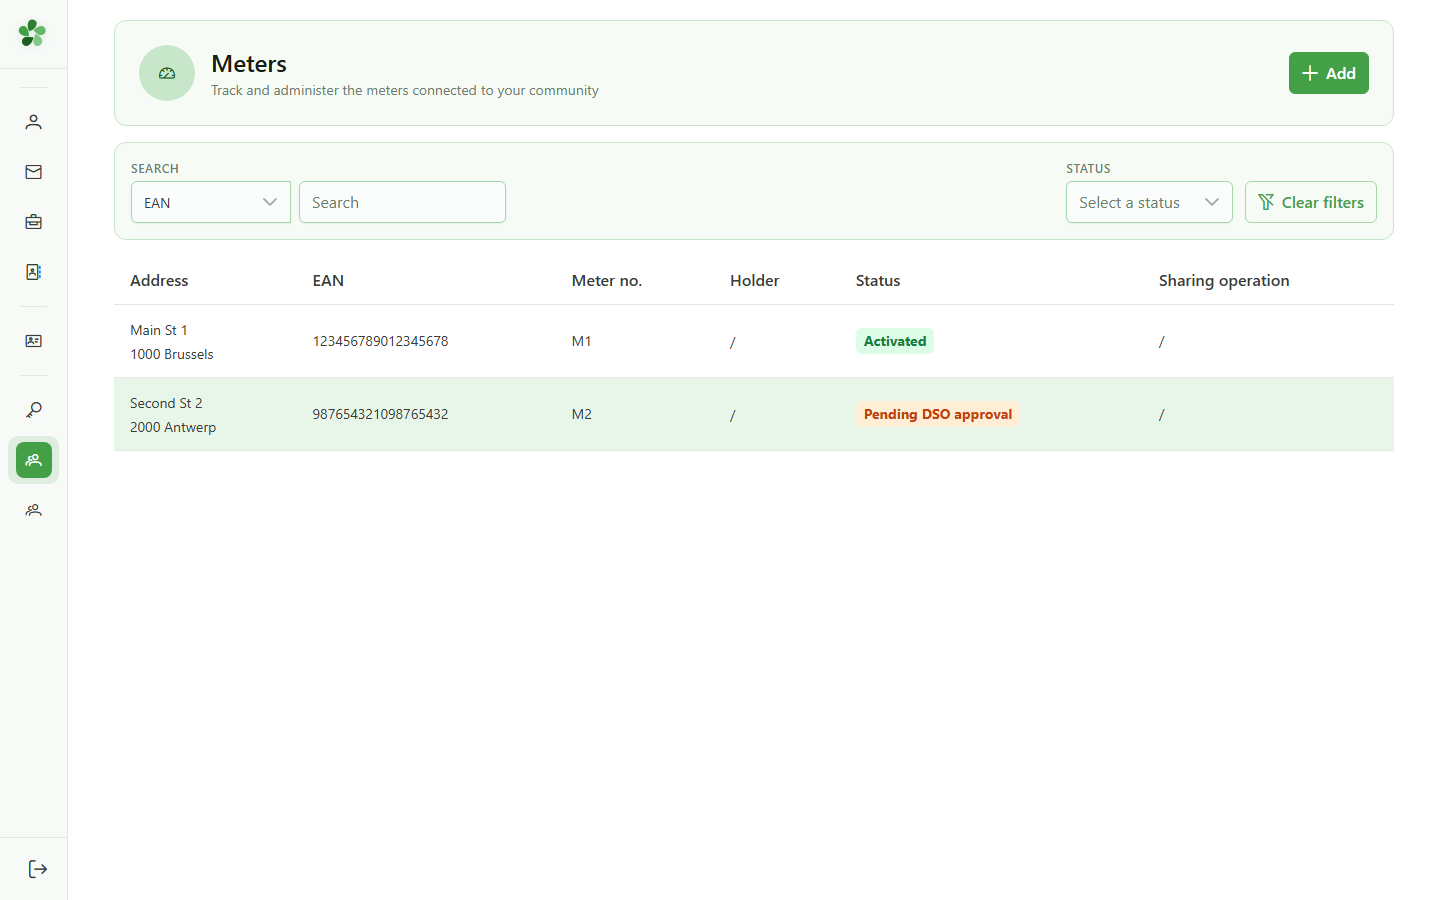
3 Open the meters list
Navigation
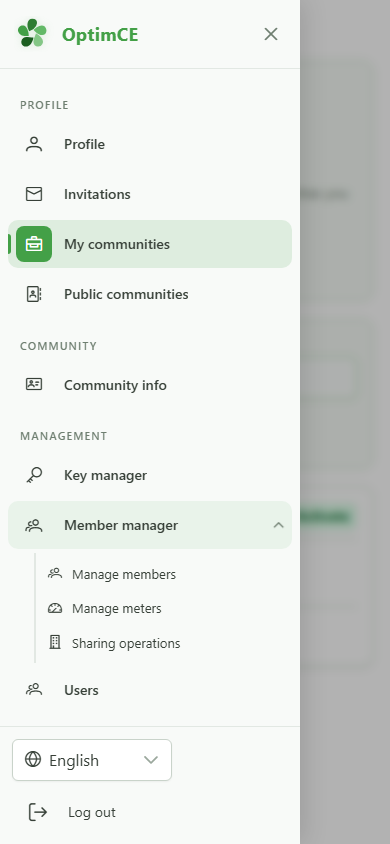
In the submenu, click "Meters" to display the community's meters.
4 Open a meter
Meters list
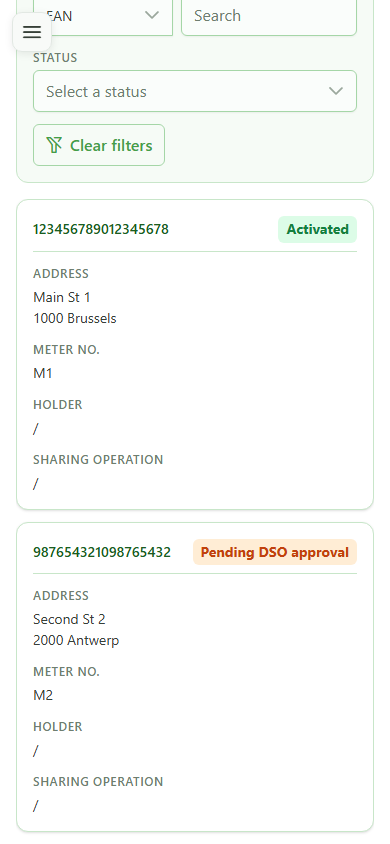
Click the first meter in the list to open its detail page — the row is matched by the meter's EAN.
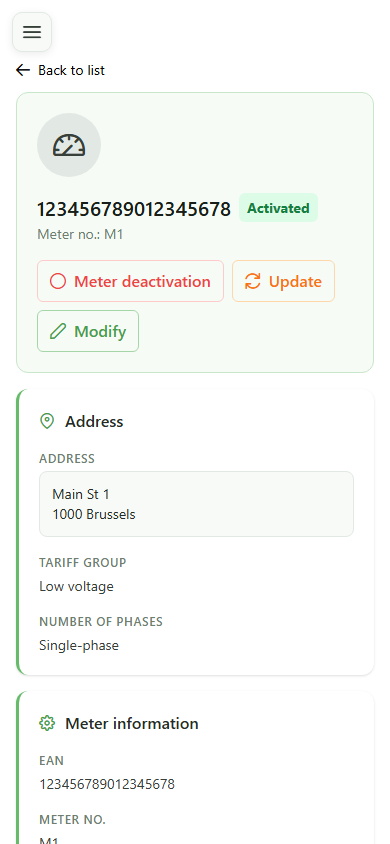
5 Meter EAN
Meter detail
The hero shows the meter's EAN as stored in the database — this is the unique identifier of the metering point.

6 Technical characteristics
Meter detail
The technical card lists the physical meter number and the reading frequency — handy for confirming the page matches the installed device.

7 Browsing tabs
Data tabs
The tabs let you switch between actual, historical, future and computed consumption data for this meter.

Join a community — verify the meter
Guide utilisateur
User guide
1 Open my communities
Navigation
Tap the menu icon to open the navigation drawer, then "My communities" to see the list of communities you belong to.
2 Open the Members group
Navigation
In the drawer, under "Management", tap "Members" to reveal the submenu (members, meters, sharing operations).
3 Open the meters list
Navigation
In the submenu, tap "Meters" to display the community's meters.
4 Open a meter
Meters list
Tap the first meter card to open its detail page — the card is matched by the meter's EAN.
5 Meter EAN
Meter detail
The hero shows the meter's EAN as stored in the database — this is the unique identifier of the metering point.

6 Technical characteristics
Meter detail
The technical card lists the physical meter number and the reading frequency — handy for confirming the page matches the installed device.
7 Browsing tabs
Data tabs
The tabs let you switch between actual, historical, future and computed consumption data for this meter.
