Create a community
Guide utilisateur
User guide
1 Open my communities
Navigation
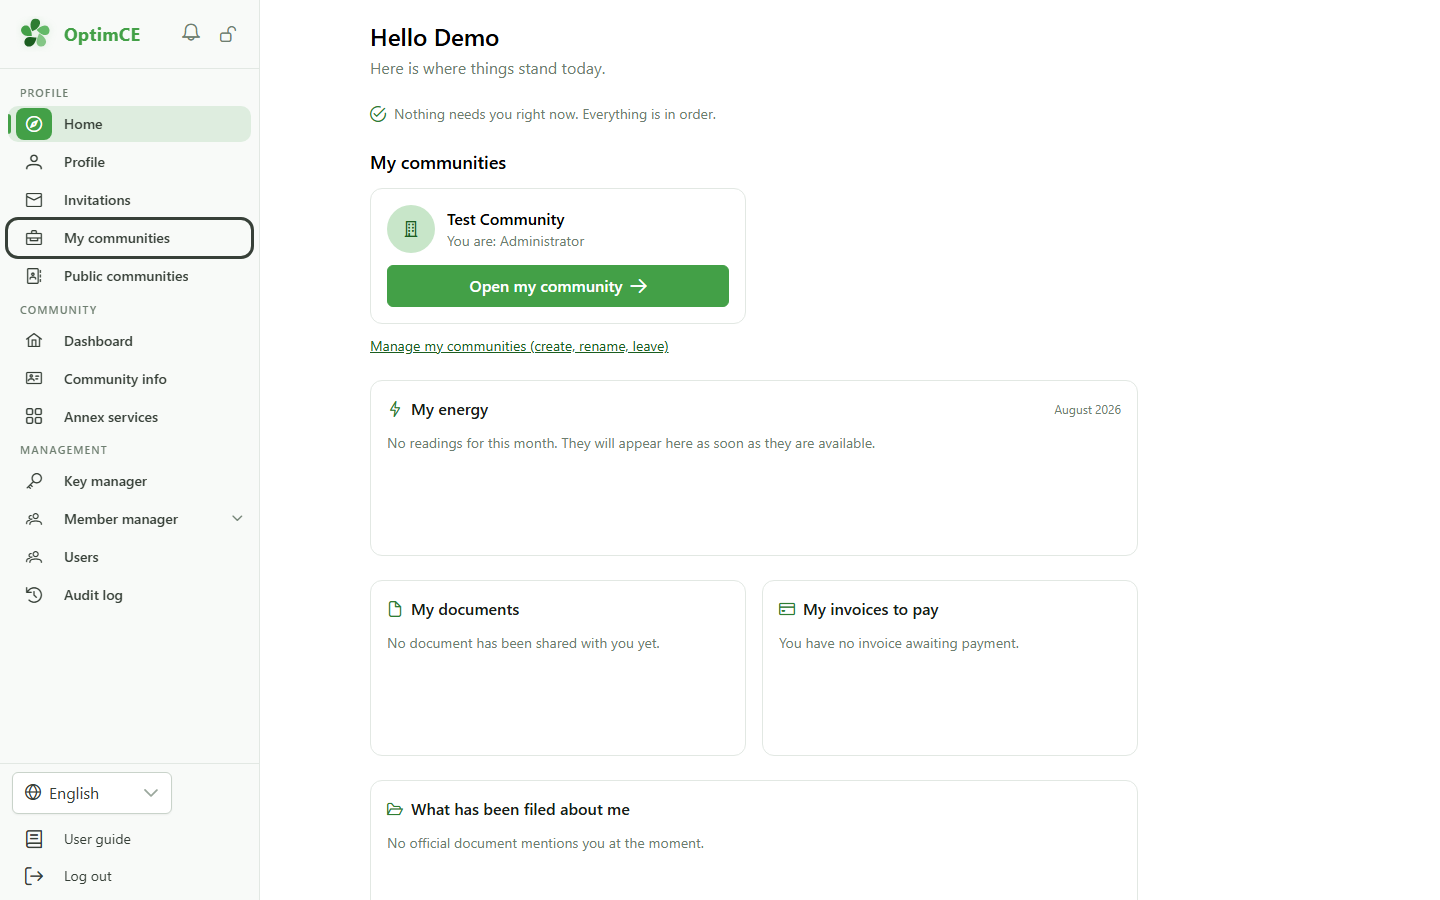
In the sidebar's profile menu, click "My communities" to see the communities you belong to and create new ones.
2 Create a community
New community
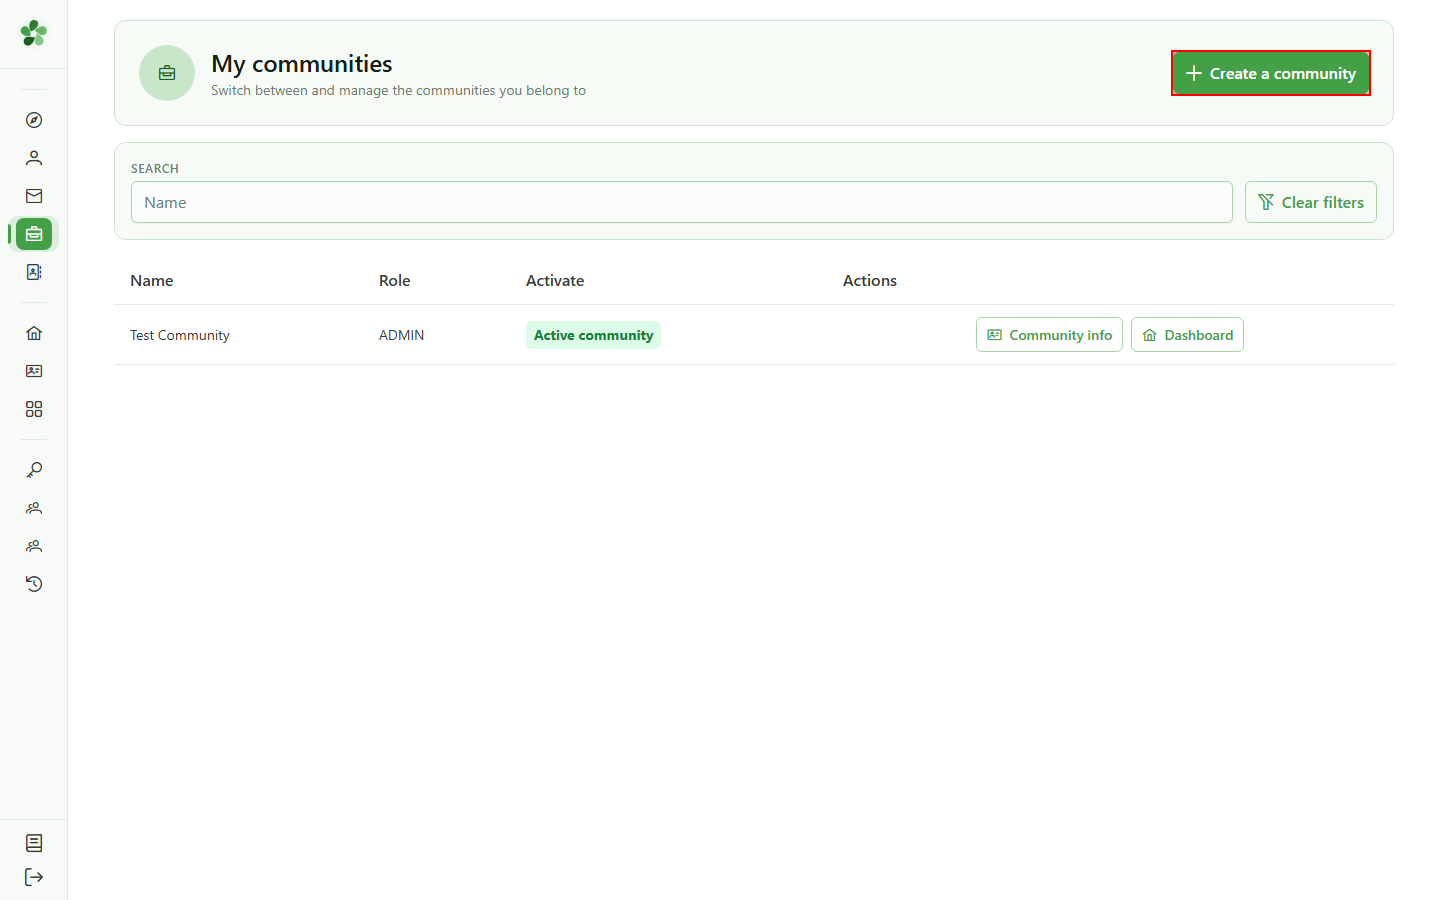
Click "Create a community" above the list to open the creation dialog.
3 Name the community
New community
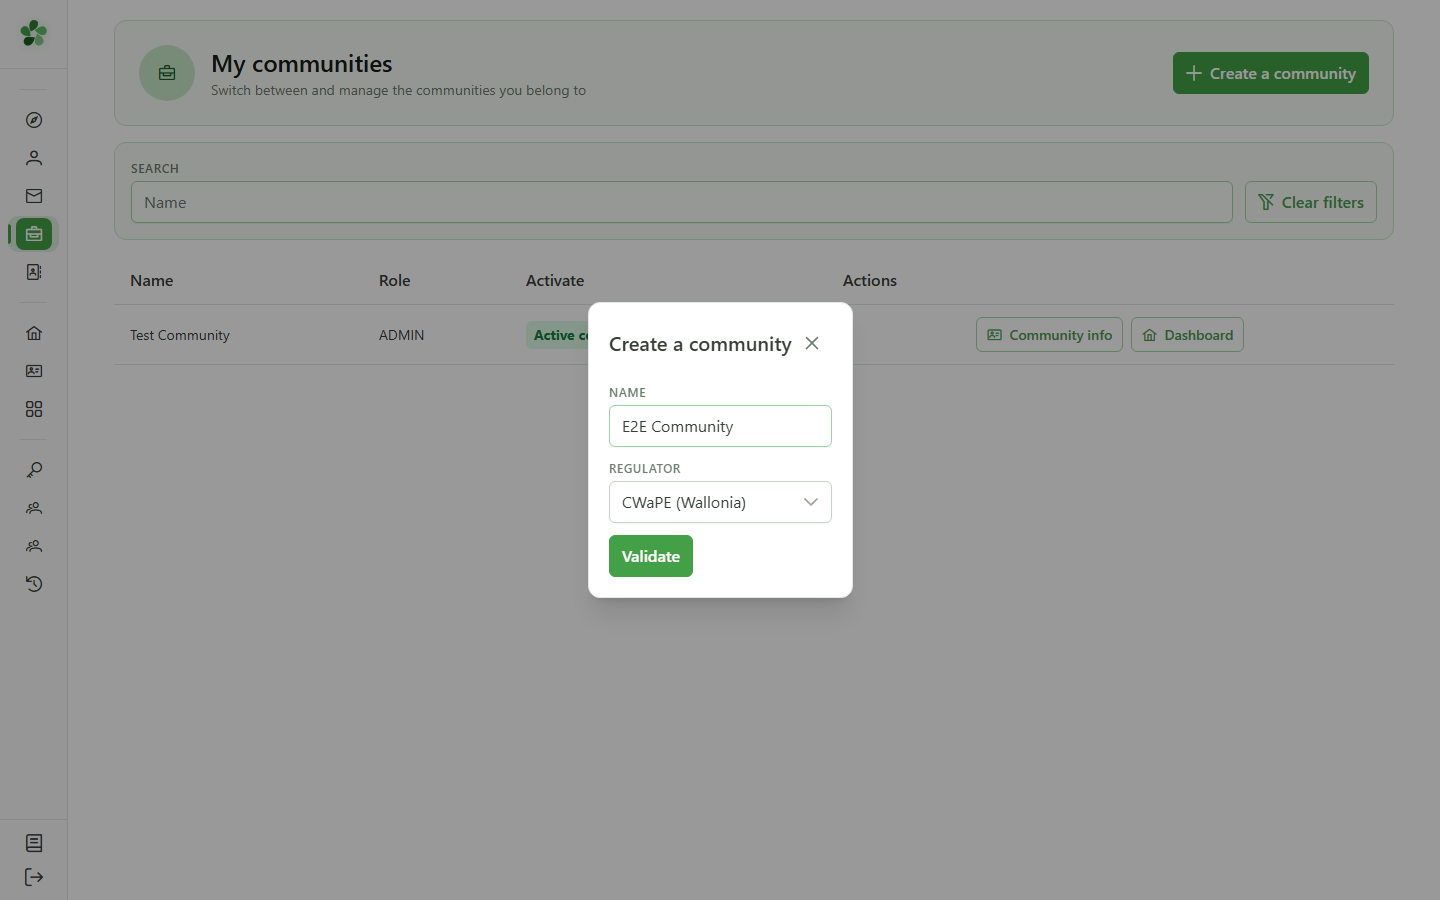
Enter the community name. The regulator is preselected (CWaPE for Wallonia); change it if your community reports to a different regional regulator.
4 Confirm the creation
Confirmation
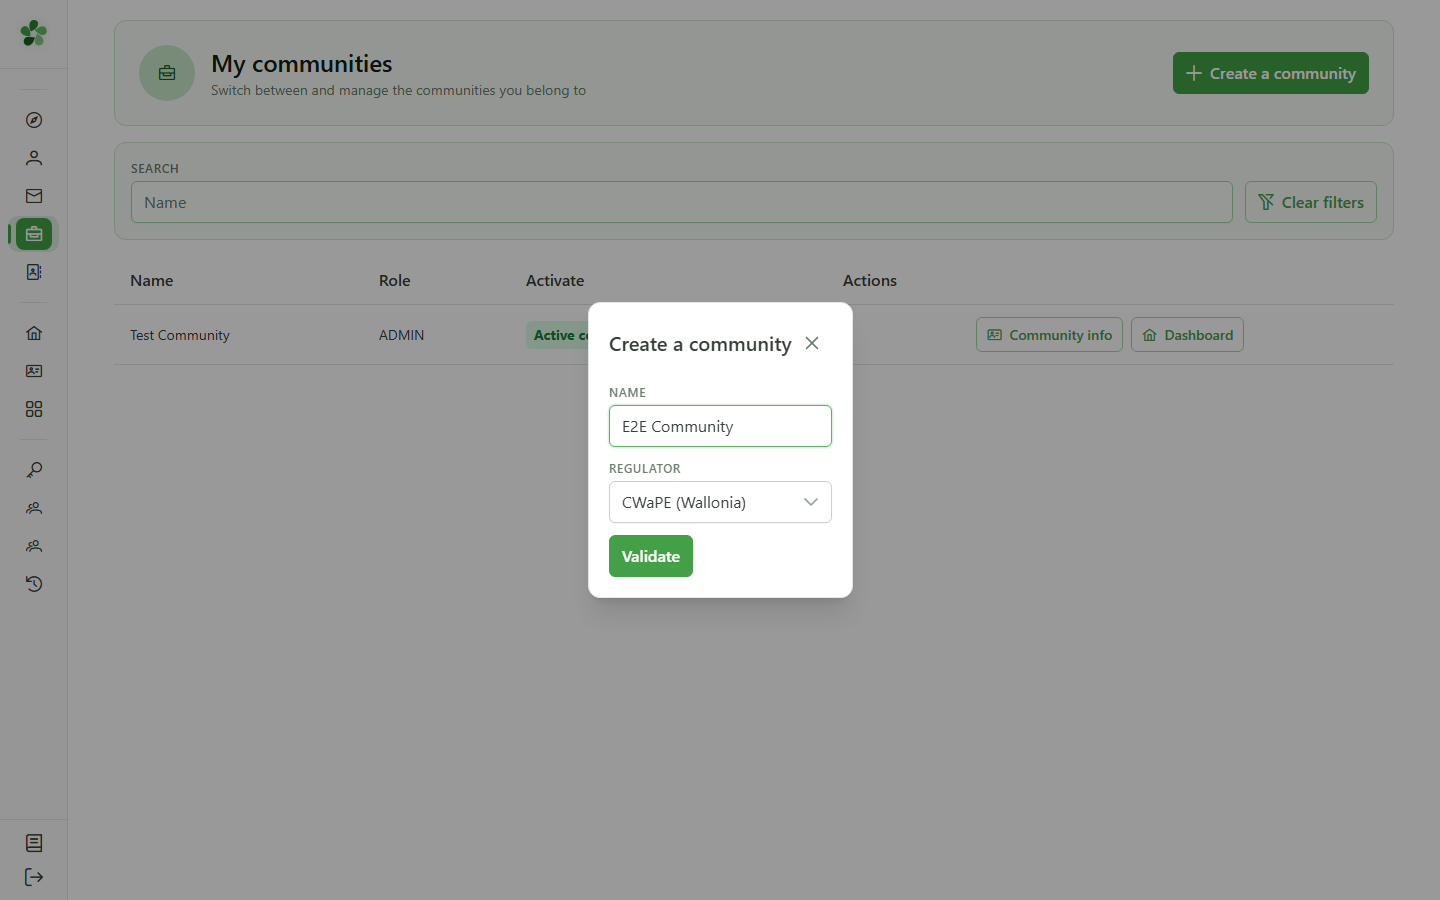
Click "Confirm". The community is created in the CRM and the identity provider, and you automatically become its administrator.
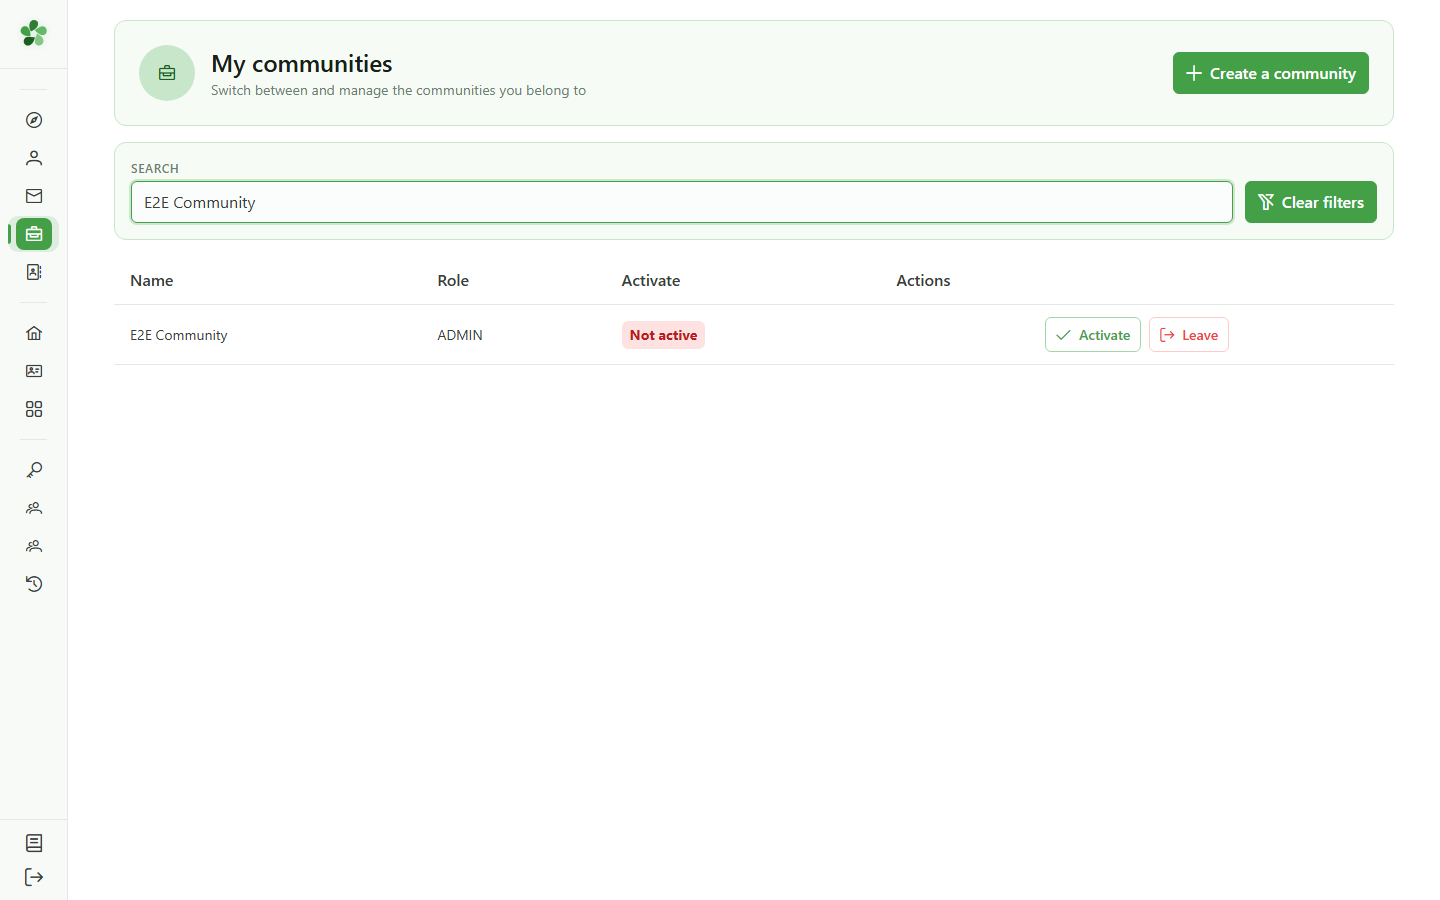
5 Your new community
Communities list
"E2E Community" now appears in your list. All that's left is to activate it and start setting it up.
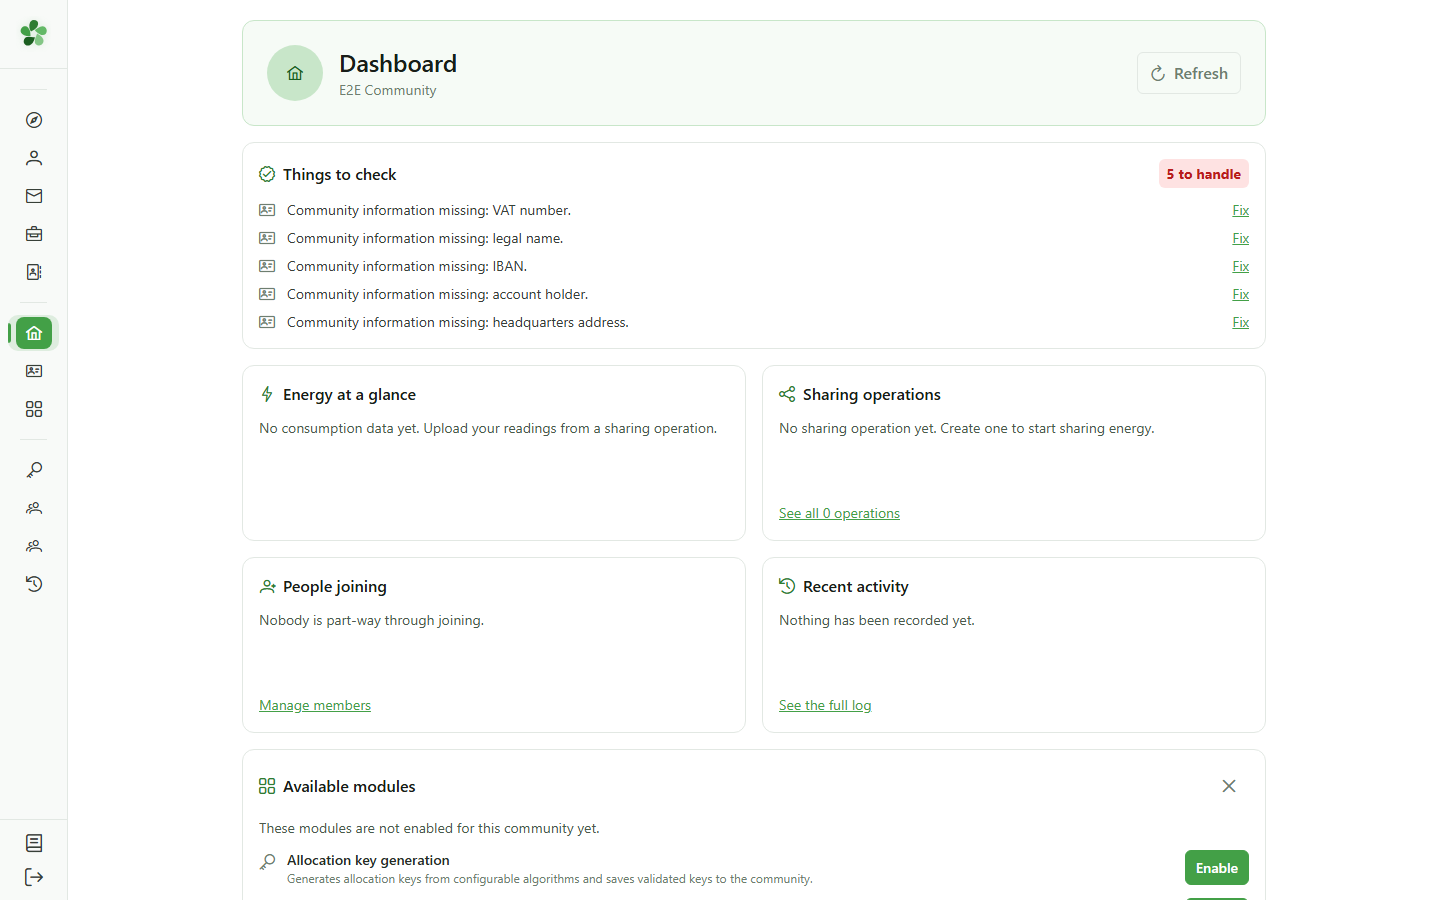
6 You are the administrator
Active community
The "Management" section appears in the sidebar: as its creator, you are the community administrator and have access to all its tools.
7 No keys yet
Starting point
A brand-new community has no allocation keys yet. The screen invites you to create your first one.

8 No members yet
Starting point
Likewise, the members list is empty. You will add your members one by one or by invitation.

9 No meters yet
Starting point
Finally, no meters are attached yet. Your community is ready: members, meters and allocation keys are set up next from these very screens.

Create a community
Guide utilisateur
User guide
1 Open my communities
Navigation
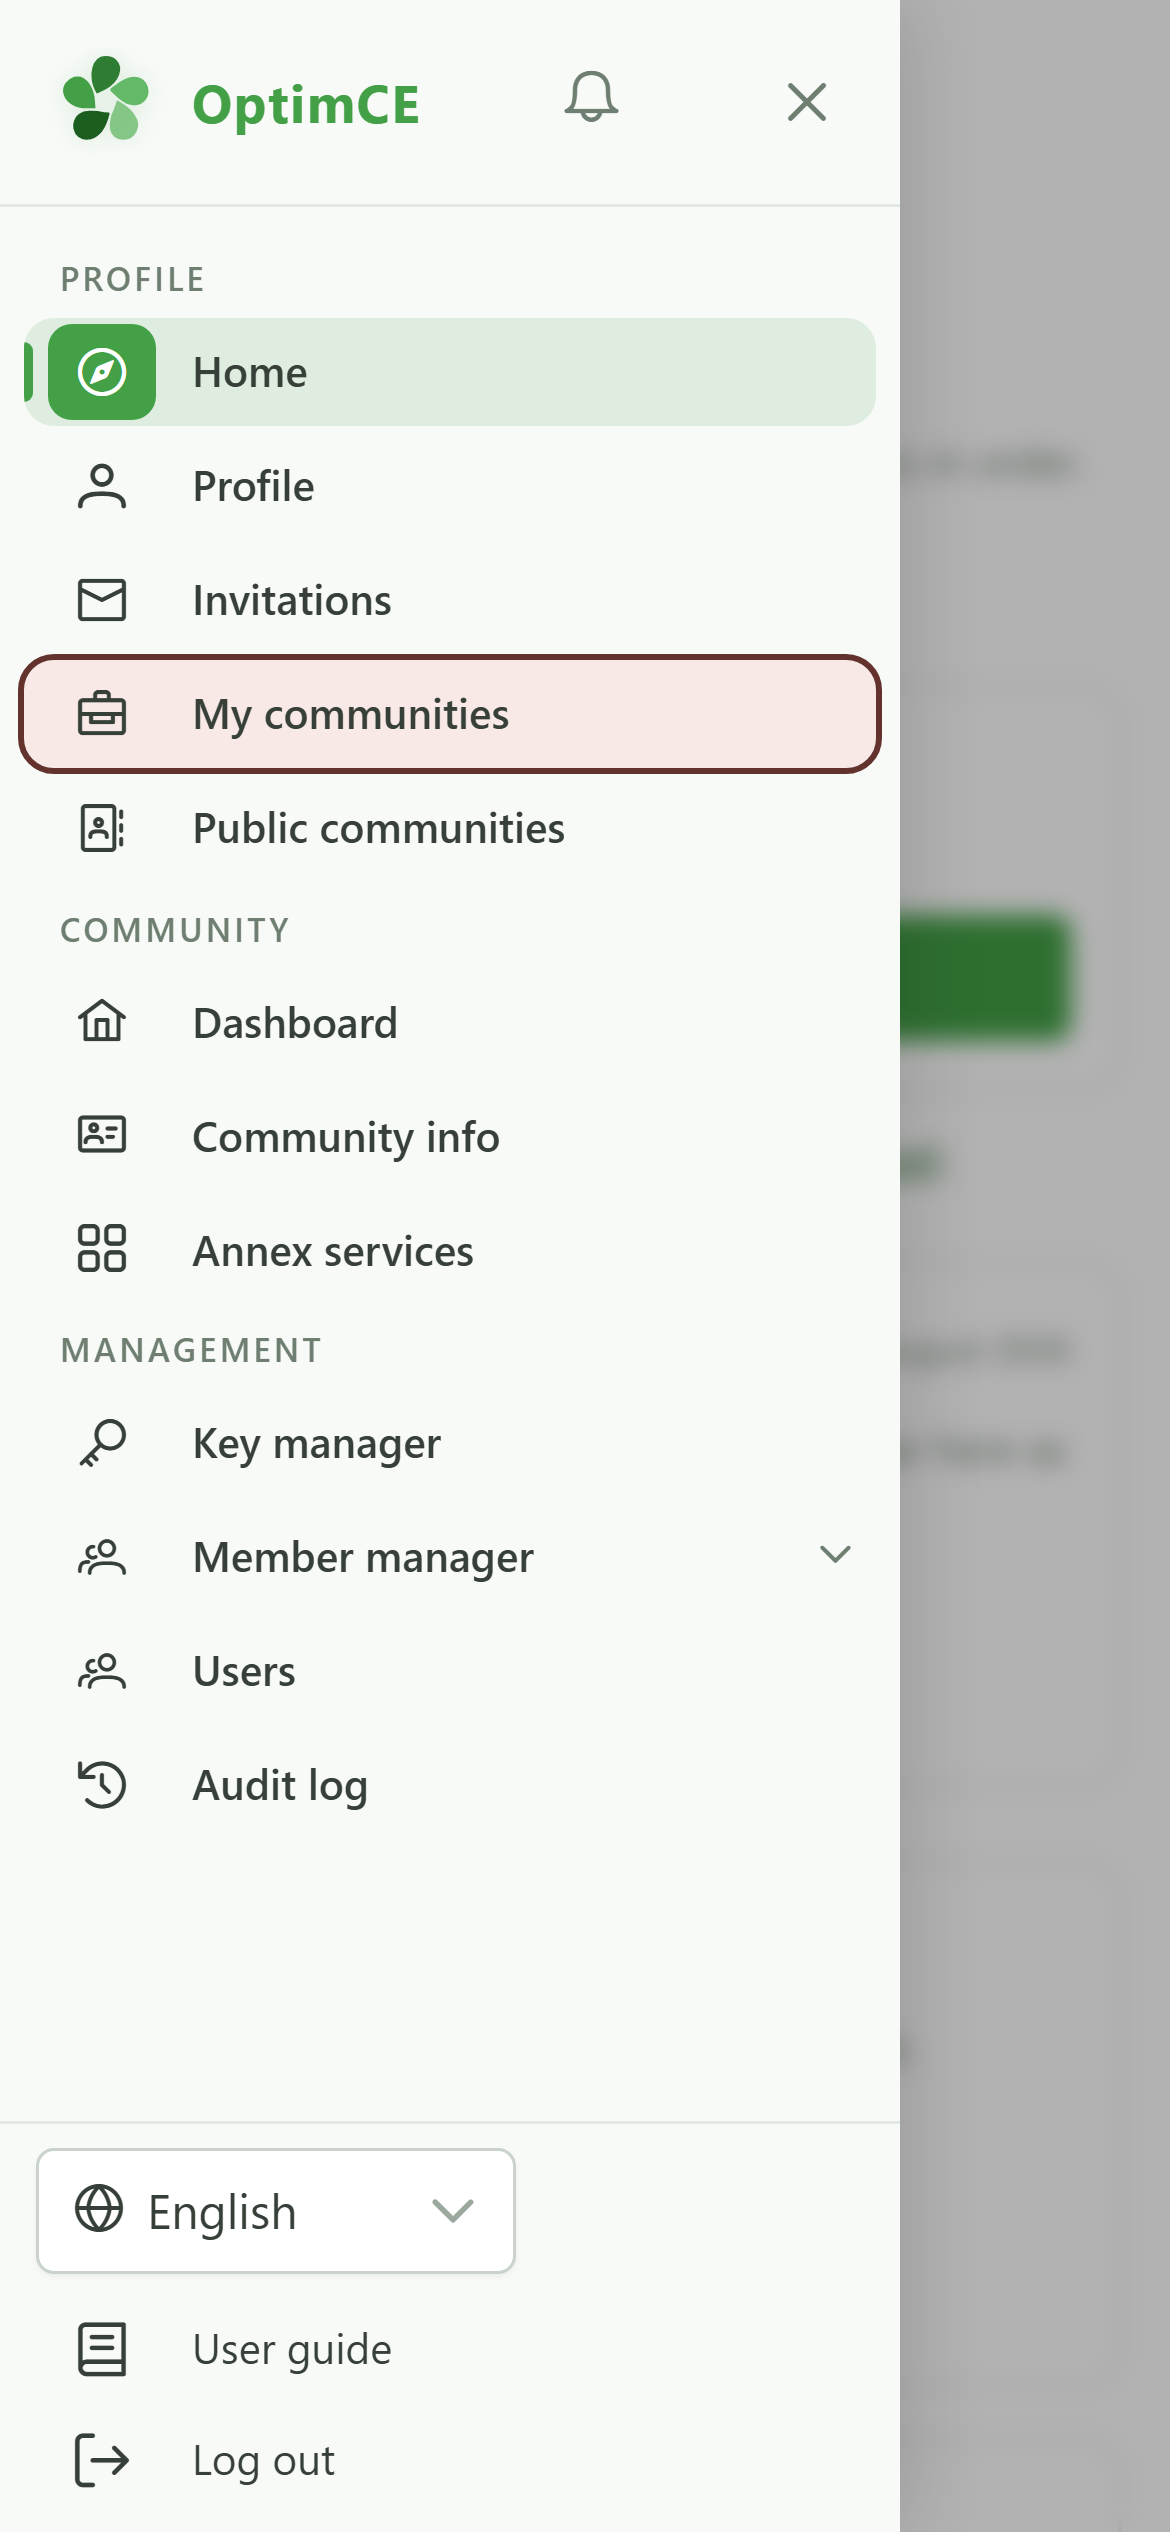
Tap the menu icon to open the navigation drawer, then "My communities".
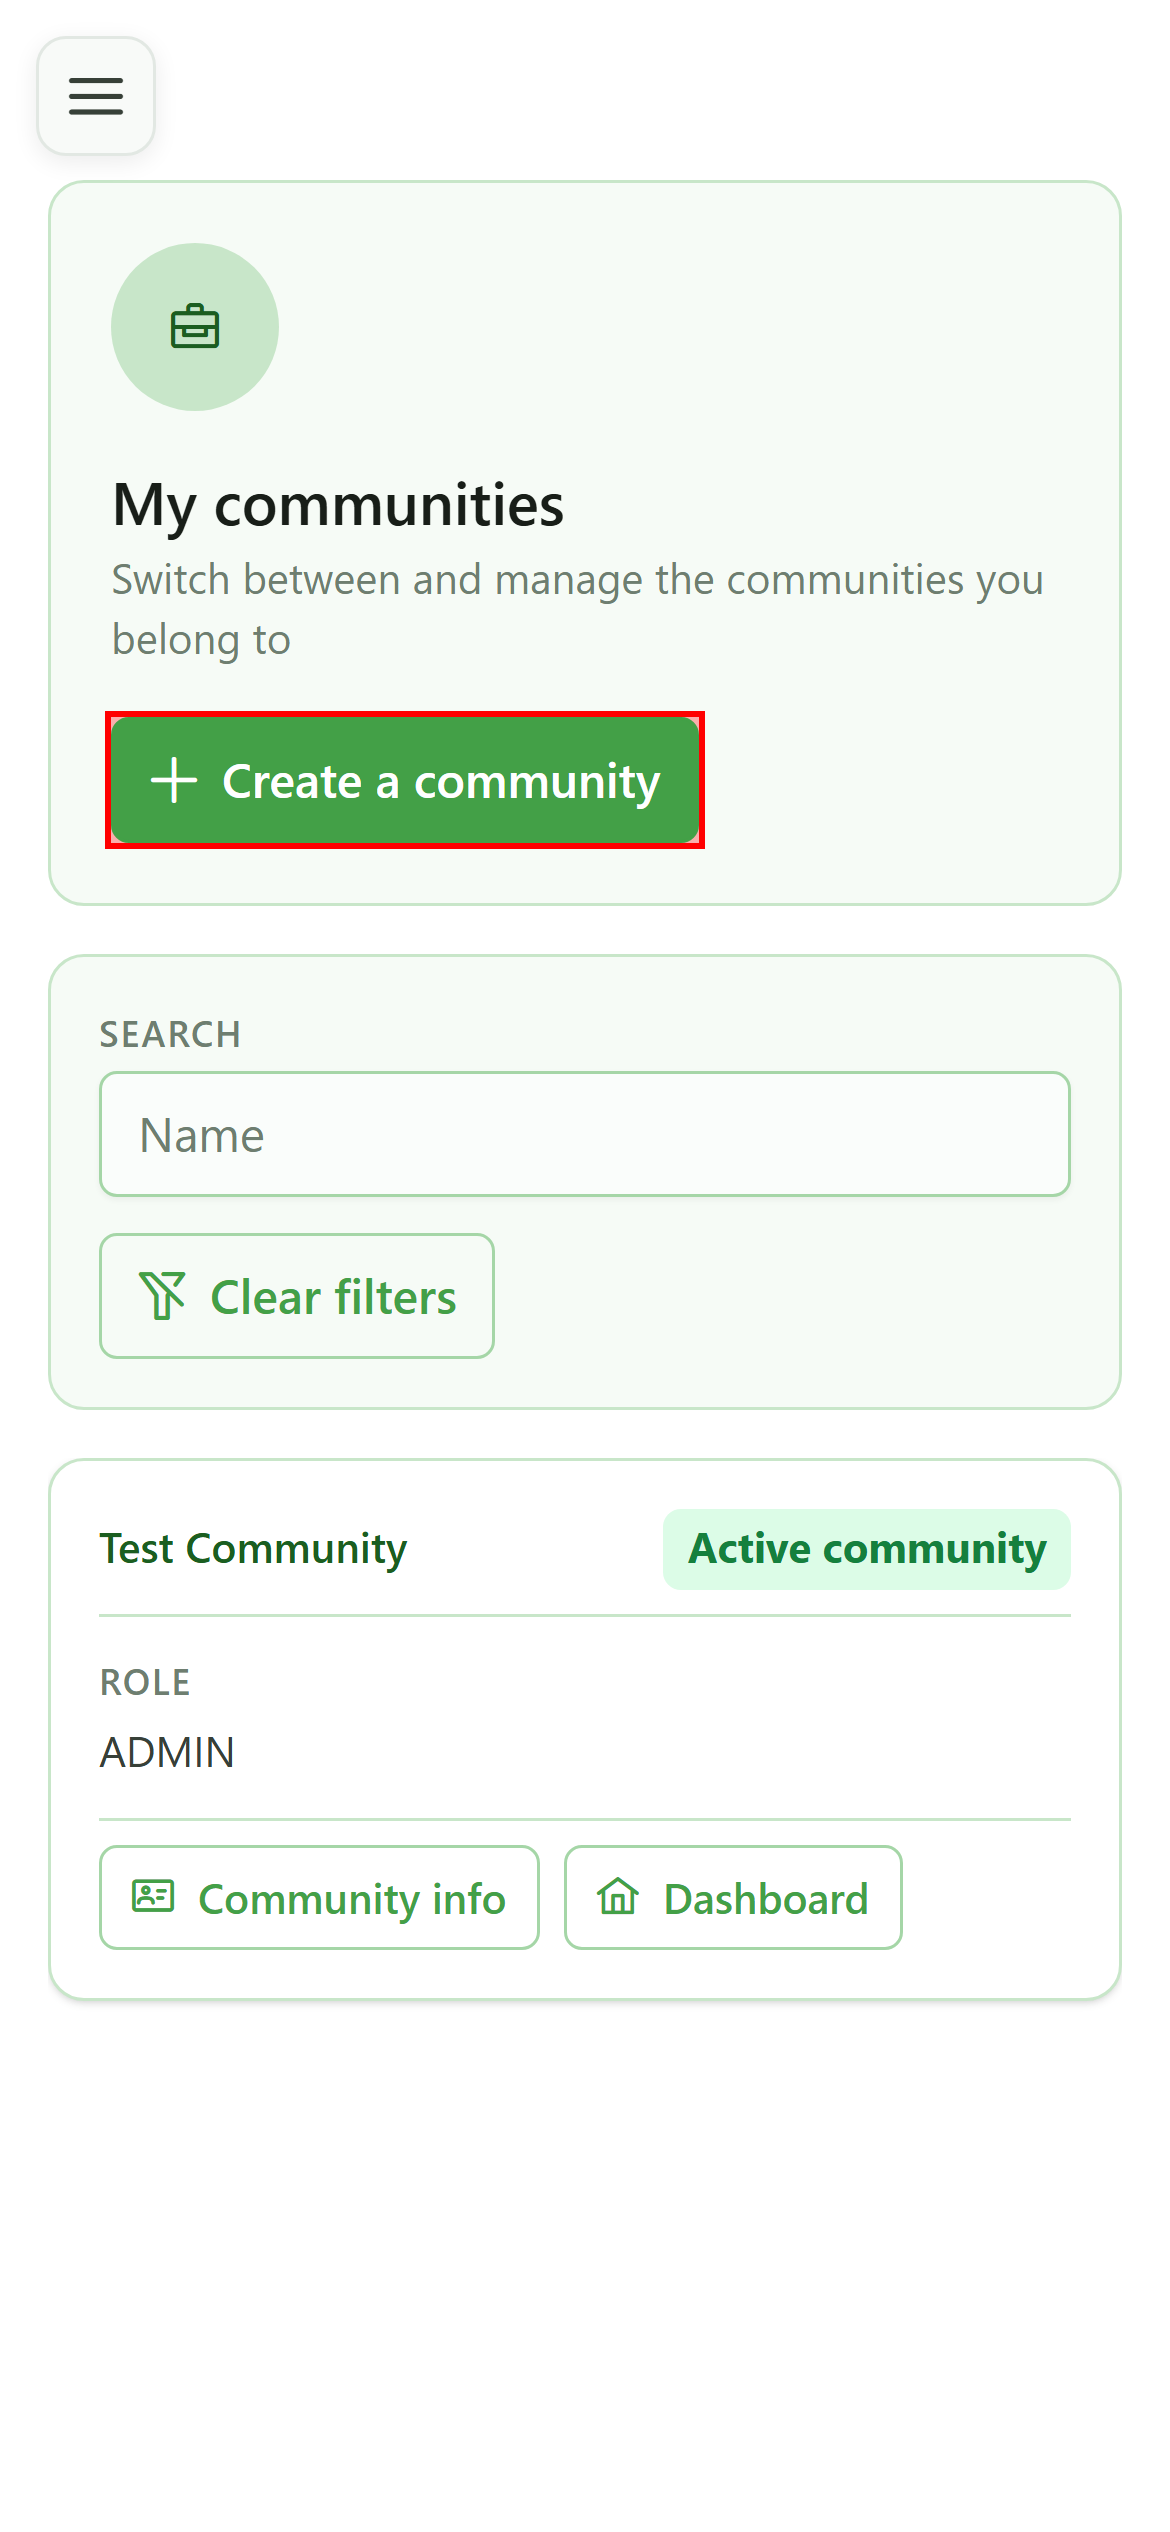
2 Create a community
New community
Click "Create a community" above the list to open the creation dialog.
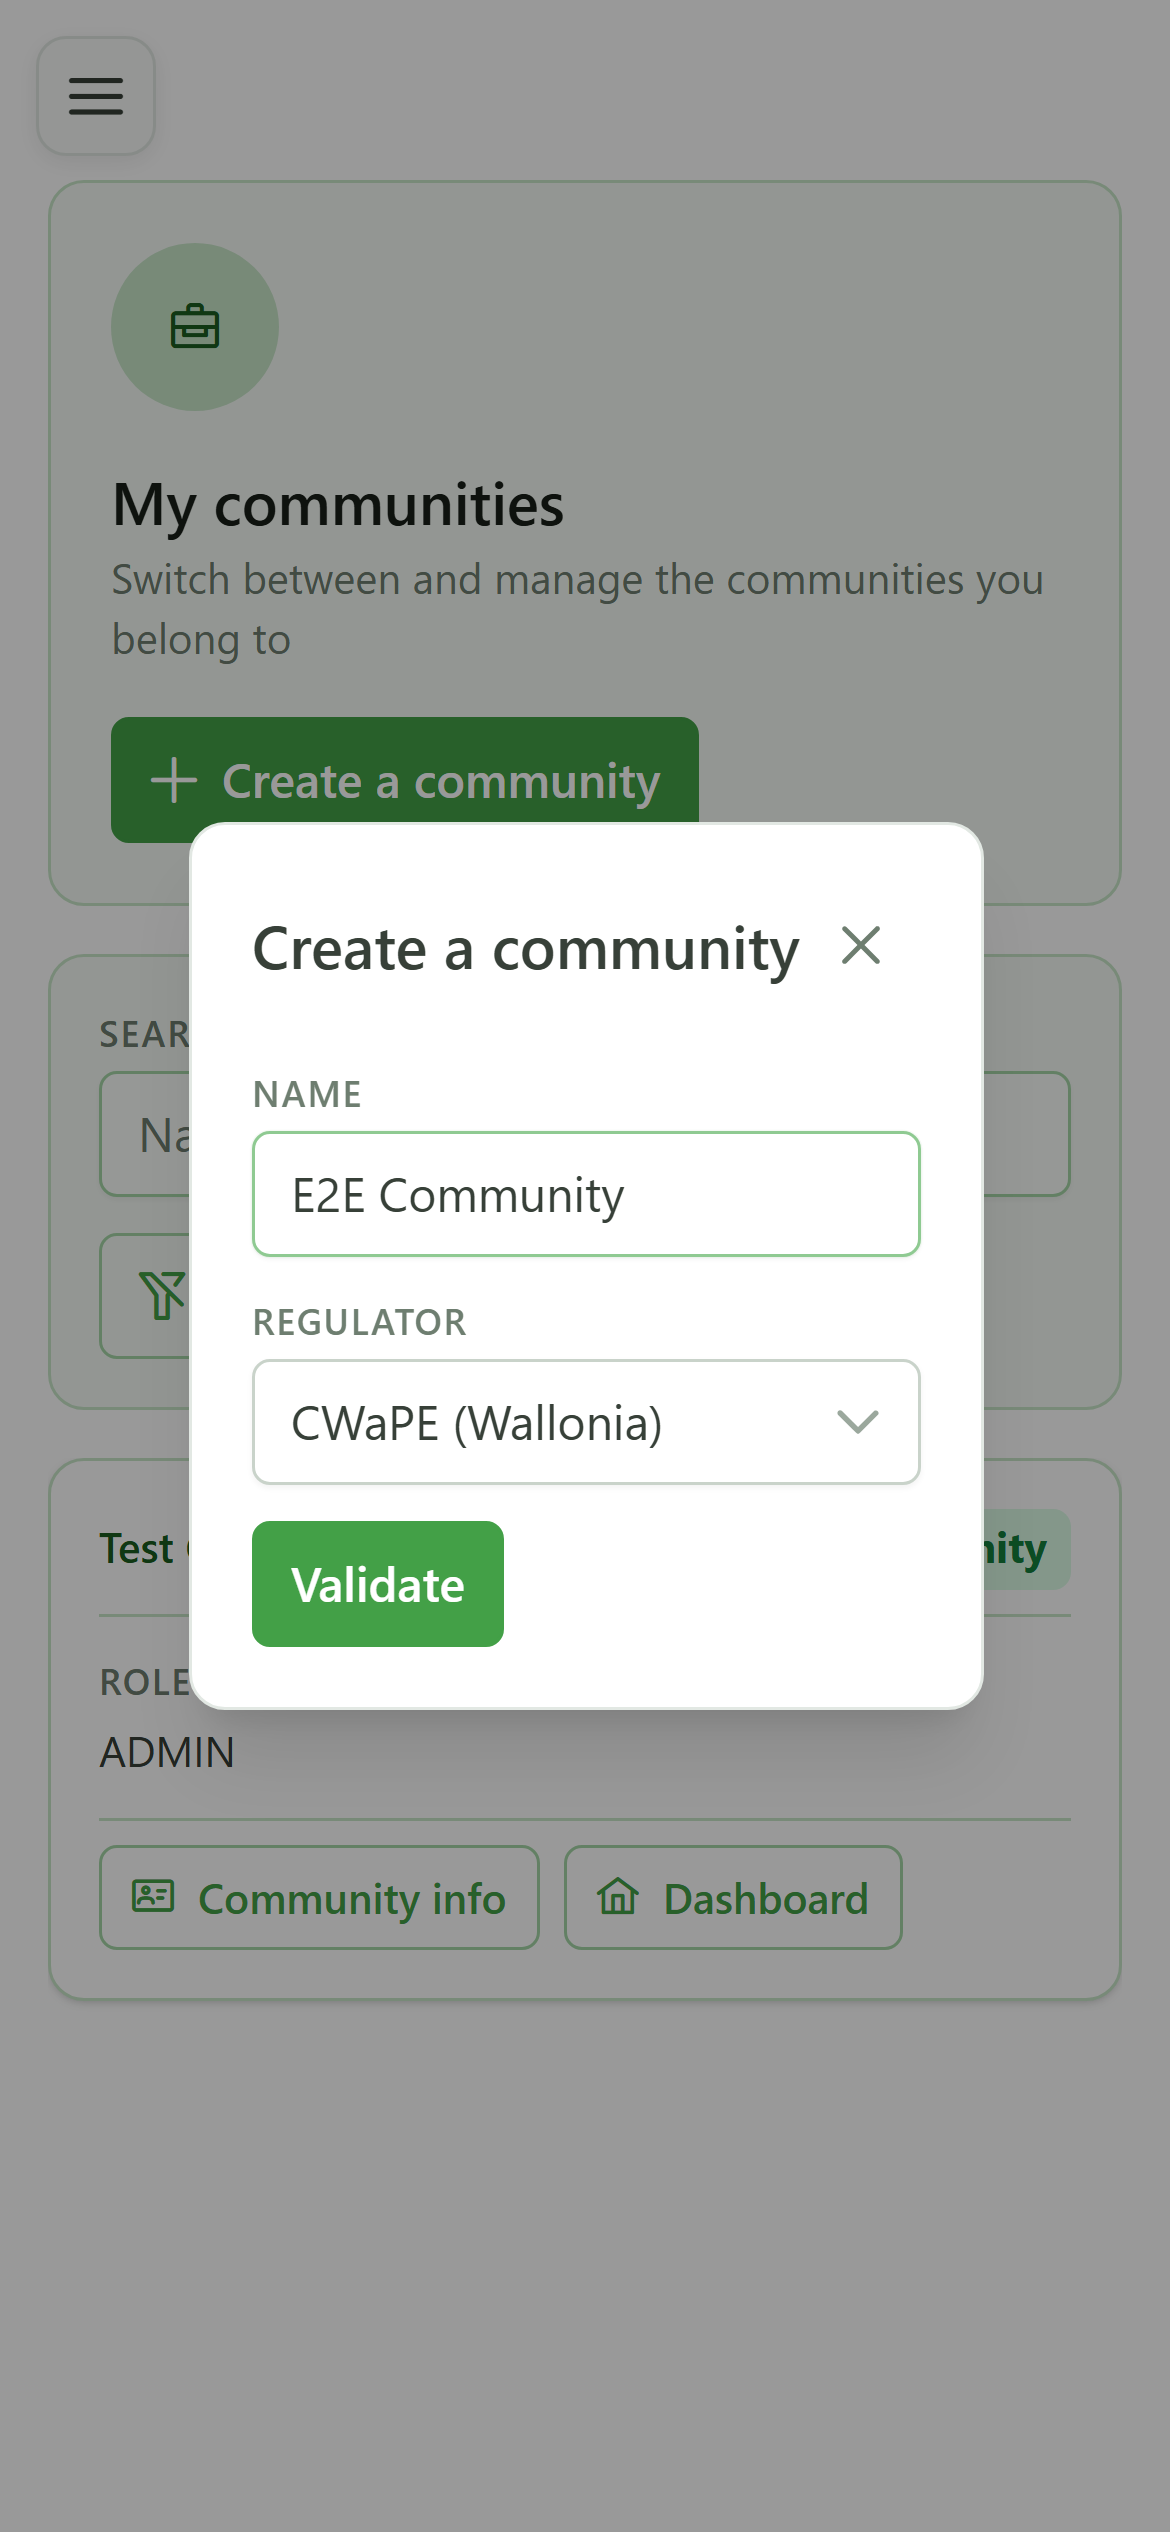
3 Name the community
New community
Enter the community name. The regulator is preselected (CWaPE for Wallonia); change it if your community reports to a different regional regulator.
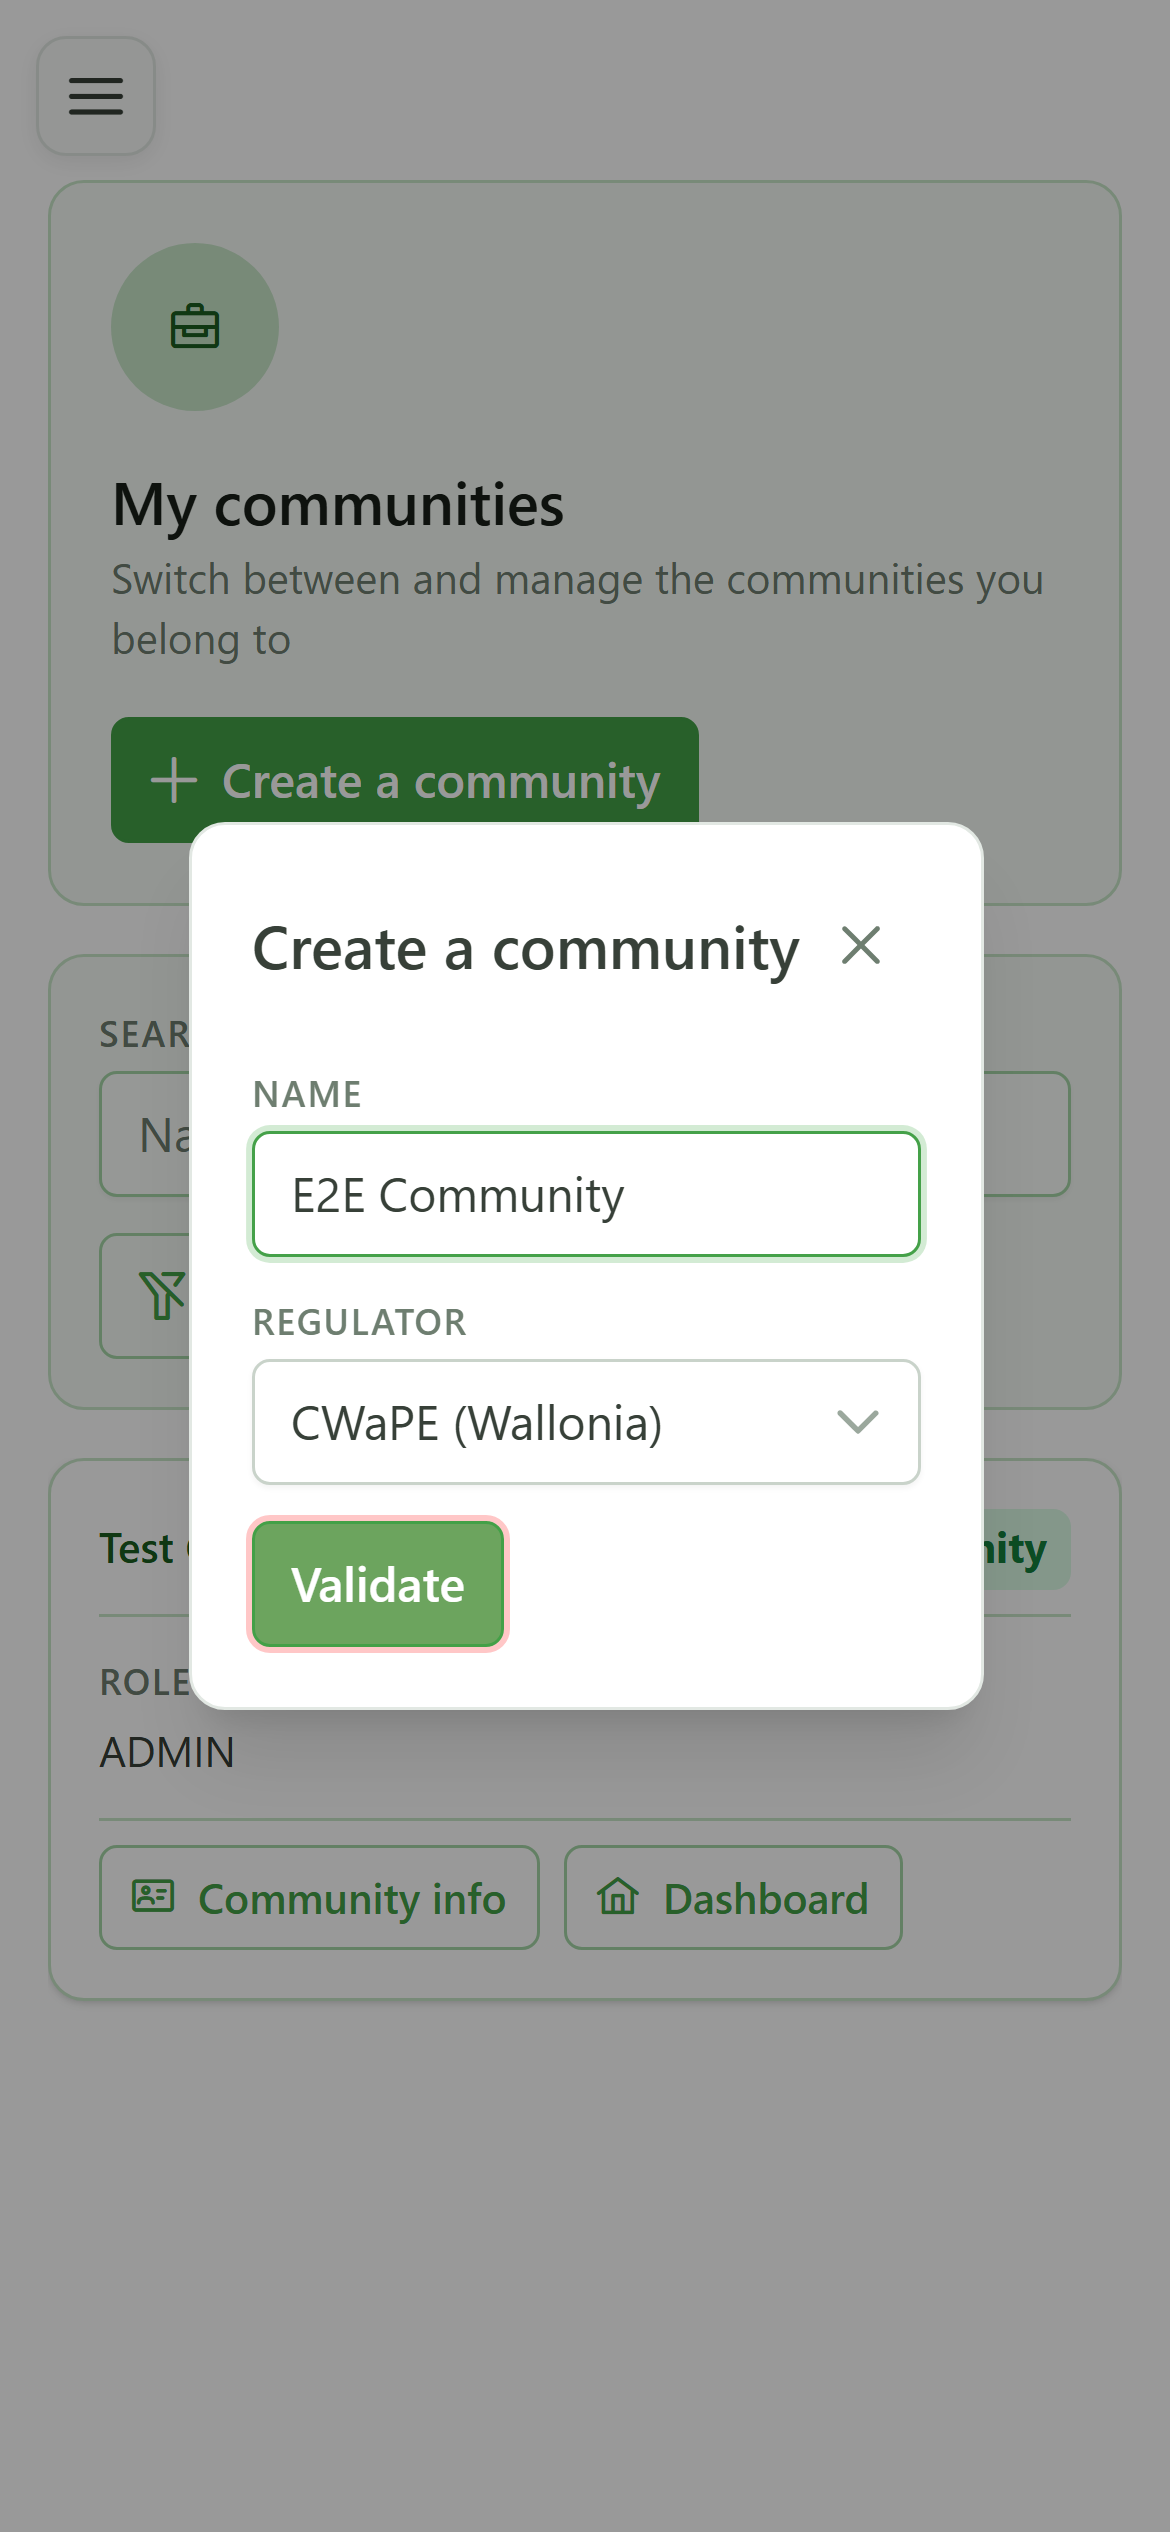
4 Confirm the creation
Confirmation
Click "Confirm". The community is created in the CRM and the identity provider, and you automatically become its administrator.
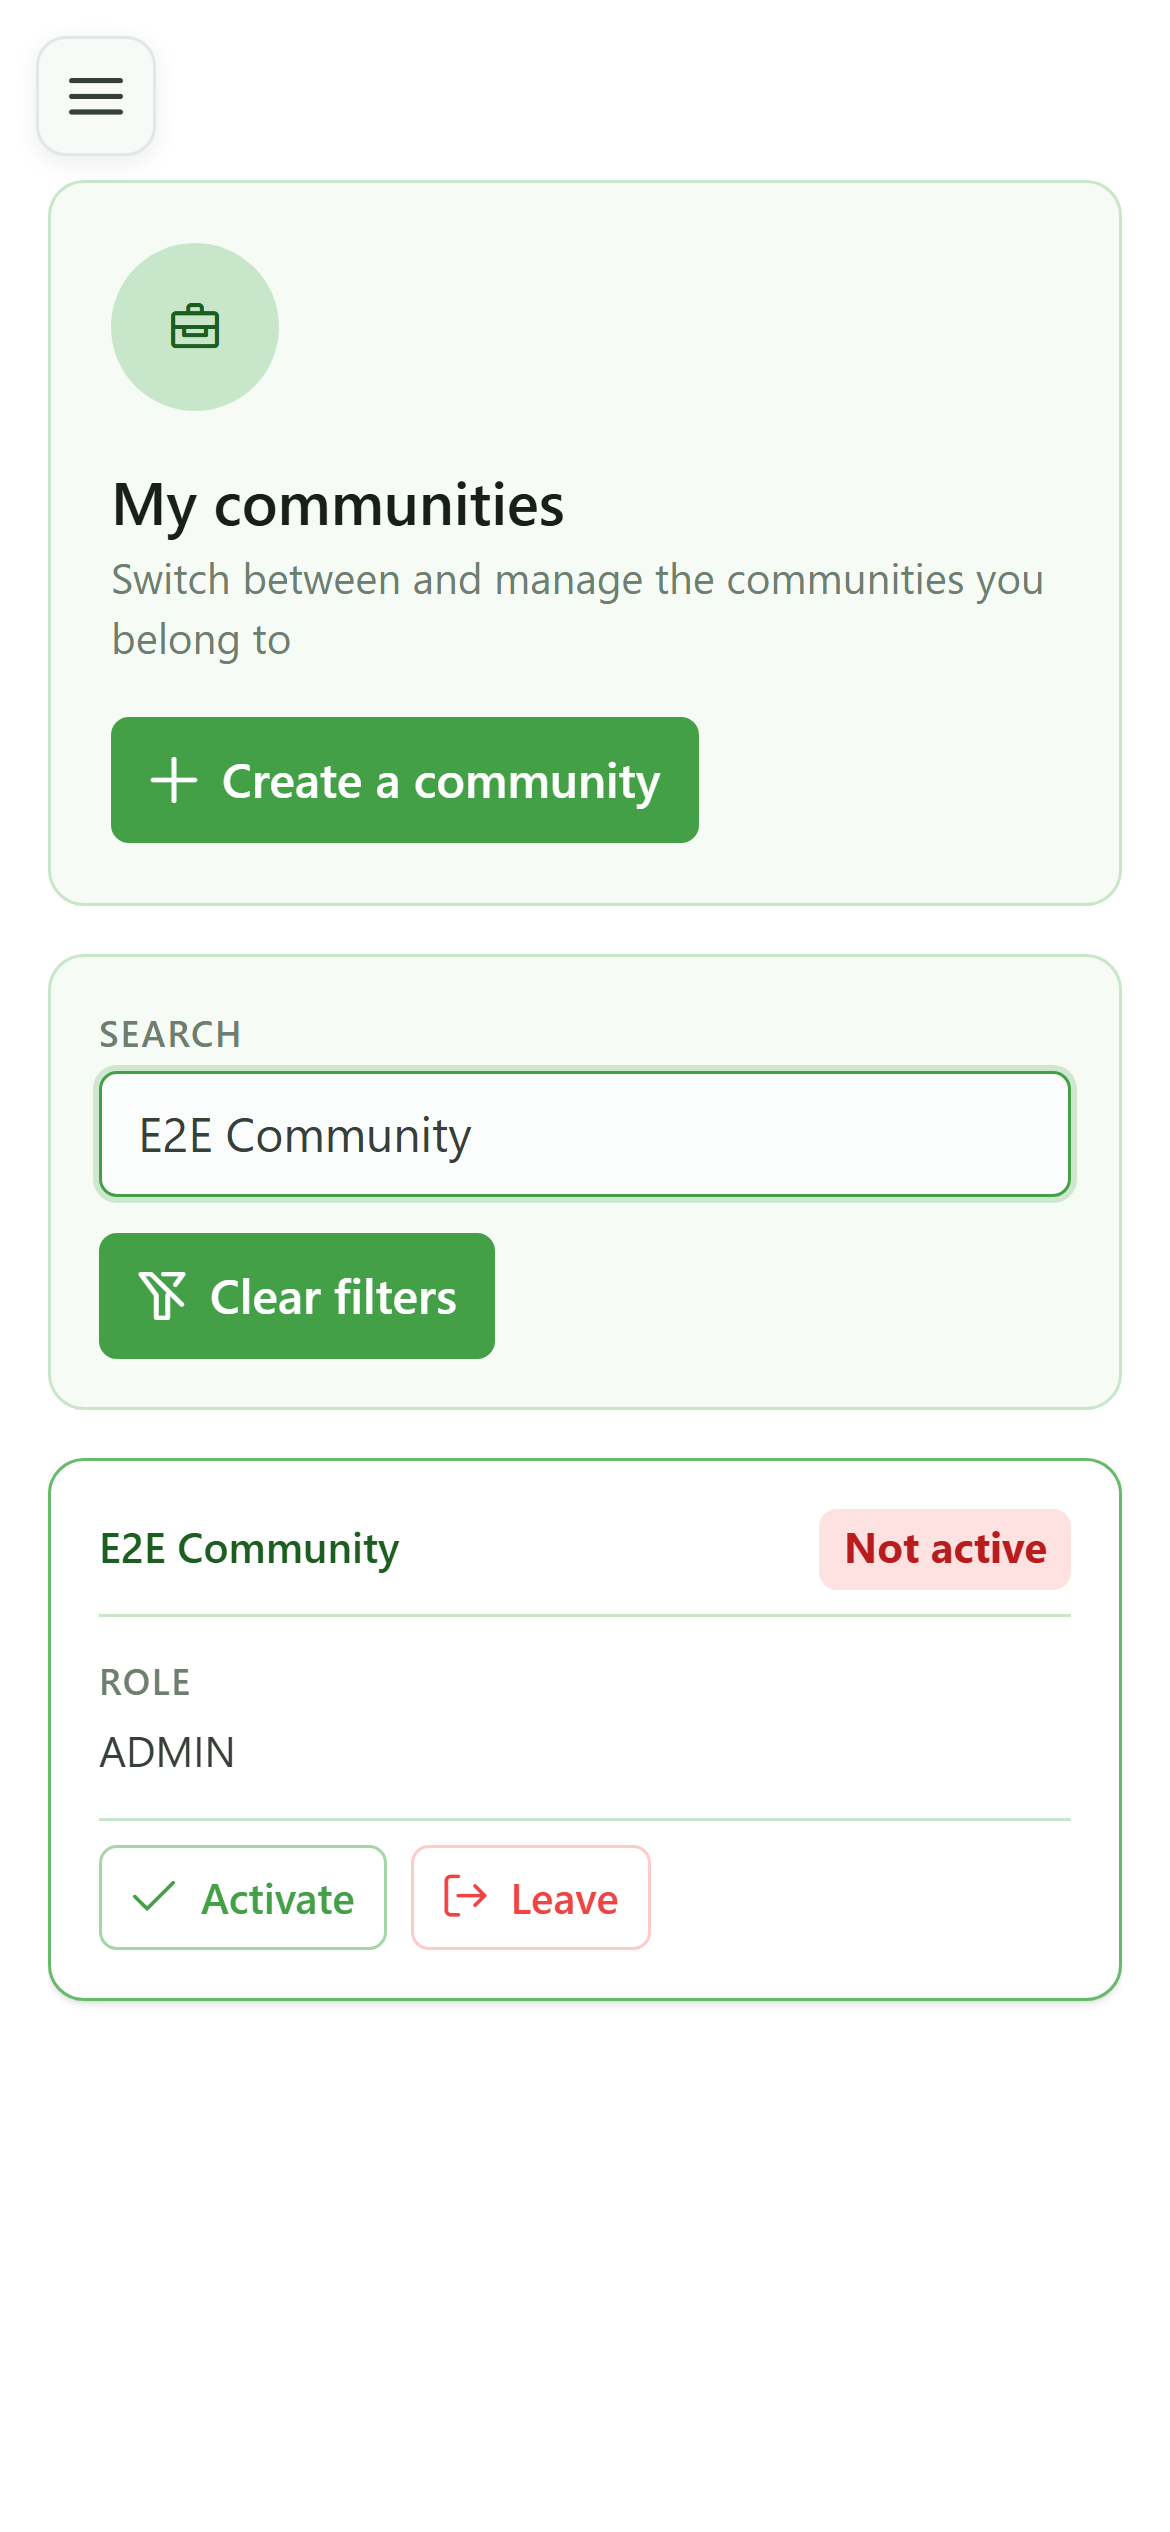
5 Your new community
Communities list
"E2E Community" now appears in your list. All that's left is to activate it and start setting it up.
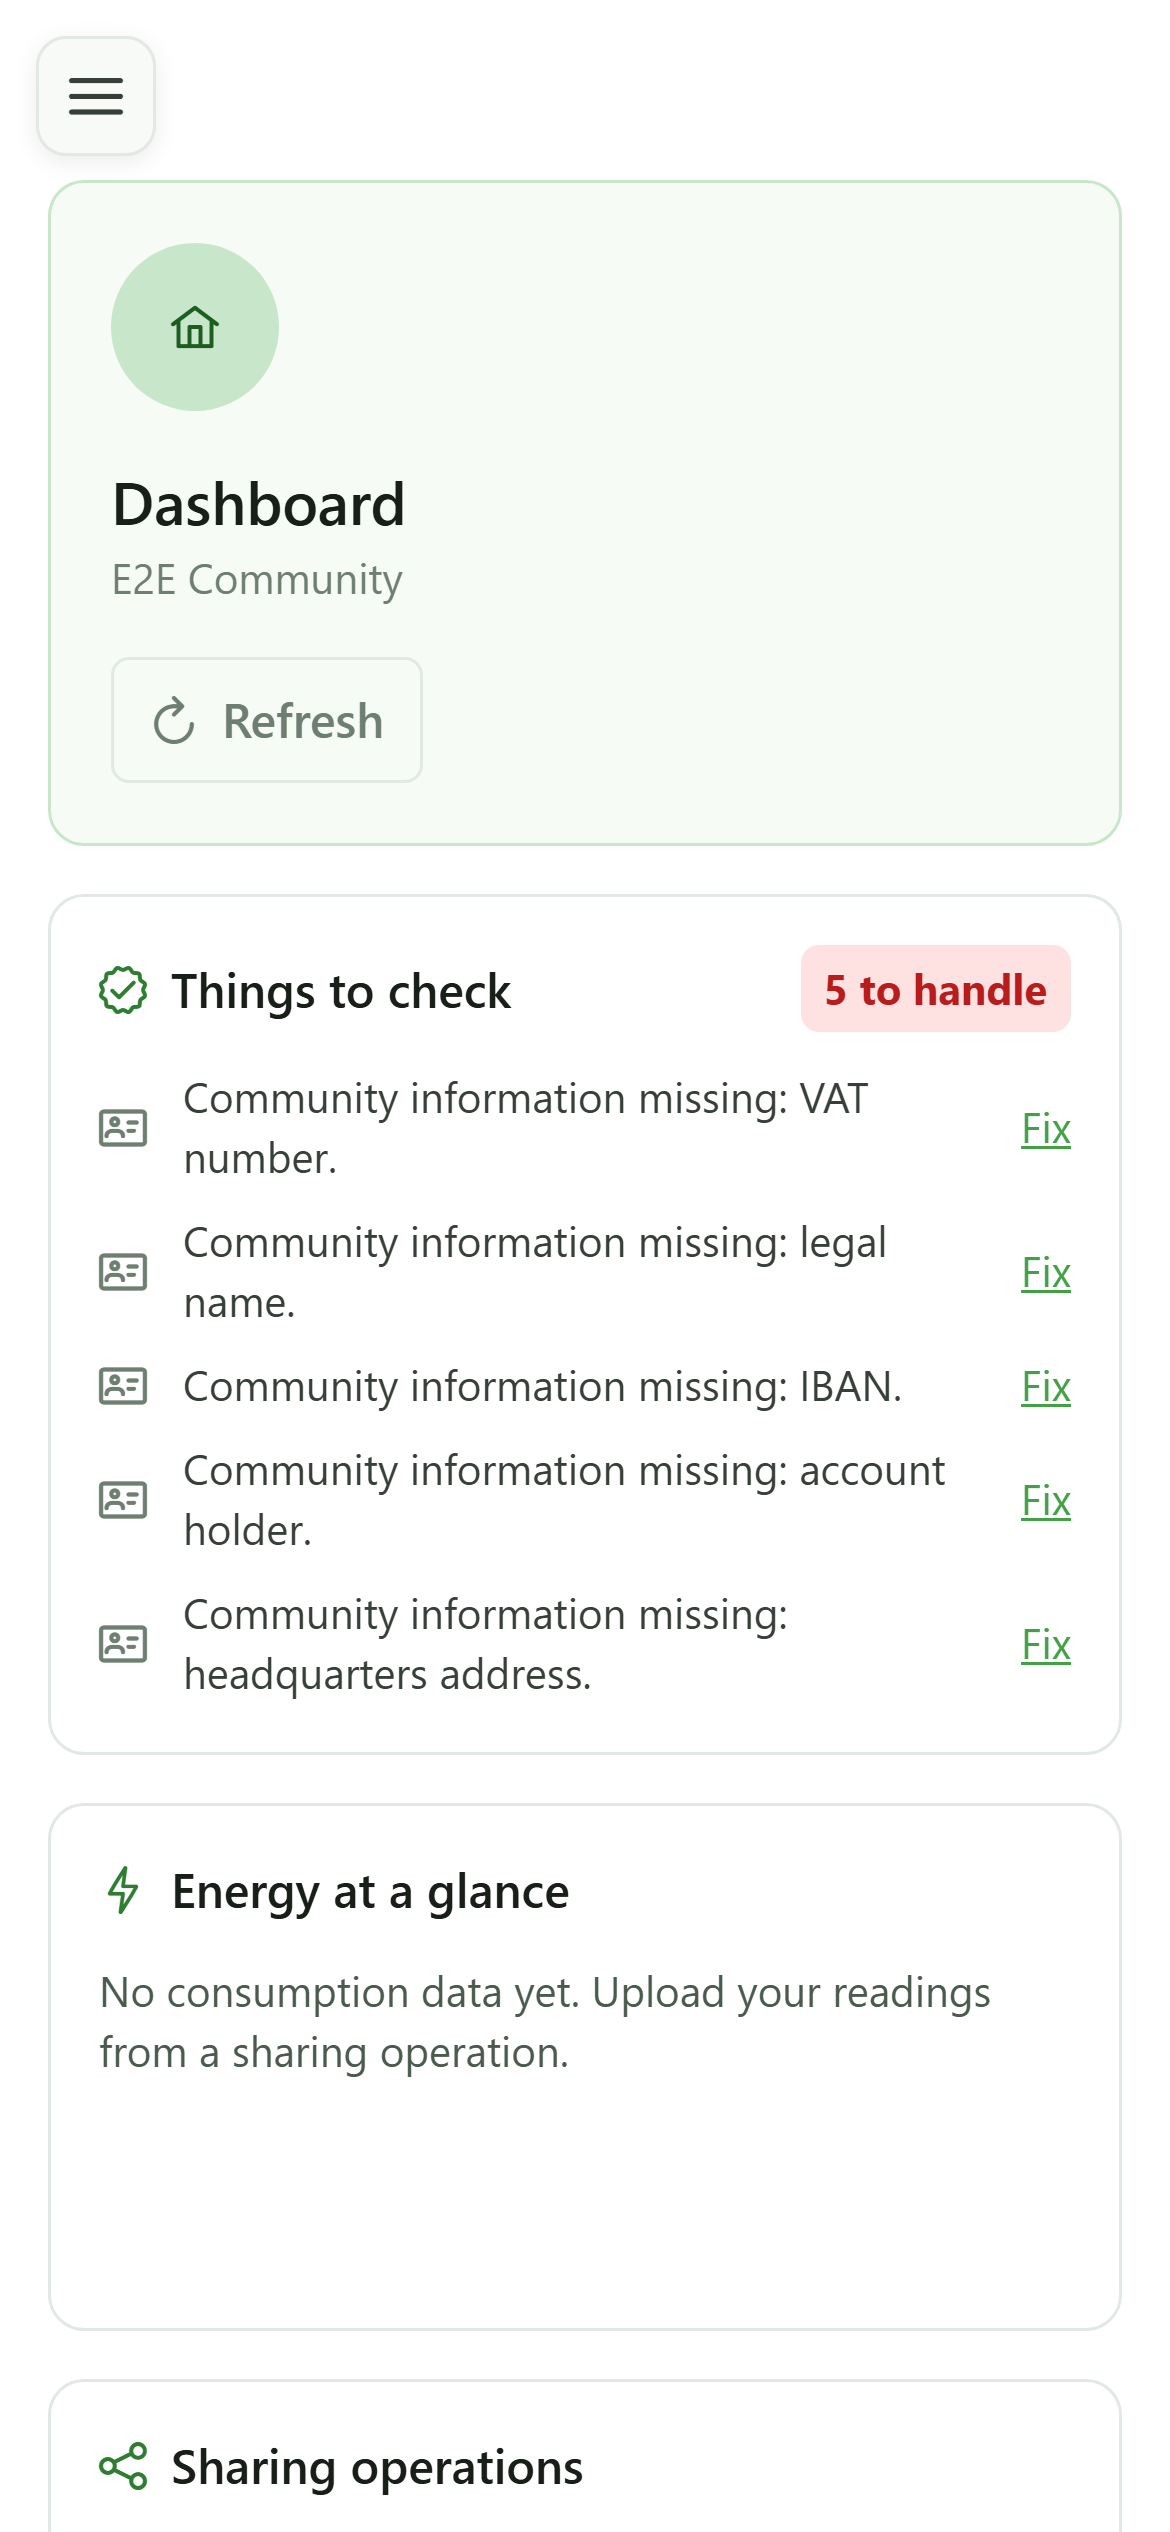
6 You are the administrator
Active community
The "Management" section appears in the sidebar: as its creator, you are the community administrator and have access to all its tools.
7 No keys yet
Starting point
A brand-new community has no allocation keys yet. The screen invites you to create your first one.

8 No members yet
Starting point
Likewise, the members list is empty. You will add your members one by one or by invitation.

9 No meters yet
Starting point
Finally, no meters are attached yet. Your community is ready: members, meters and allocation keys are set up next from these very screens.